
Repost license
Request authorization before reposting and retain the authorization code, original URL, and go/affiliate links.
Original URL:https://www.geekcorelab.com/post/docker-deployment-of-rain-cloud-object-storage-with-the
The commercial link is an authorized go short link that must stay on the reposted page. It records the source before sending readers to the original article.
First, you need to go to 雨云 to buy a server
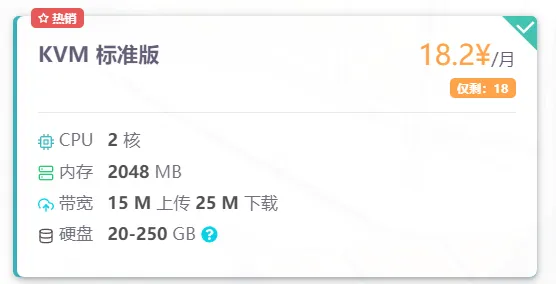
Here we take 2C2G as an example
We use Ubuntu 22.04 as the example system
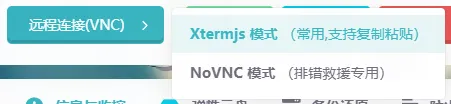
We connect via VNC and select Xtermjs

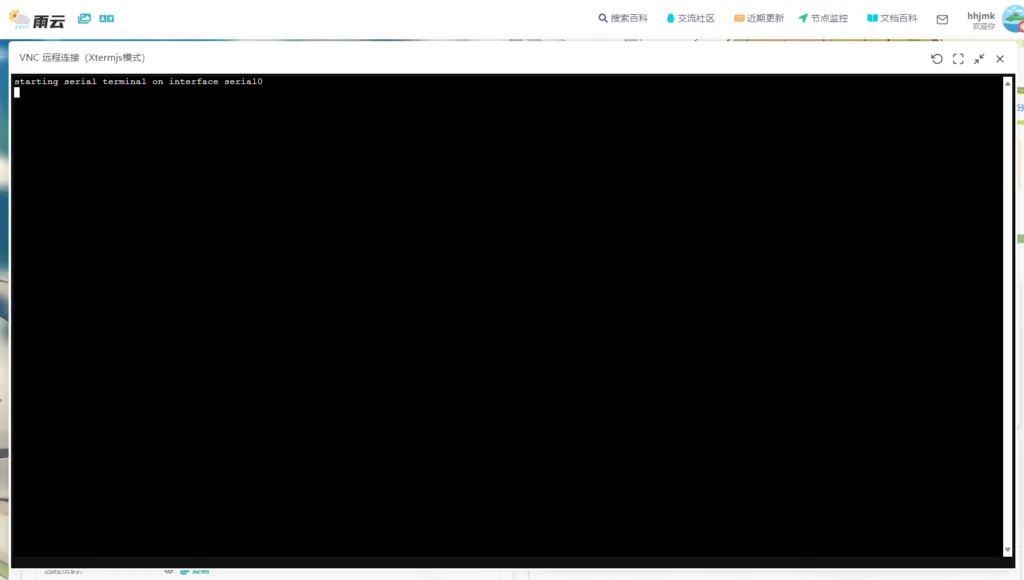
In the pop-up window, directly enter root
Then use Ctrl+Shift+V to paste the copied root password
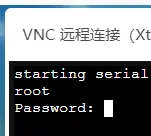
If this prompt appears, login is successful
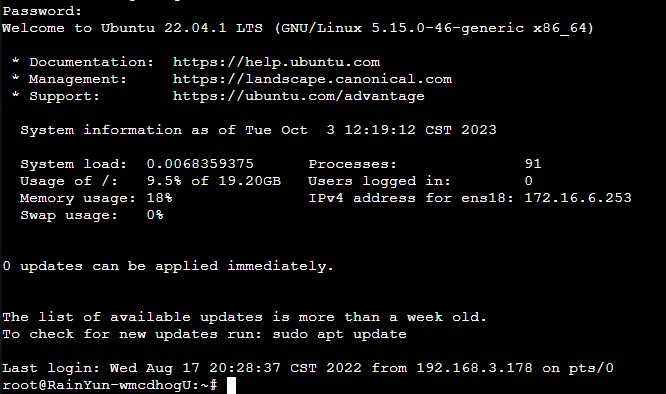
Then we install docker and docker-compose respectively with the following commands
sudo apt update
#上面是更新一下软件包下载地址

sudo apt install docker.io -y
#上面是安装docker

#以下是安装docker-compose
sudo curl -L https://github.com/docker/compose/releases/download/v2.21.0/docker-compose-`uname -s`-`uname -m` -o /usr/local/bin/docker-compose

sudo chmod +x /usr/local/bin/docker-compose
After that, we return to the root directory and prepare to install filestash
cd /
#回到根目录

mkdir filestash && cd filestash
#创建并进入filestash文件夹

curl -O https://downloads.filestash.app/latest/docker-compose.yml
#下载一键部署文件

docker-compose up -d
#运行一键部署
If this prompt appears, it means deployment is in progress
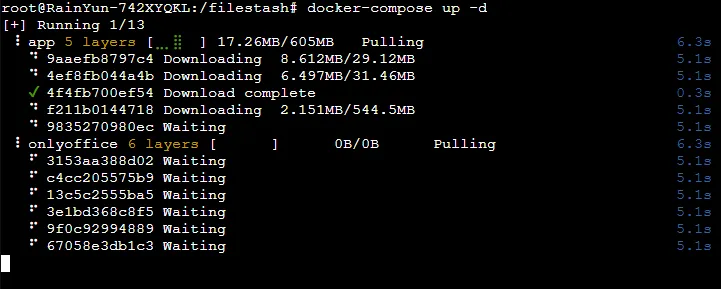
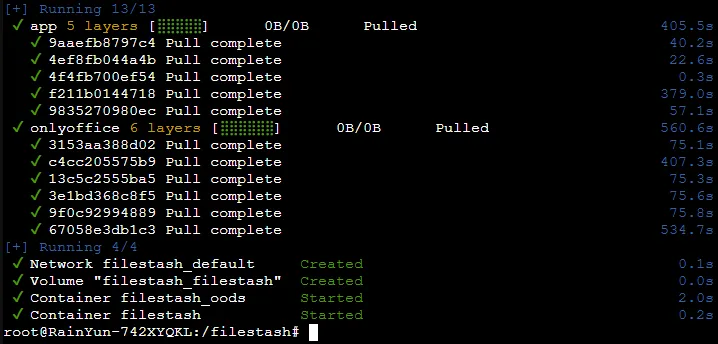
emm, since I was writing the tutorial while operating, I only then realized that what needs to be downloaded is really too large; oh my, it took nearly 10 minutes to deploy (fun fact: after downloading, it needs to be extracted)
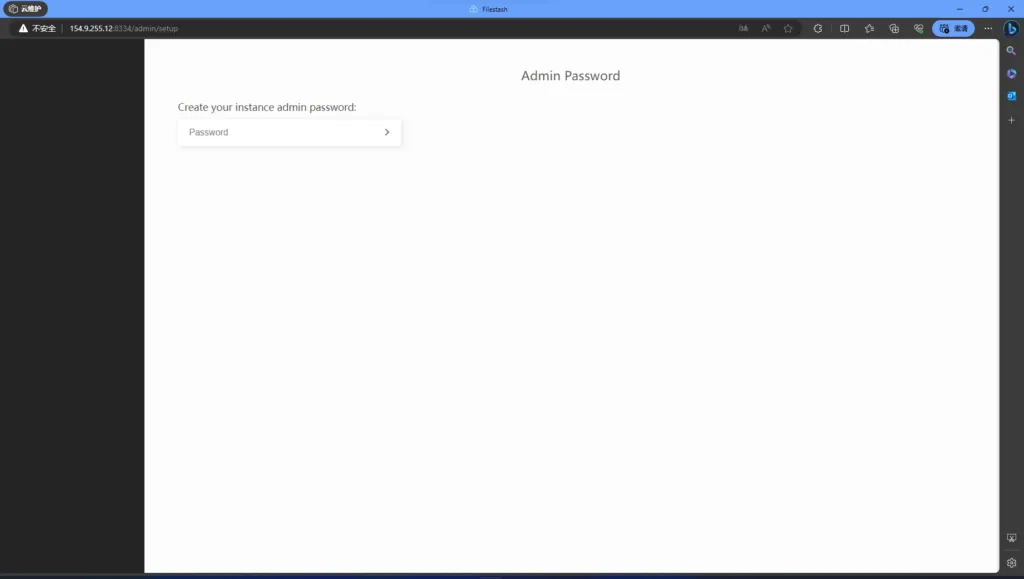
After that, just visit your ip:8334 directly
Click that conspicuous “Password”, enter your admin password in it, then click the small arrow next to it
The first red item indicates that not enabling SSL may cause data leakage; we can ignore this for now. You can install nginx on the server for reverse proxy, which also works very well
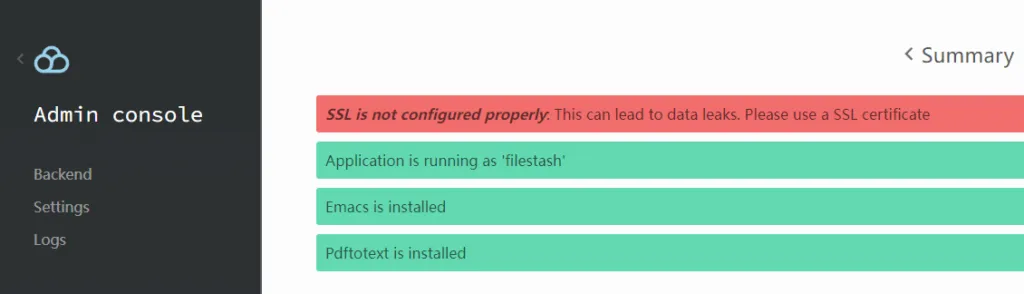
After reaching this point, we click backend on the left
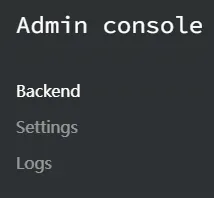
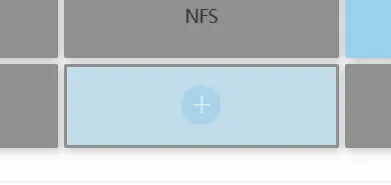
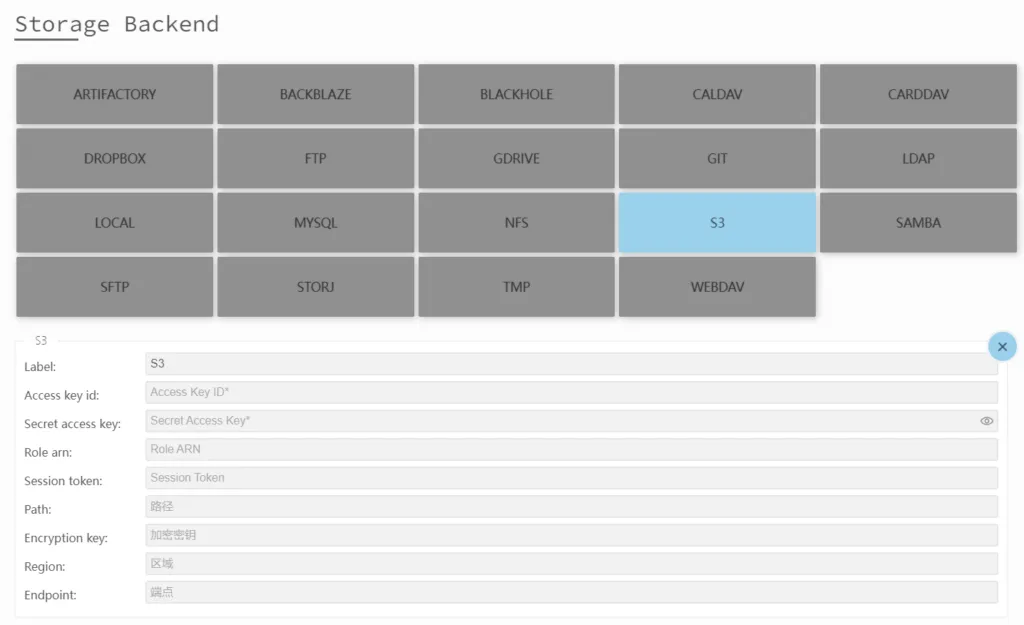
Here you can configure many storage methods; moving the mouse over a block will show “+”
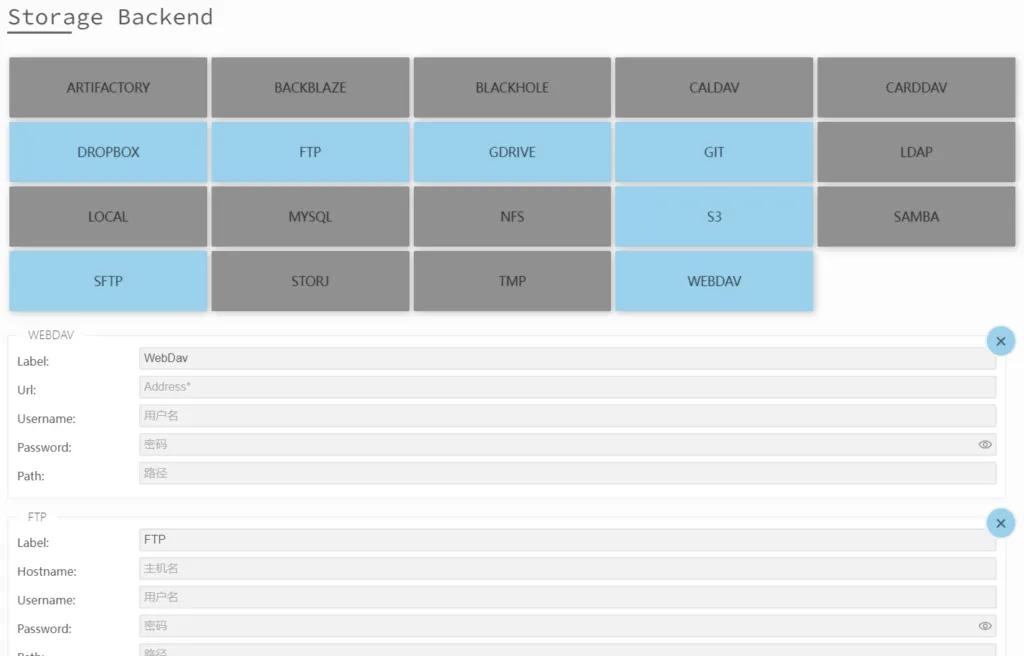
Click it to add the corresponding storage method below
We delete all other storage methods, leaving only S3
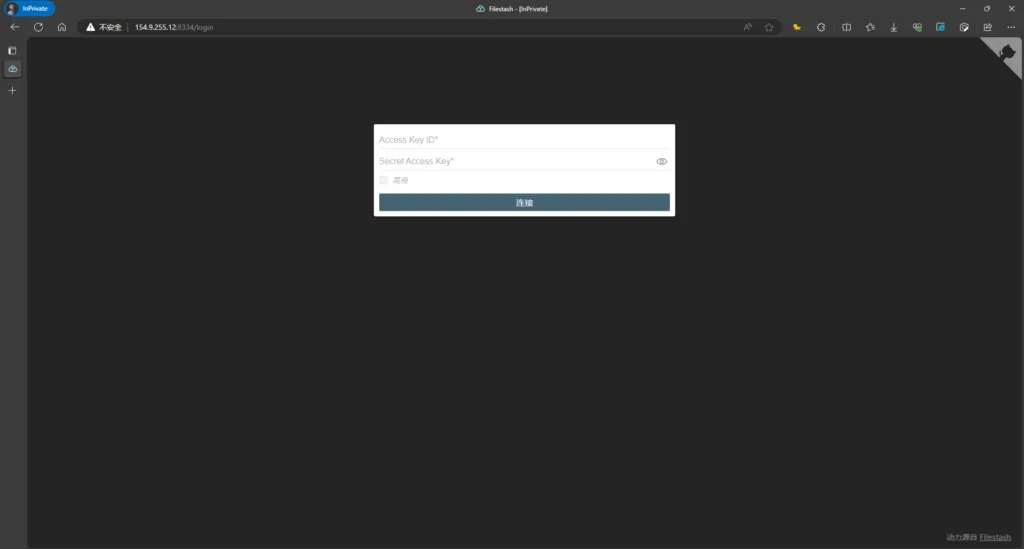
In this way, when you visit the frontend again, you can see an online file manager very similar to 雨云, but 雨云 needs to trigger a bug to reach this page
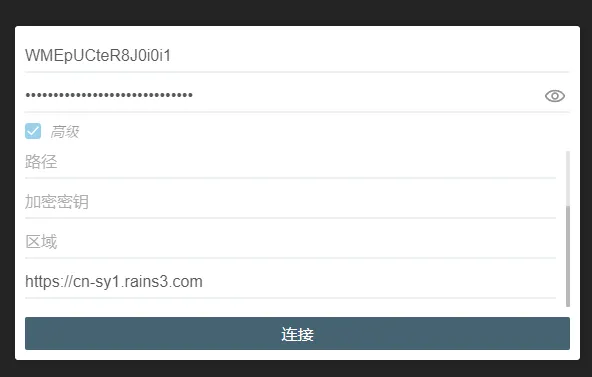
Then check the “Advanced” option box, scroll down, fill the endpoint with 雨云's, and fill the access ID and secret key with those of your 雨云 storage bucket
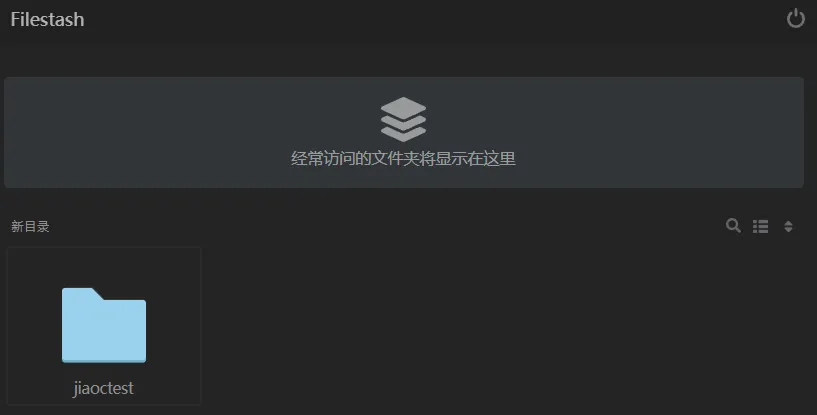
Click connect and you will discover a new world
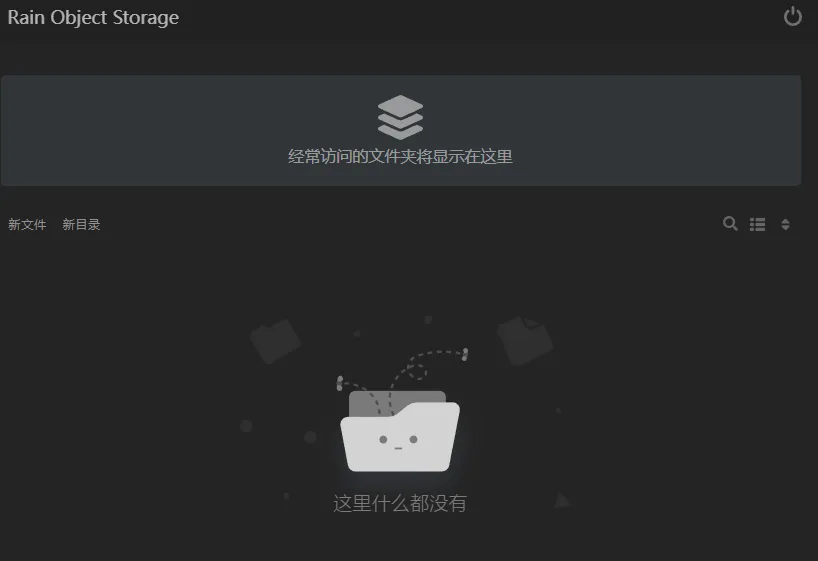
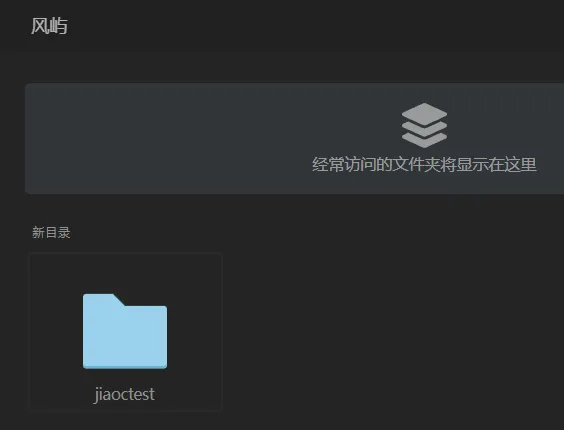
The only folder here is the name of your storage bucket. If you enter directly through 雨云's file management, you will see an empty directory
I won't go into advanced stuff; research it yourself
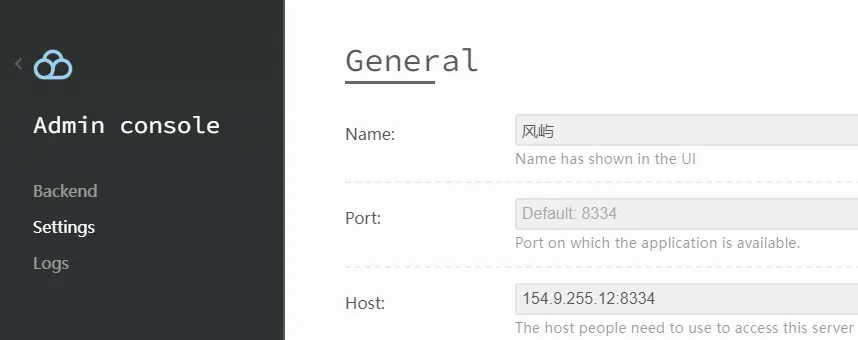
In the backend, select “Settings” (the settings page)
After modifying the name field, return to the frontend and refresh to see the change
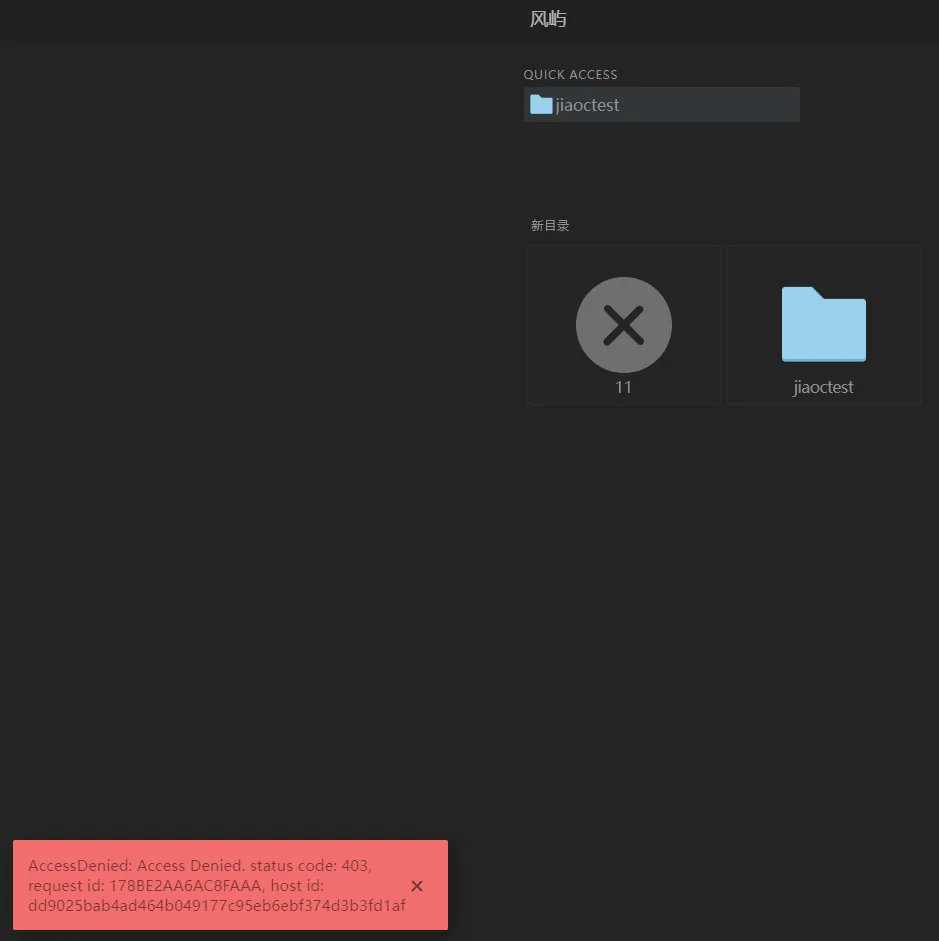
If we create something through our own file management system in the directory at the same level as your storage bucket folder, an error will occur
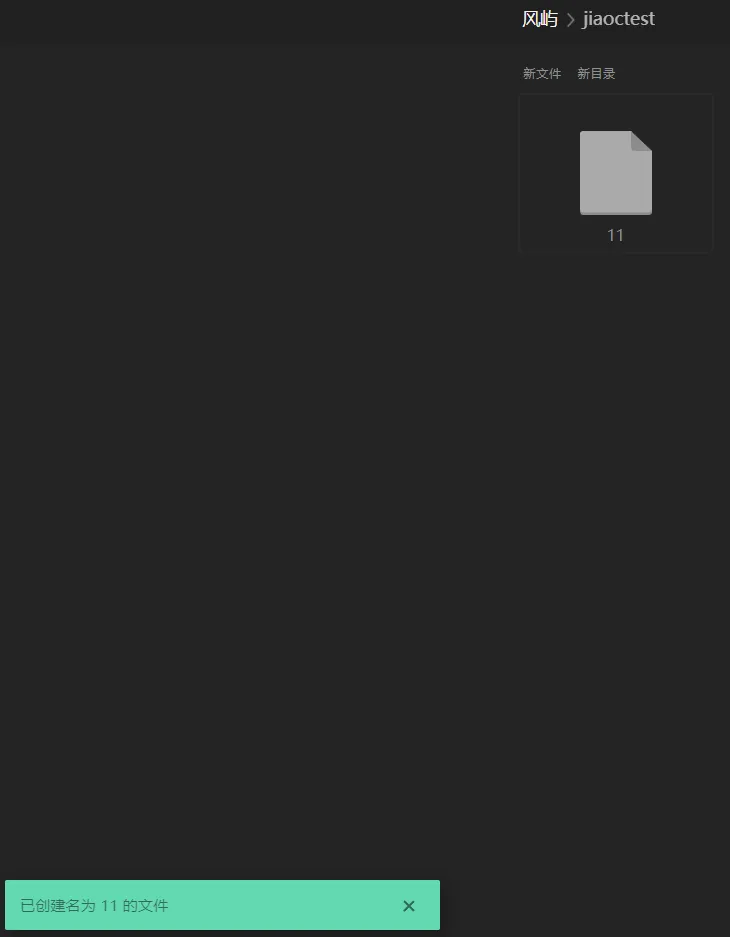
Creating files inside the storage bucket folder is normal
At this point we will find that there is an upload button in the lower right corner of 雨云; we need to check this option in settings for it to appear

Comments
Discussion
Be kind and keep the discussion friendly.
Discussion
0 comments