
Massive performance boost! Give your Matomo a high-performance environment!
Repost license
Request authorization before reposting and retain the authorization code, original URL, and go/affiliate links.
Original URL:https://www.geekcorelab.com/post/big-performance-explosion-give-your-matomo-a-high
The commercial link is an authorized go short link that must stay on the reposted page. It records the source before sending readers to the original article.
As my Matomo grows larger, feature requirements increase, and plugins become more and more numerous, using a traditional LNMP or LAMP architecture will reveal that performance is dropping sharply. To address this, we found a solution using FrankenPHP (hereinafter referred to as FPHP)
Deploy the website
We use the following command to install the database and gpg tools
apt install mariadb-server gpg
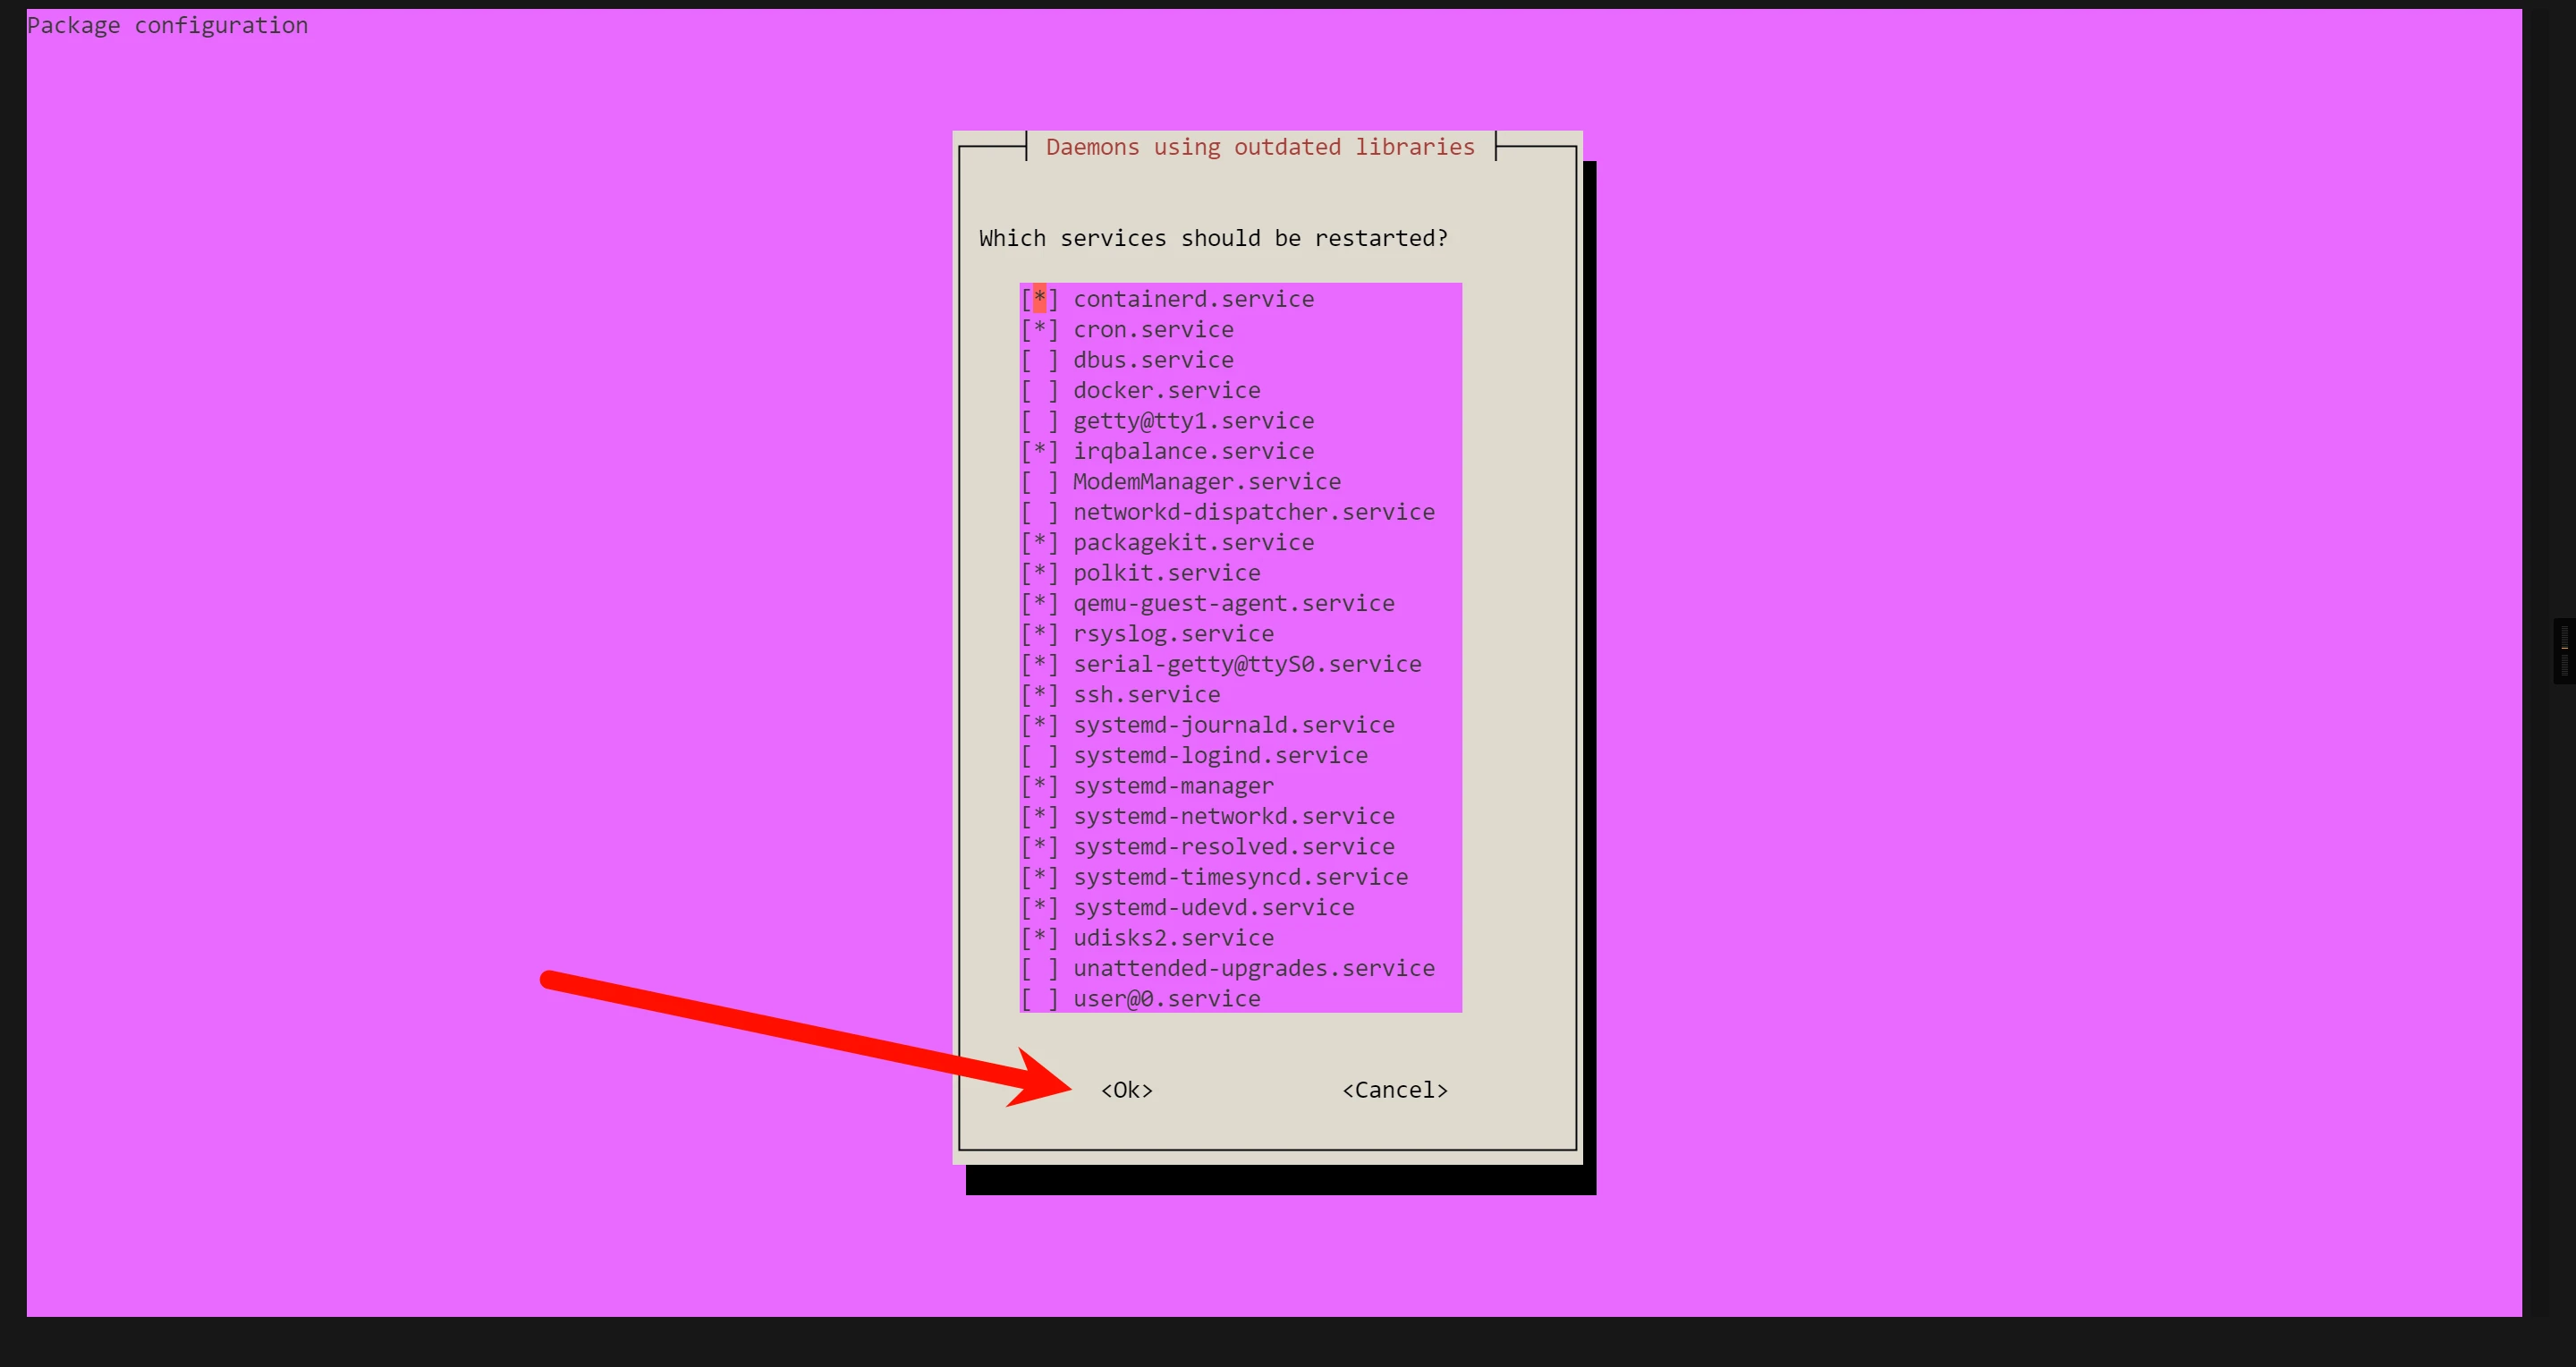
If a prompt like this appears, just ignore it and use the Tab key to switch to ok and press Enter
First, our website runs under /var/www; you can modify this yourself
mkdir -p /var/www
Download the latest Matomo installation package
wget https://builds.matomo.org/matomo-latest.tar.gz
If the download is interrupted due to network issues, you can add the -c parameter after wget to resume from the breakpoint

Verify the installation package
wget -q https://builds.matomo.org/matomo-latest.tar.gz.asc
gpg --keyserver hkps://keyserver.ubuntu.com --recv-keys F529A27008477483777FC23D63BB30D0E5D2C749
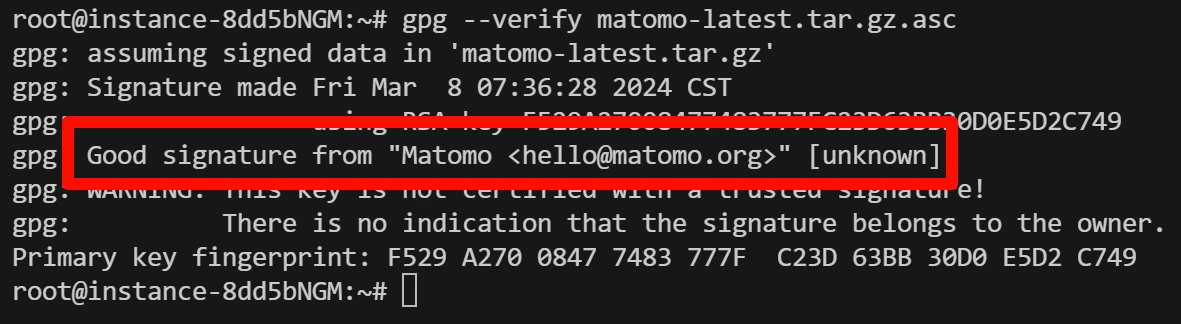
gpg --verify matomo-latest.tar.gz.asc
A Good signature prompt indicates that the installation package has not been damaged or tampered with and can be used safely
Once confirmed, you can start extracting and installing
tar -xf matomo-latest.tar.gz -C /var/www "matomo/"
Database
mysql_secure_installation
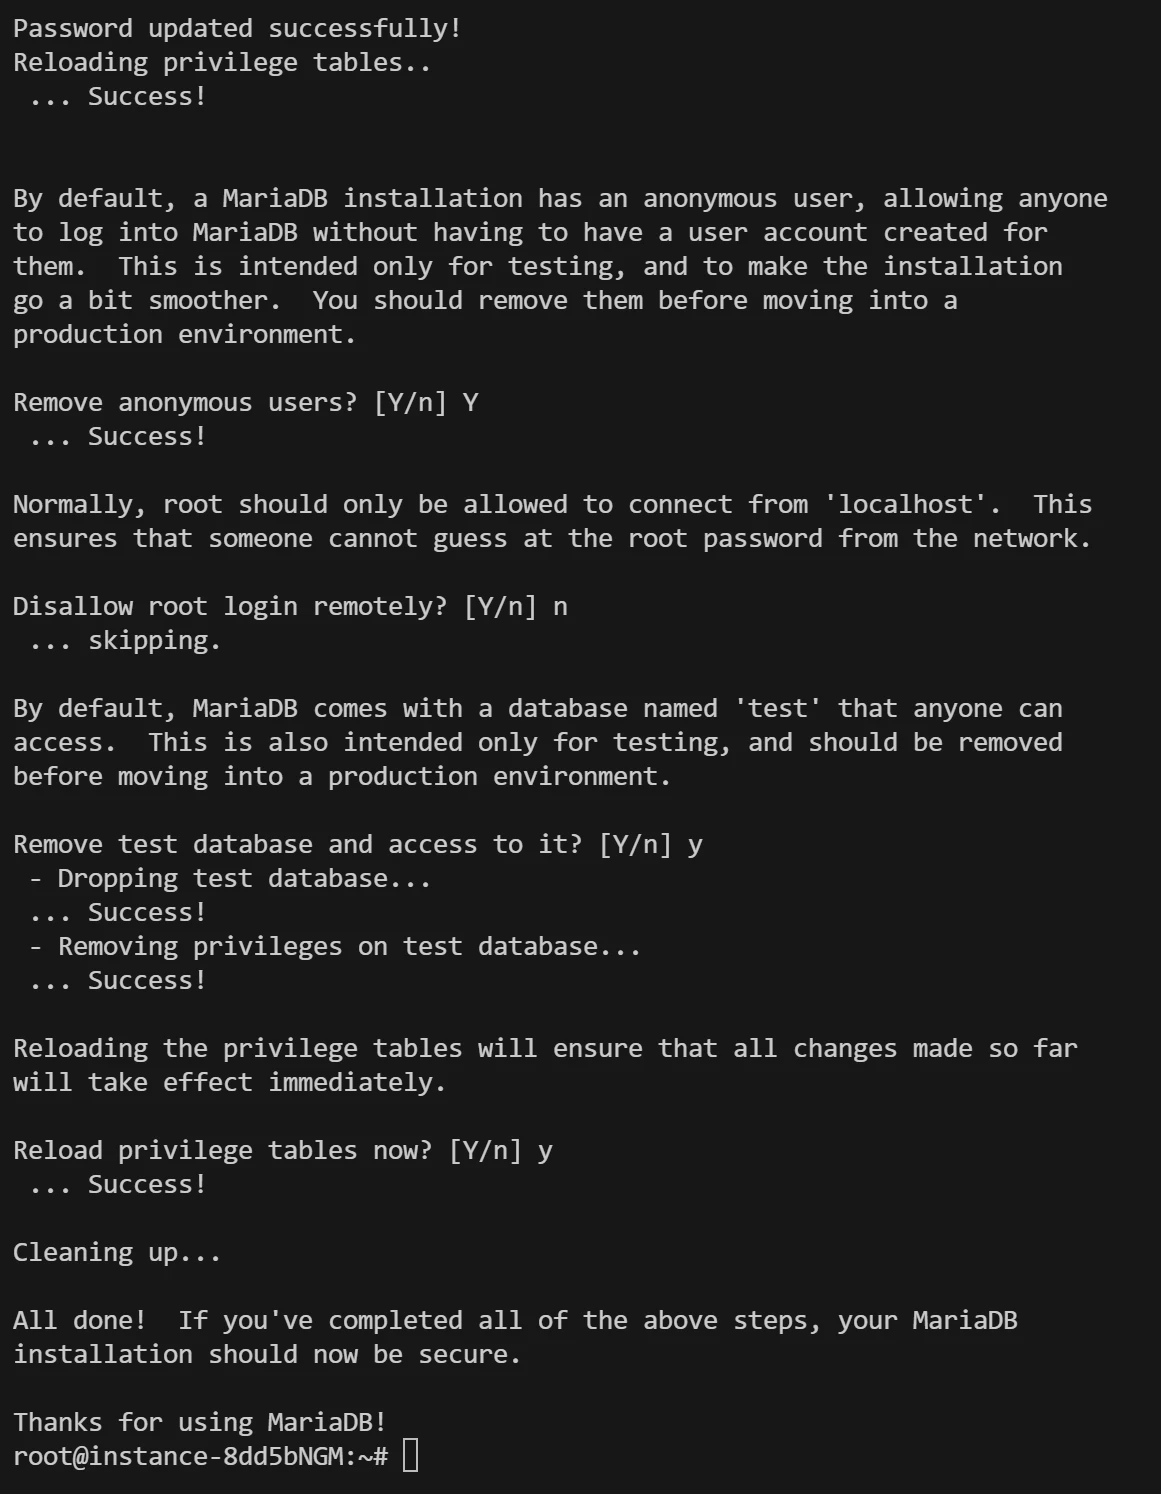
After executing this command, you will enter the configuration wizard; set the password and security options as prompted
After setup is complete, the following will appear
Thanks for using MariaDB!
mysql --execute="CREATE DATABASE matomo; GRANT ALL PRIVILEGES ON matomo.* TO 'matomo'@'localhost' IDENTIFIED BY 'QMdPjtRDVrHnv1f3DMa6' WITH GRANT OPTION; FLUSH PRIVILEGES;"
Note: QMdPjtRDVrHnv1f3DMa6 is the password. Please replace it with a new random value or a string that is difficult to crack
FPHP
wget -q -O- 'https://gorbe.io/assets/docs/frankenphp/install/frankenphp-install.sh' | bash -x -
chown -R frankenphp:frankenphp /var/www/matomo/
In this environment, the web server we use is Caddy
nano /etc/frankenphp/Caddyfile
Compared with nano, I prefer vim, so I use vim for editing
vim /etc/frankenphp/Caddyfile
Add the following content inside the braces in the file, and change matomo.example.com to your own domain name
{
	frankenphp
	order php_server before file_server

	servers matomo.example.com {
		trusted_proxies static 127.0.0.1
	}
}

matomo.example.com {

	@private-dirs {
		path /config/*
		path /tmp/*
		path /lang/*
	}

	respond @private-dirs 403 {
		close
	}

	root * /var/www/matomo
	php_server
}
After saving and exiting, restart the FPHP service
systemctl restart frankenphp
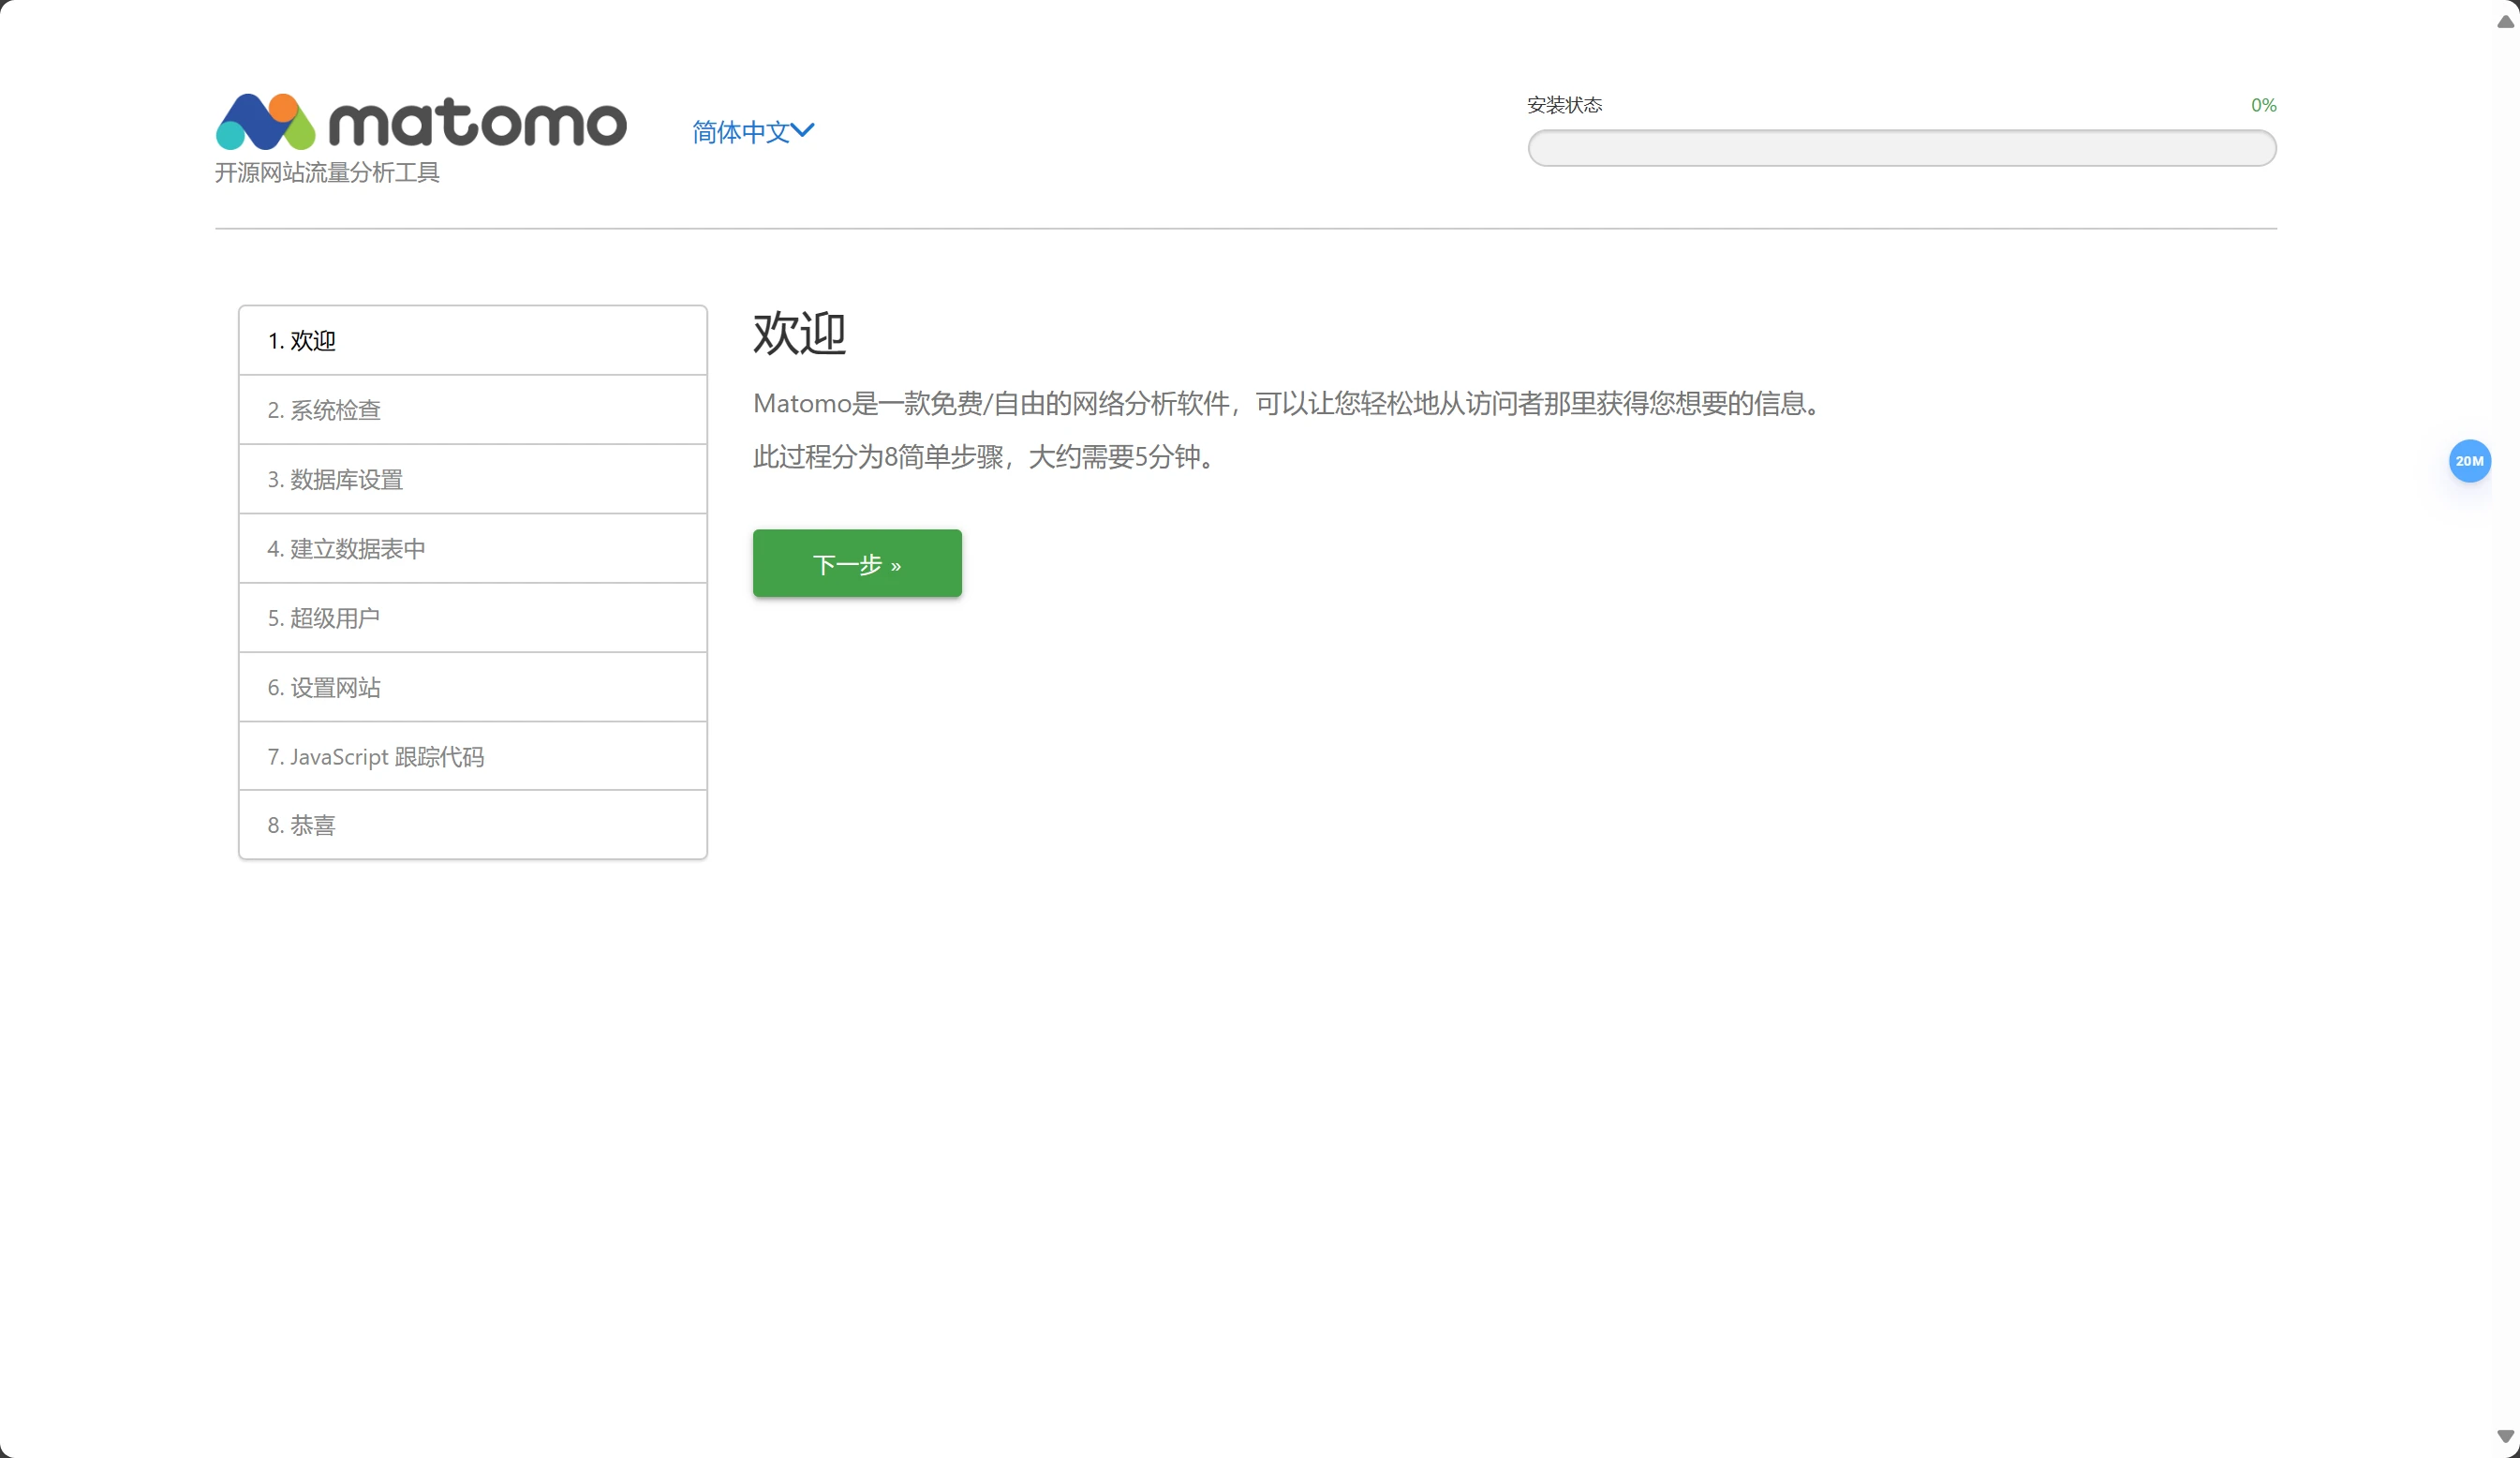
Caddy will automatically complete the SSL-related settings; just visit the domain name to enter the installation stage
Comments
Discussion
Be kind and keep the discussion friendly.
Discussion
0 comments