
Step-by-Step Guide to Building a Garnet Docker Image
Repost license
Request authorization before reposting and retain the authorization code, original URL, and go/affiliate links.
Original URL:https://www.geekcorelab.com/post/hand-in-hand-teaching-you-how-to-build-a-garnet-docker-image
The commercial link is an authorized go short link that must stay on the reposted page. It records the source before sending readers to the original article.
If you haven't read the bare-metal deployment guide, it is recommended to read it first
[postsbox post_id="19337"]
Prepare the Server
First, it is recommended to use a device with a relatively clean environment for the build to avoid any weird issues
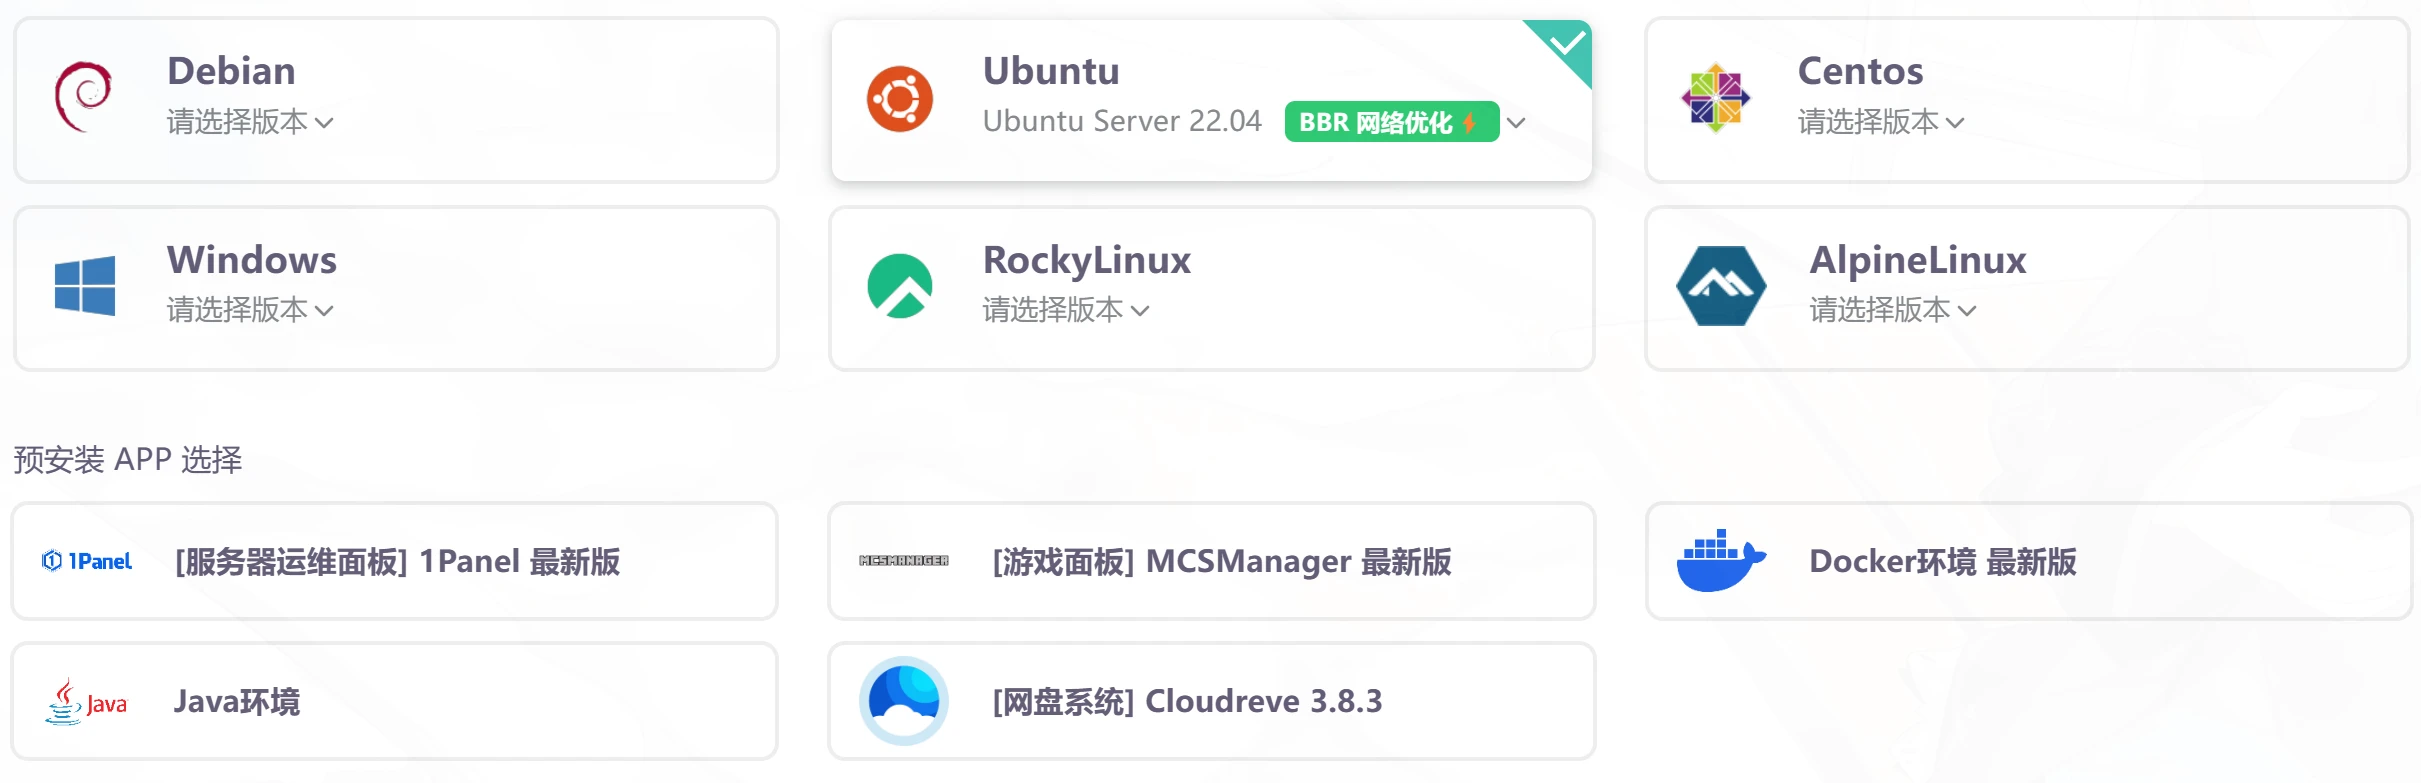
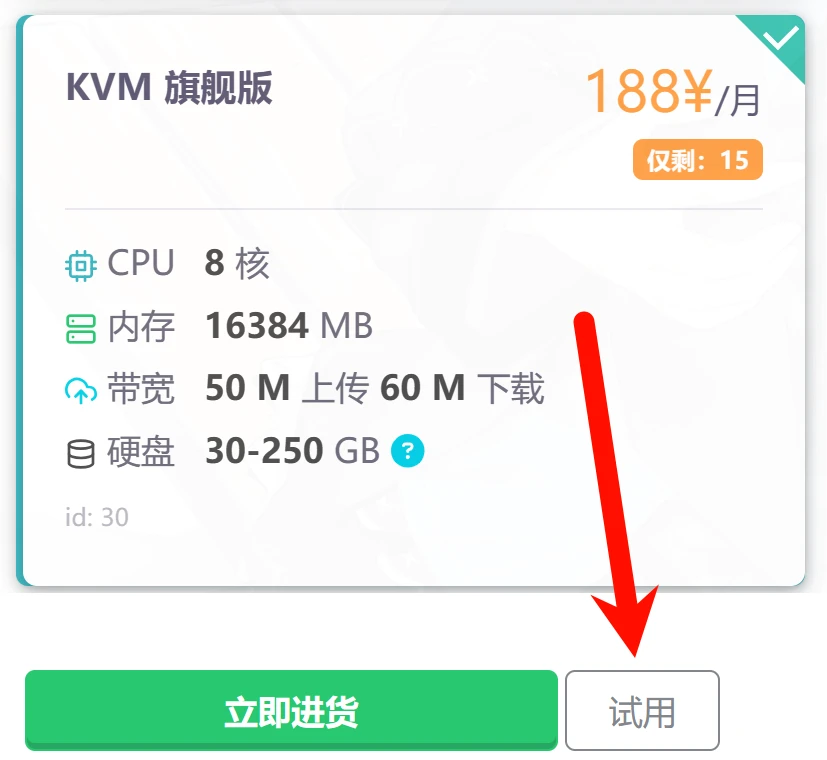
Here, we take the 1-yuan trial machine from 雨云 as an example, and fully demonstrate the Docker installation, so no APP is pre-installed, and the system uses Ubuntu 22.04
When purchasing, do not click Pay Now; click Trial on the right to get a 1-yuan 1-day trial
After purchasing the trial machine, connect directly using SSH software. First, we need to install Docker
Install Docker
First, add the Docker repository
# Add Docker's official GPG key:
sudo apt-get update
sudo apt-get install ca-certificates curl
sudo install -m 0755 -d /etc/apt/keyrings
sudo curl -fsSL https://download.docker.com/linux/ubuntu/gpg -o /etc/apt/keyrings/docker.asc
sudo chmod a+r /etc/apt/keyrings/docker.asc

# Add the repository to Apt sources:
echo \
  "deb [arch=$(dpkg --print-architecture) signed-by=/etc/apt/keyrings/docker.asc] https://download.docker.com/linux/ubuntu \
  $(. /etc/os-release && echo "$VERSION_CODENAME") stable" | \
  sudo tee /etc/apt/sources.list.d/docker.list > /dev/null
sudo apt-get update
Install the latest version of Docker CE
sudo apt-get install docker-ce docker-ce-cli containerd.io docker-buildx-plugin docker-compose-plugin
For prompts like Do you want to continue? [Y/n], enter y for all and press Enter. For places that ask you to choose or confirm, select OK by default and press Enter directly to complete the installation
Build the Image
First, you need to download the Garnet source code and enter the source code directory
git clone https://github.com/microsoft/garnet.git
cd garnet
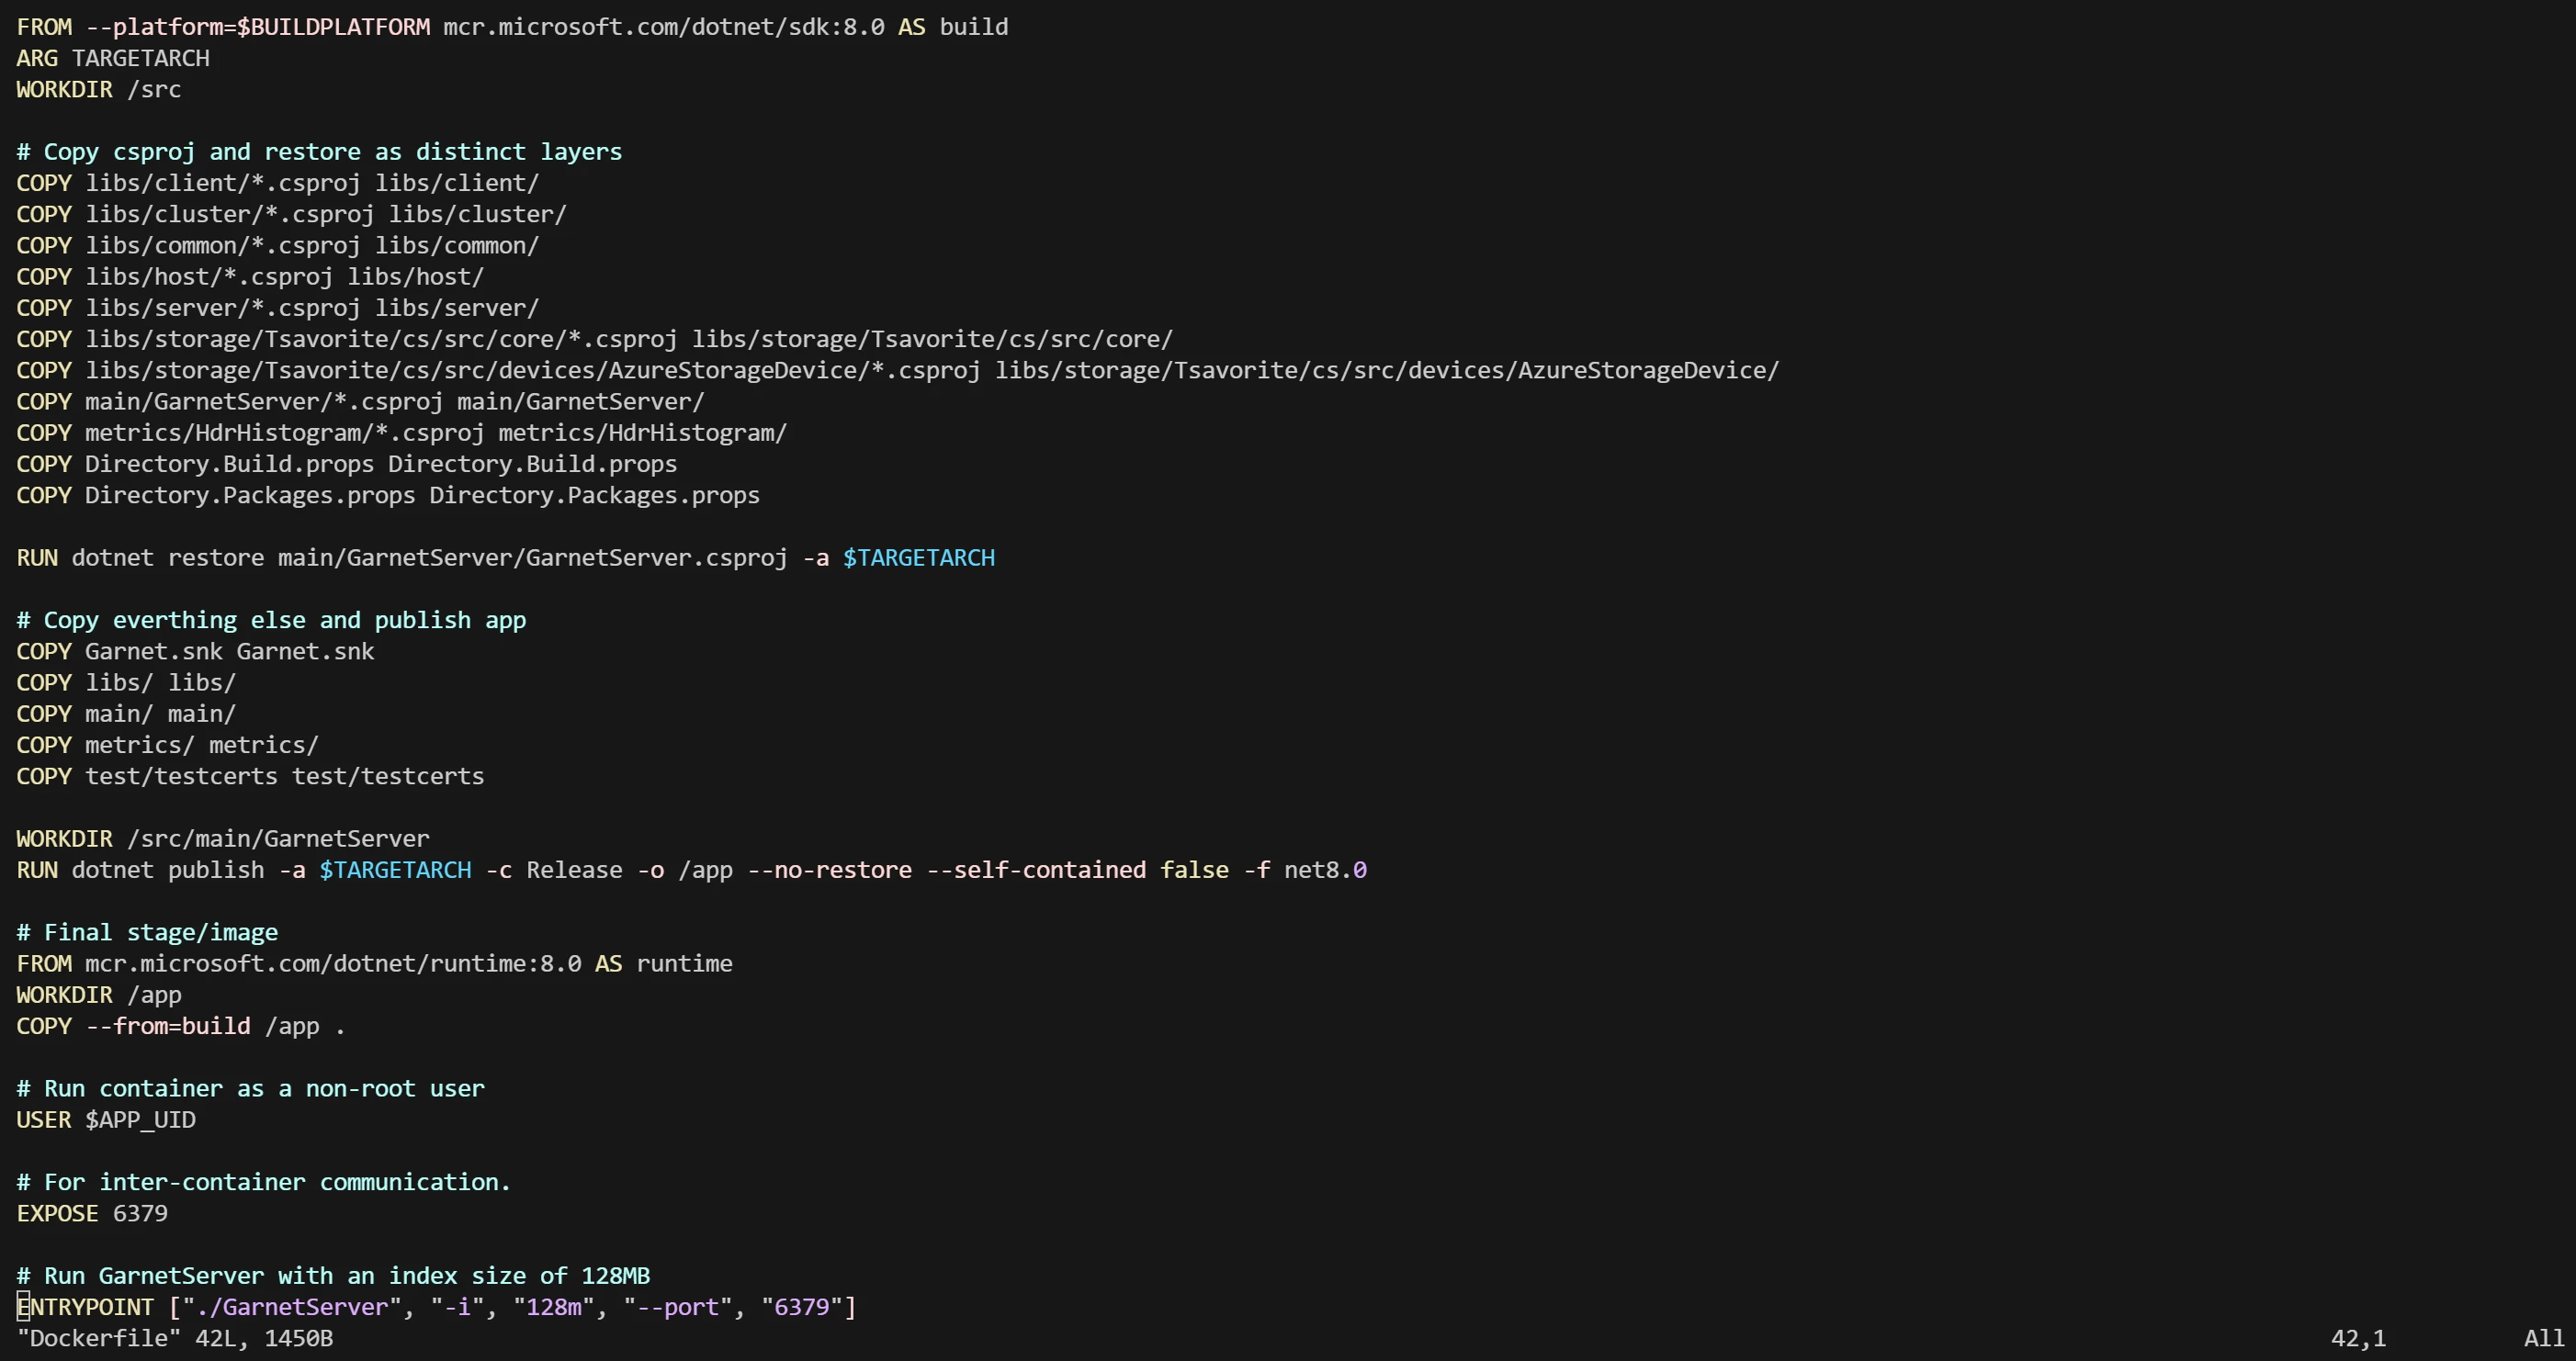
You can edit DockerFile to change some default settings, such as ports, memory limits, etc.
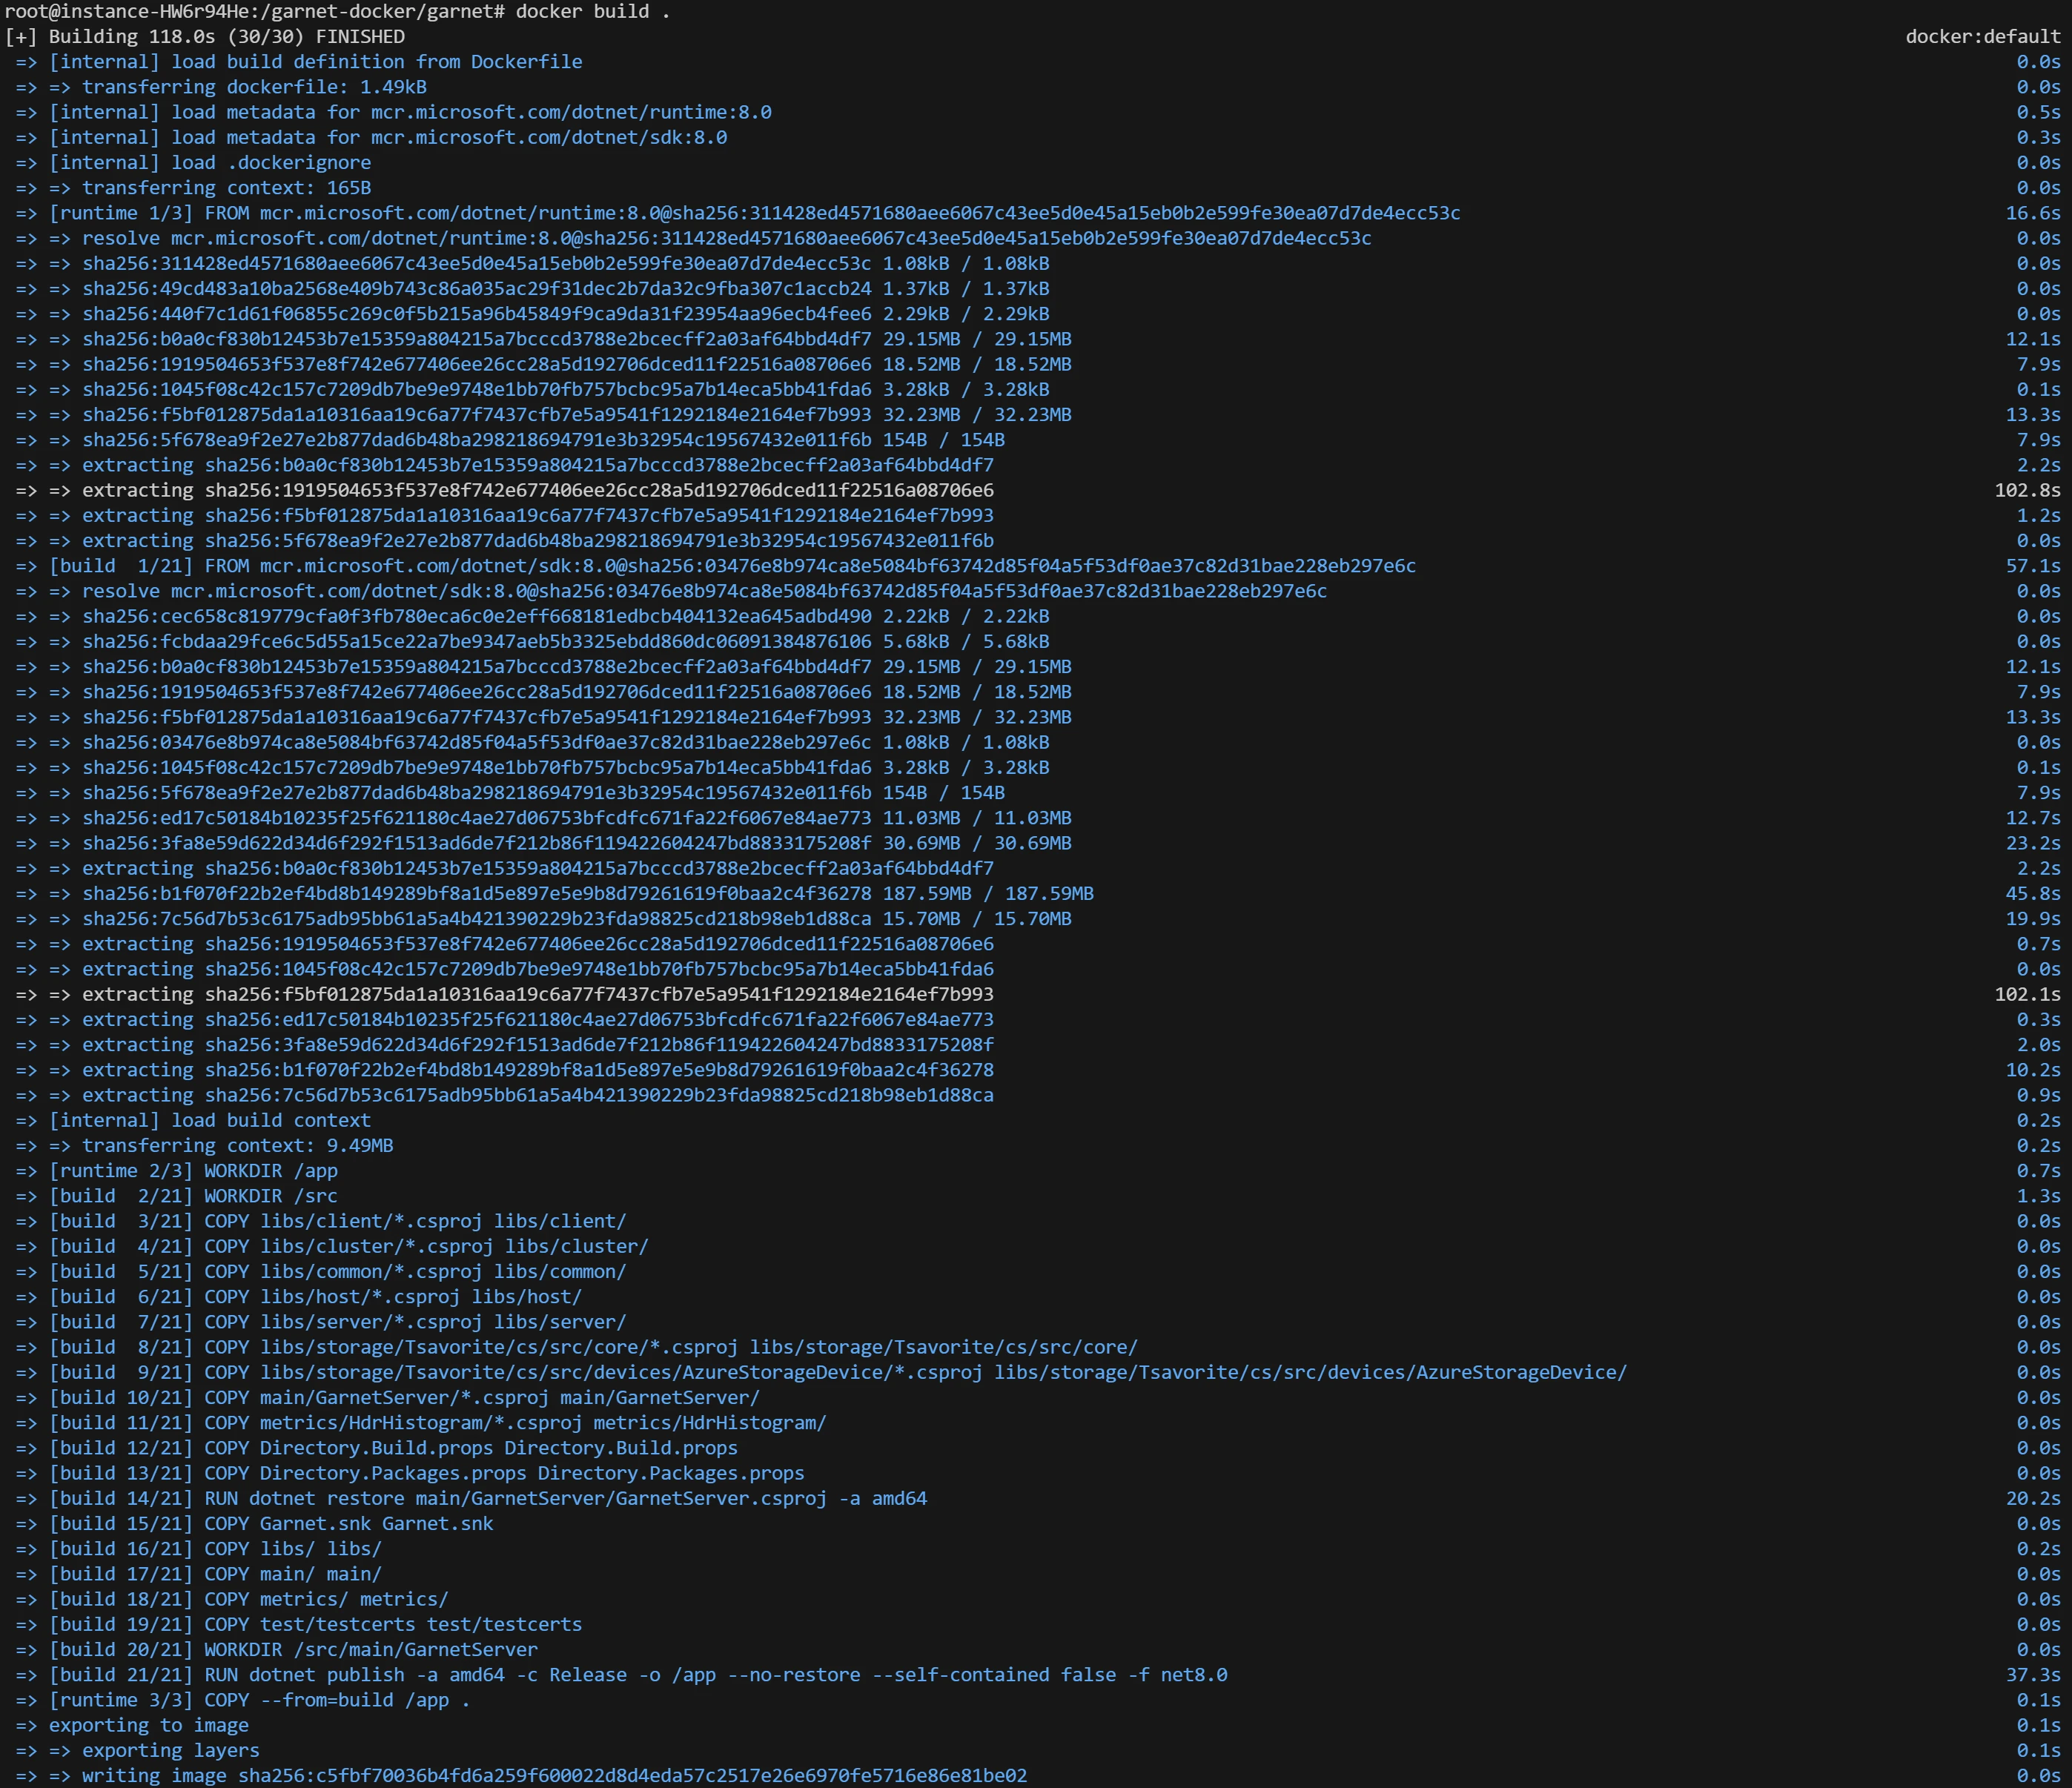
After confirming there are no issues, you can start building the image. There are multiple Dockerfiles in the source code directory; by default, the one without any suffix is used. If you build with Dockerfile.ubuntu, the resulting image will be based on the Ubuntu environment. You can check the details yourself. This tutorial uses the default Dockerfile as an example

docker build .
If you want to use a different Dockerfile, you can do it like this:
docker build ./Dockerfile.ubuntu
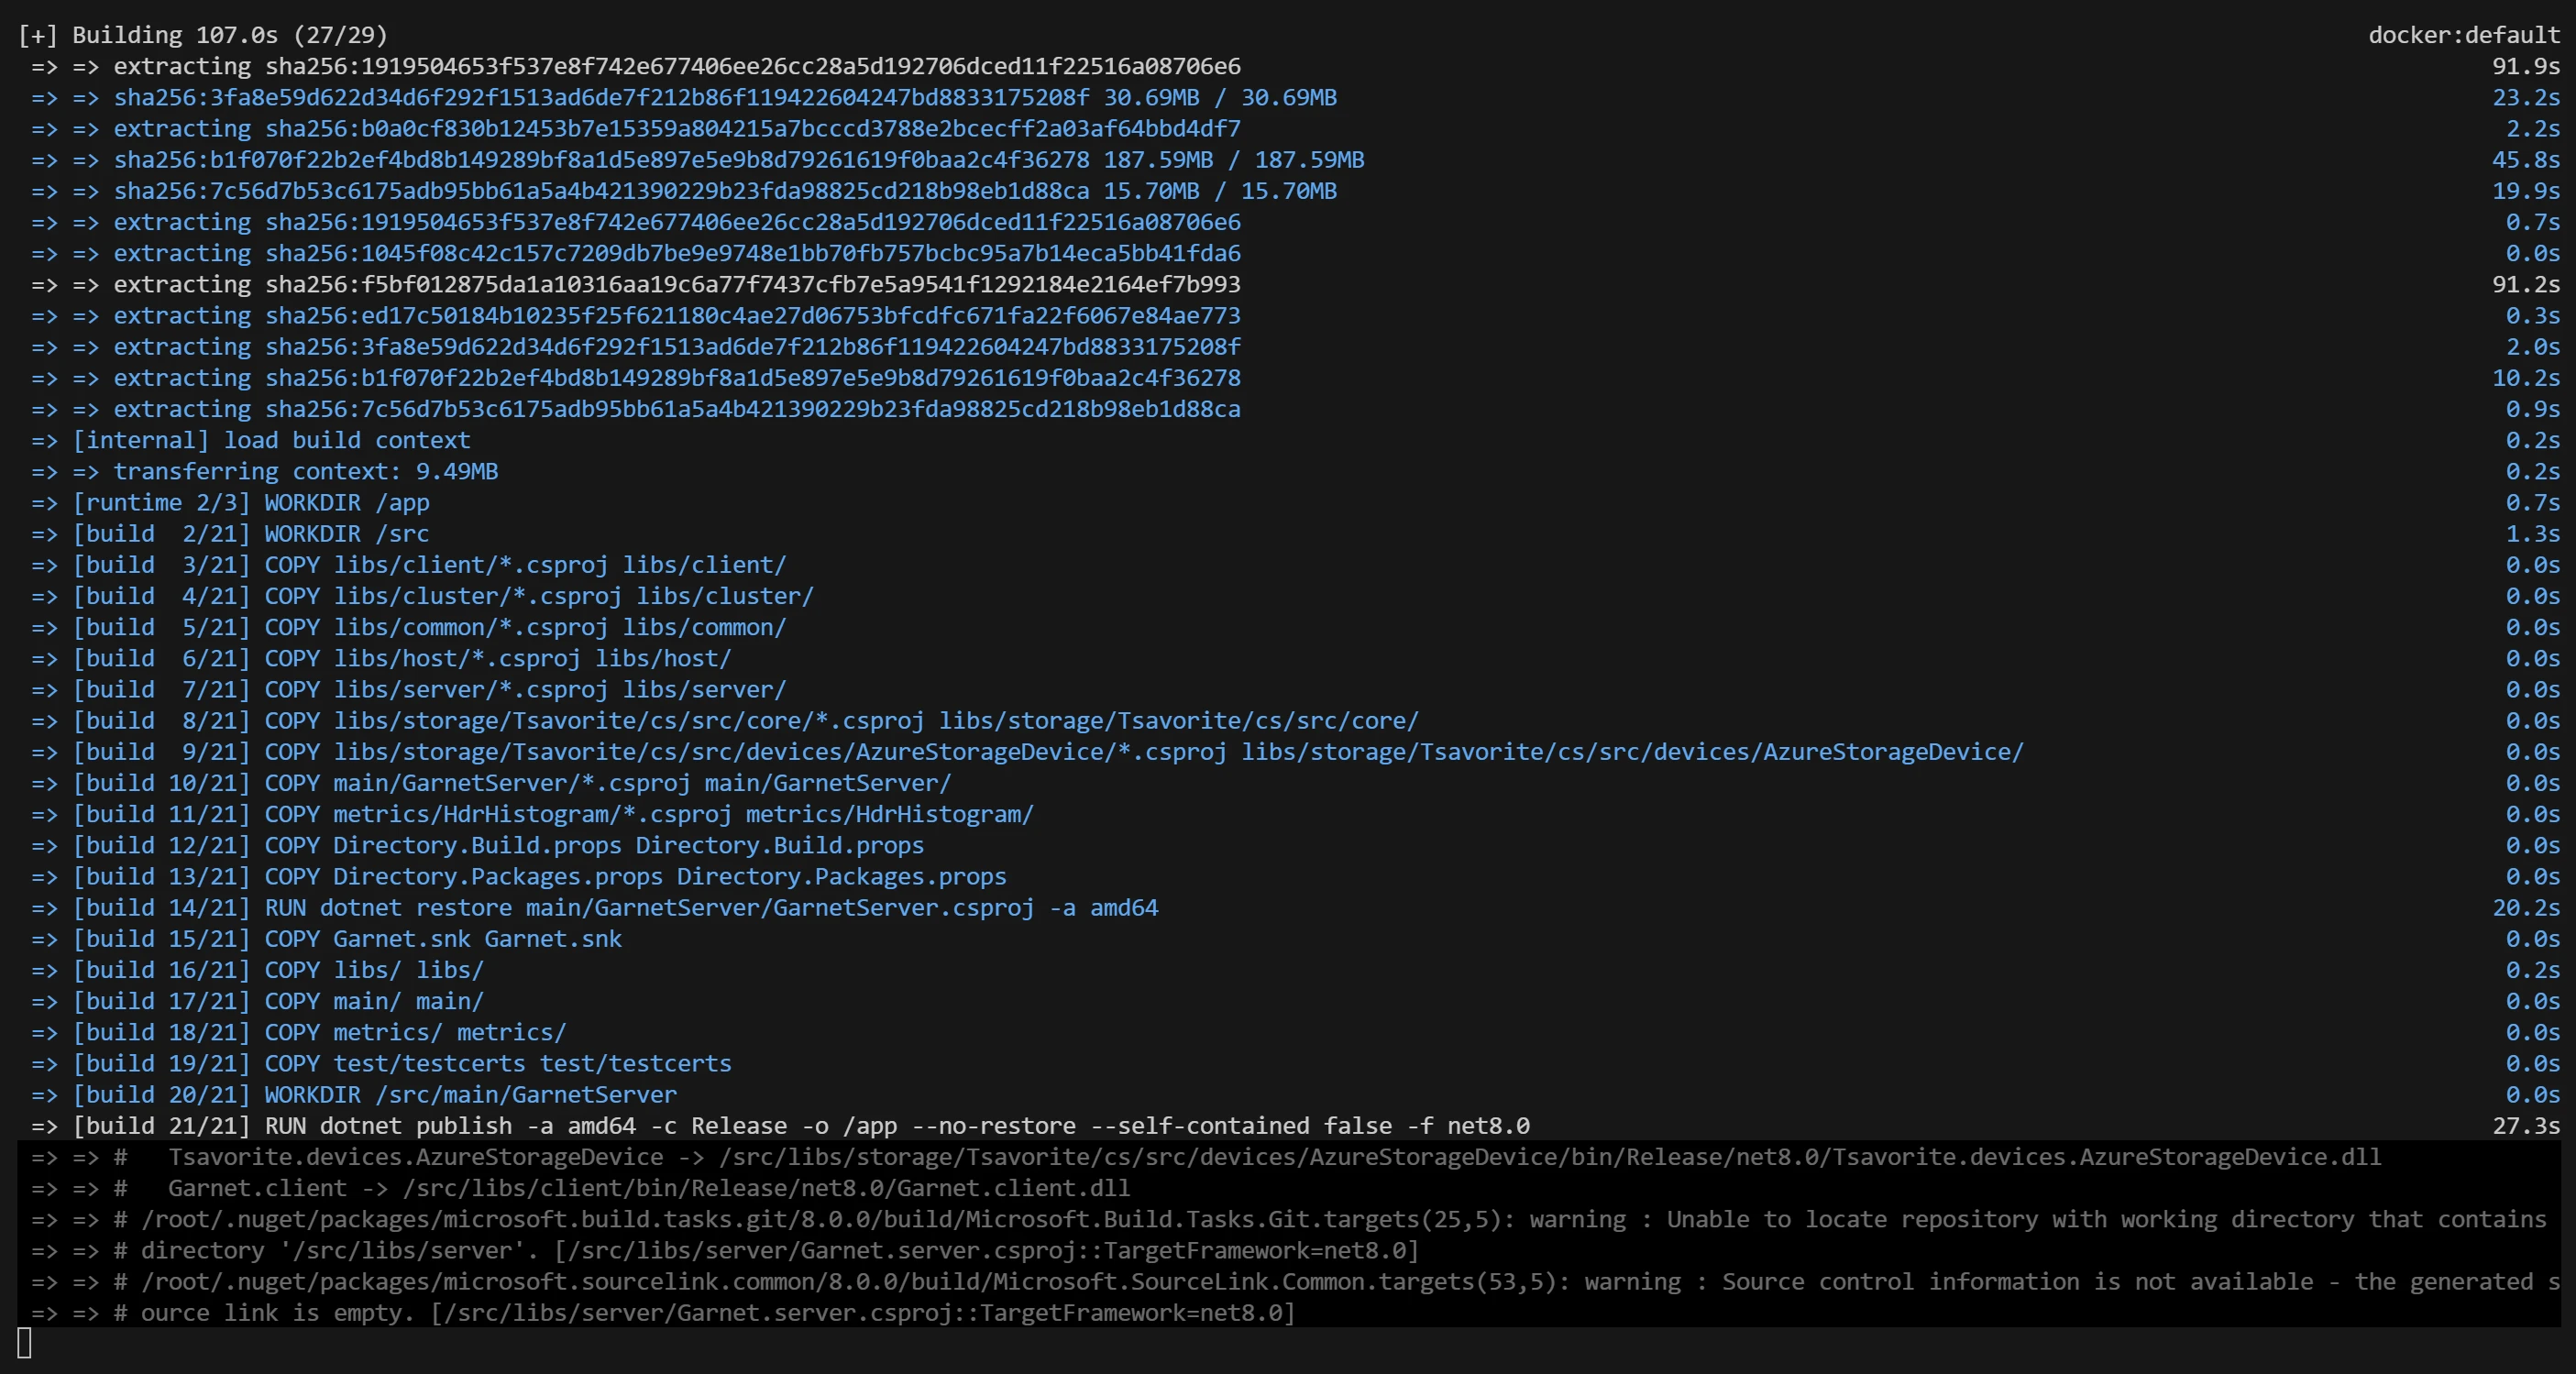
After the build is complete, the process should look like this:
After the build is complete, let's look at the existing Docker images. You can see that SIZE is 206MB, which is a bit larger than the Redis image, but this image does not have any tag or repository, so we need to tag it. Copy the IMAGE ID of this image, which is
c5fbf70036b4

docker tag c5fbf70036b4 garnet
Now you can see that the tag is latest. If you want to specify a version, you can add a colon and the version after garnet when executing the tag command, for example
docker tag c5fbf70036b4 garnet:1.0.0
After that, we can run this container. According to the definition of ENTRYPOINT in DockerFile, this container will run on the same port 6379 as Redis by default. To avoid port conflict with an already deployed Redis container, we use Docker Compose to deploy the container and map port 6379 from inside the container

version: '3'
networks:
    monitor:
        driver: bridge
services:
    garnet:
        image: garnet
        container_name: garnet
        hostname: garnet
        restart: always
        # 可以直接在启动的命令行里传参,也可基于配置文件传参
        command: --memory 4g --auth Password --password 123456 --port 6379
        ports:
            - "6379:6379"
        networks:
            - monitor
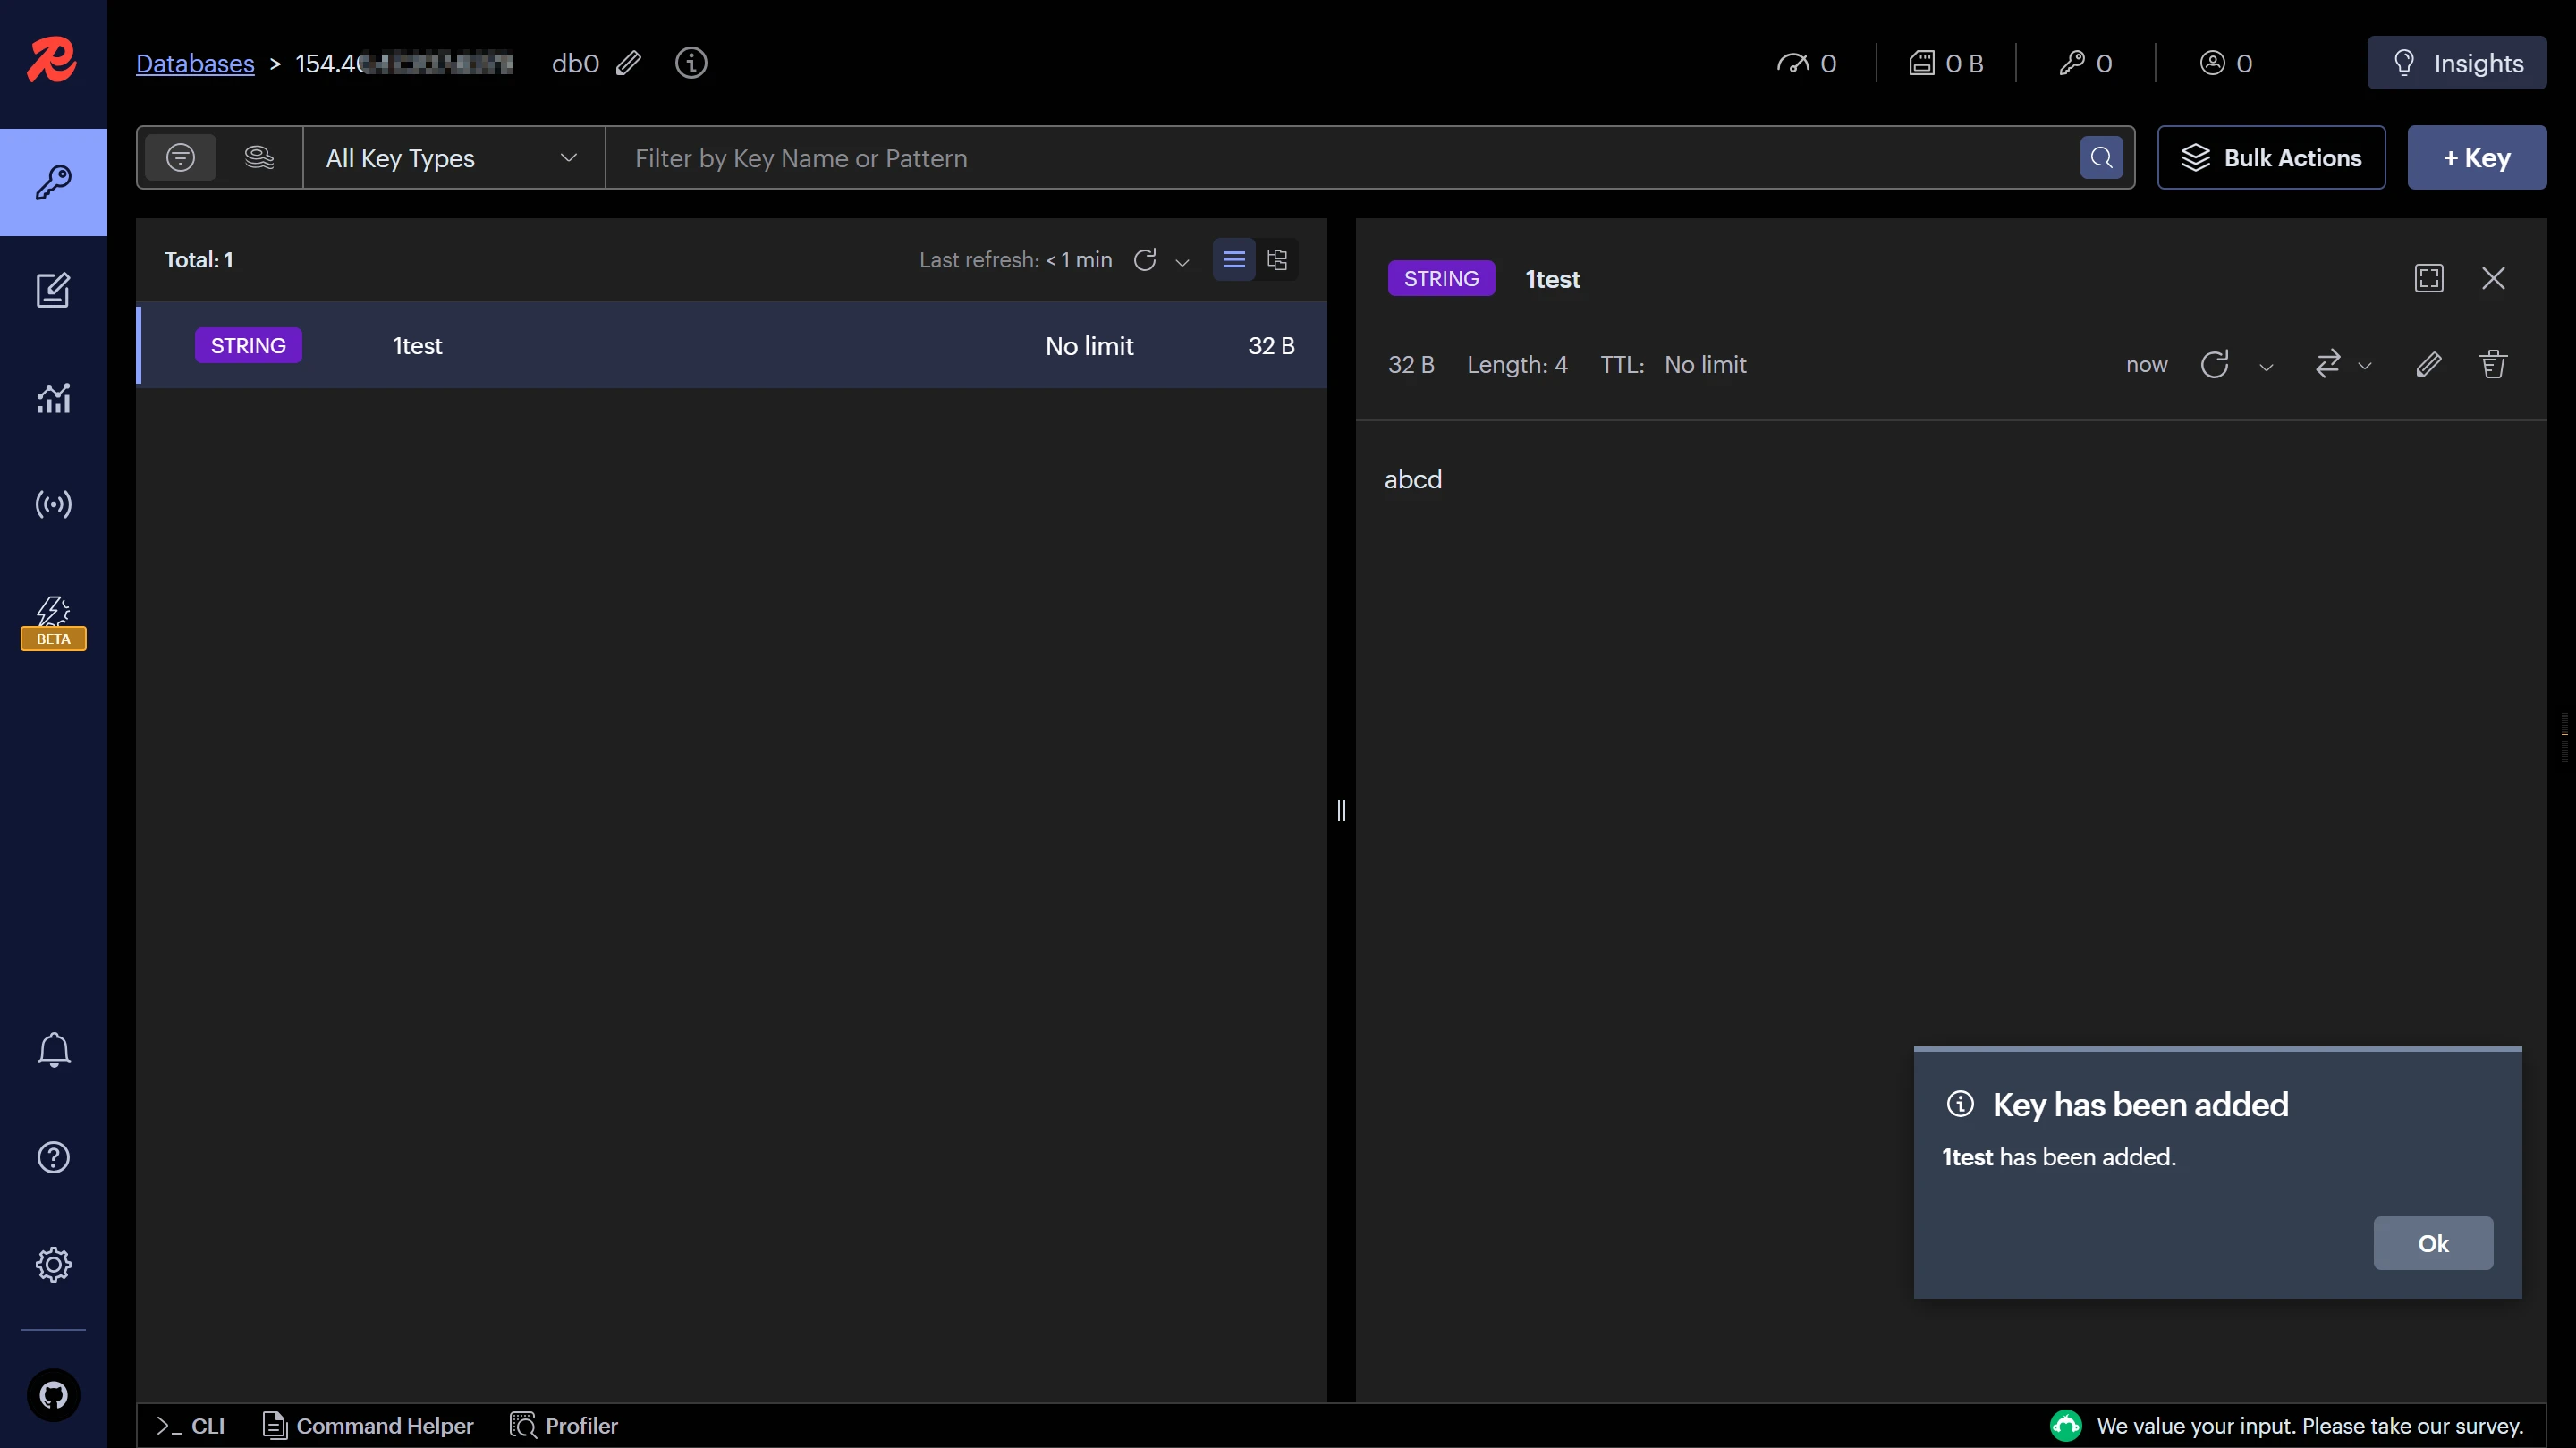
Connect and add a key, success
Comments
Discussion
Be kind and keep the discussion friendly.
Discussion
0 comments