
Build Your Own NAT Traversal with the New 2024 Version of NPS
Repost license
Request authorization before reposting and retain the authorization code, original URL, and go/affiliate links.
Original URL:https://www.geekcorelab.com/post/use-the-2024-new-version-of-nps-to-build-internal-network
The commercial link is an authorized go short link that must stay on the reposted page. It records the source before sending readers to the original article.
The image above shows the original NPS, which has now stopped being updated and has many issues. Fortunately, an expert has taken over its development
The new version of NPS fixes most vulnerabilities and, while remaining compatible with the original NPS, adds more features
Its deployment method is the same as the original NPS
Deployment tutorial
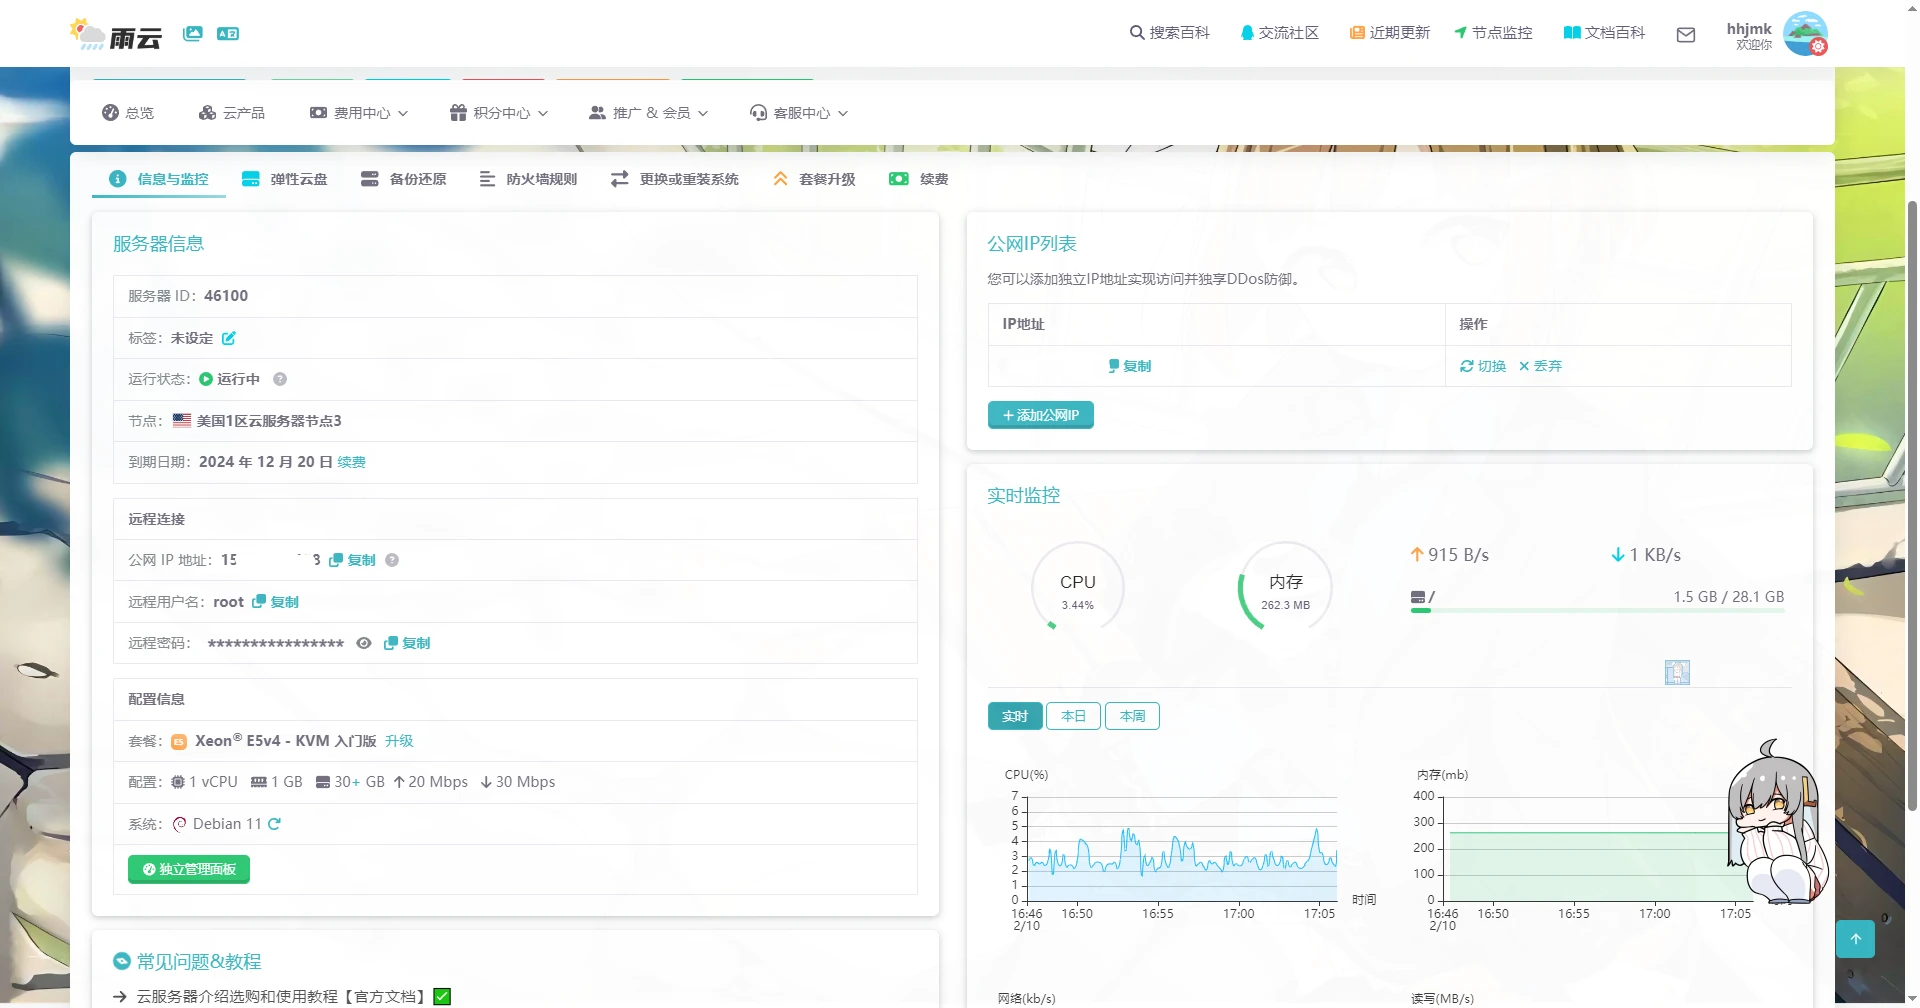
First, you need a server with a public IP. Taking 雨云 as an example, purchasing a 1-core, 1GB US server is sufficient
For the system, just choose the default Debian11+BBR network optimization

It will be created automatically upon purchase. At this point, you can first download NPS and NPC (as needed; if the server can connect to Github normally, there is no need to download NPS; if the client can connect to Github normally, there is no need to download NPC)
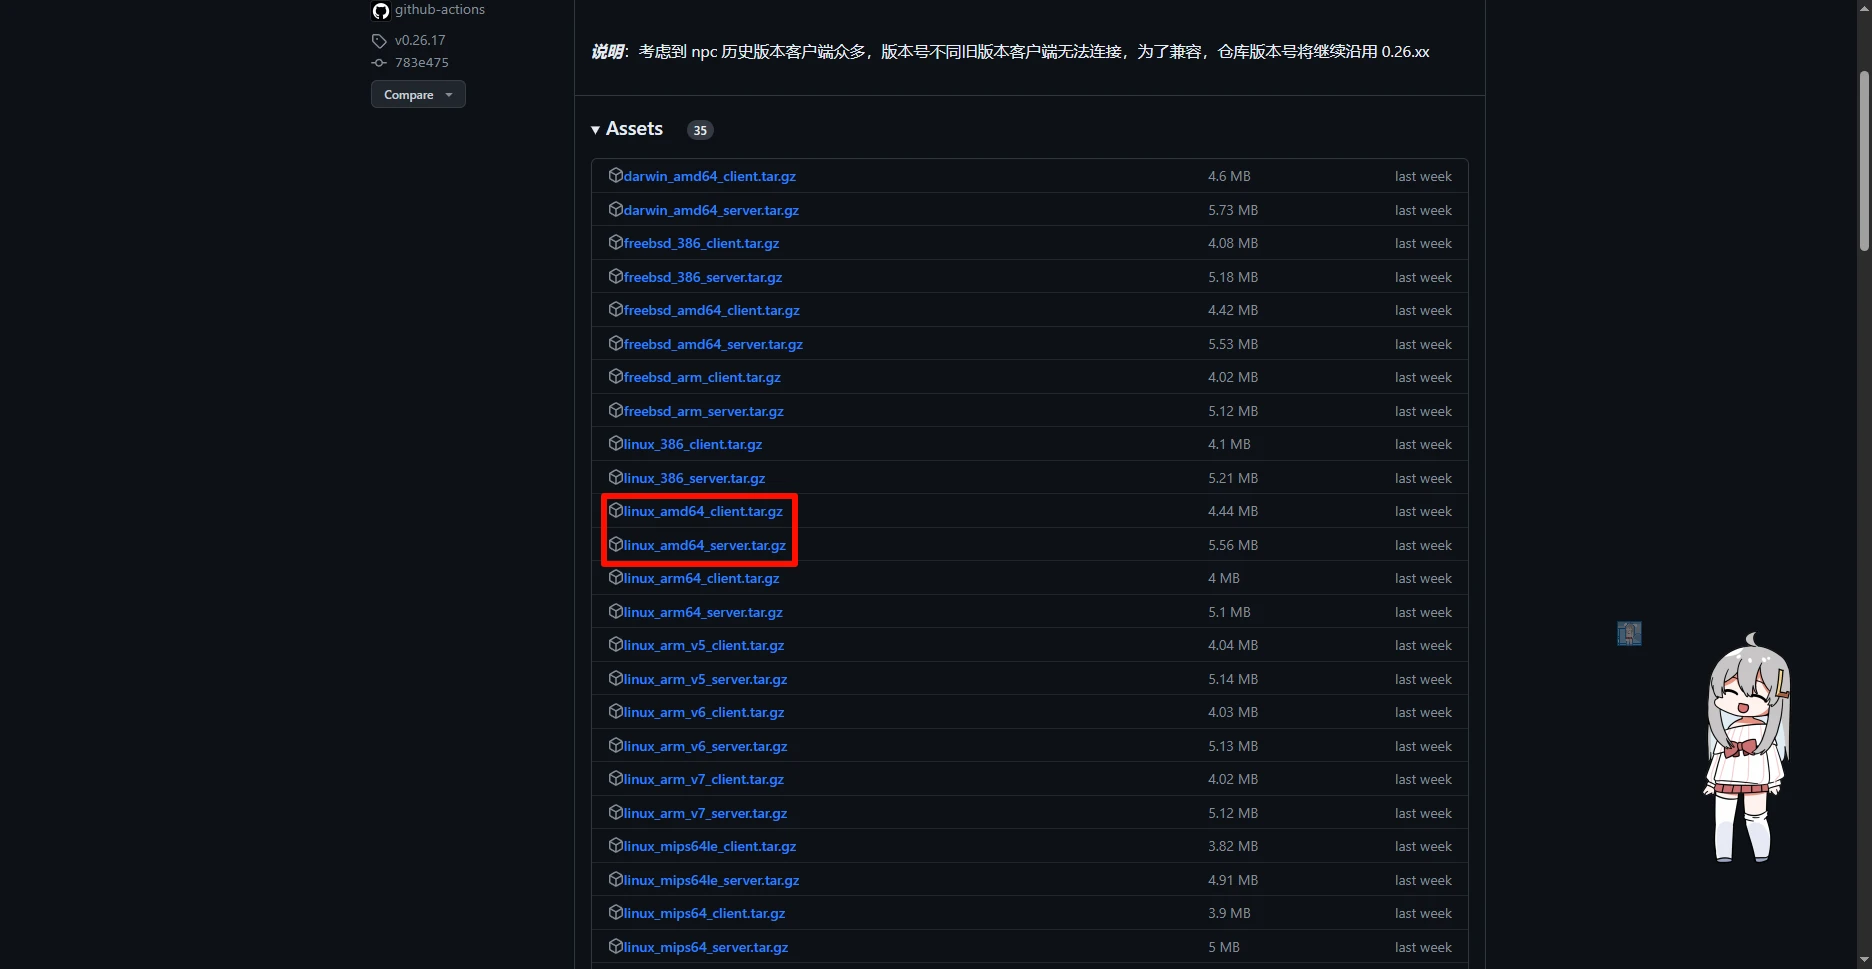
Since both the server and client are Linux, download the Linux 64-bit versions of NPS and NPC here
At this point, the server should have been deployed. Let's use SSH software to connect to the server
If the server can connect to Github normally, just copy the NPS link
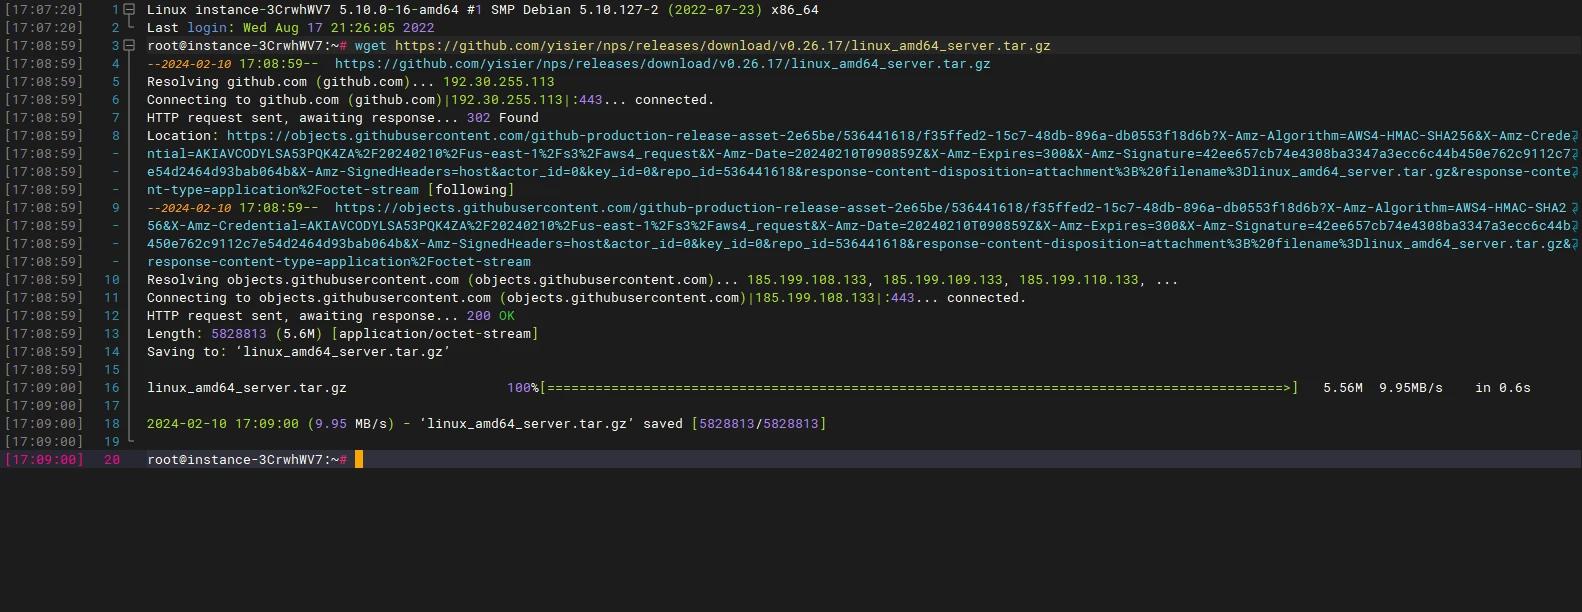
Then use wget to download the file to the server
wget https://github.com/yisier/nps/releases/download/v0.26.17/linux_amd64_server.tar.gz
Extract the file
tar -xvf linux_amd64_server.tar.gz
Install NPS
./nps install
Start NPS
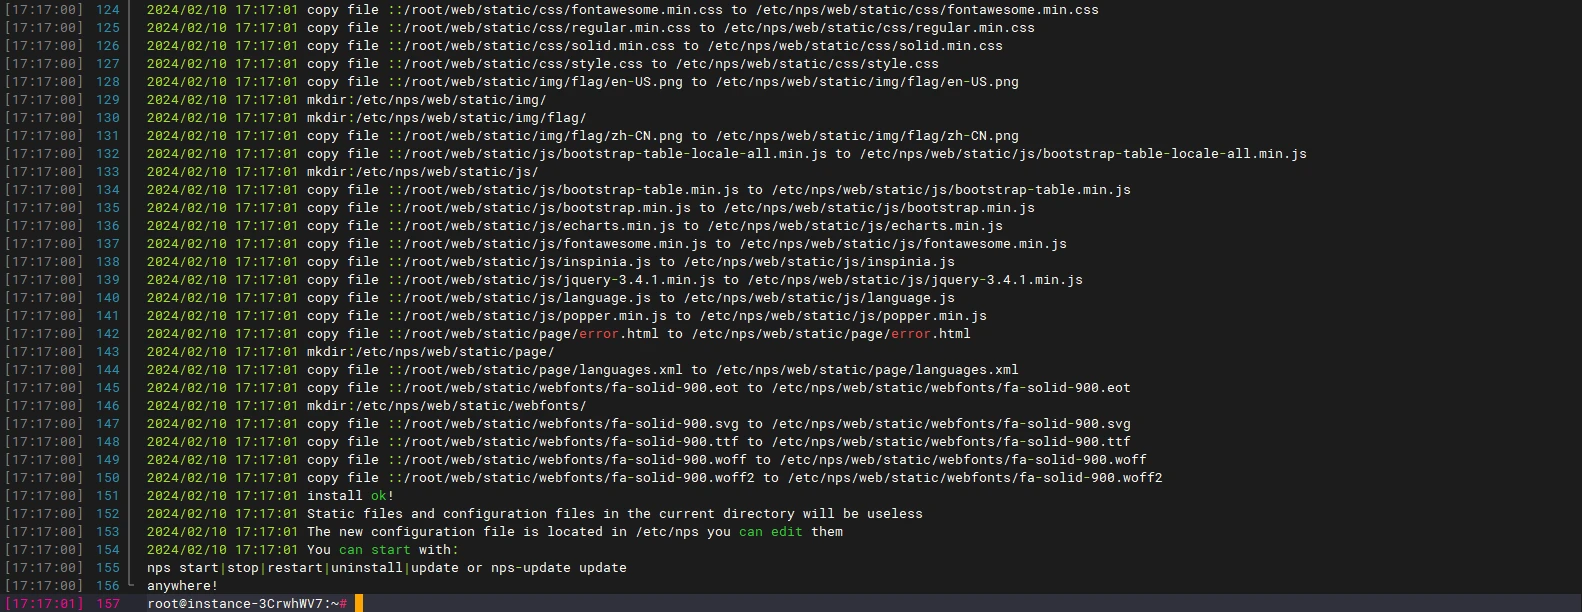
nps start
Modify the NPS configuration file
After installing NPS using the method in this tutorial, the configuration file will be in the /etc/nps directory, with the filename nps.conf
In it, you can set the username, password, listening port, etc.
Access the NPS Web management console
Because iptables does not allow the required ports by default
We need to run the following commands to open the required ports
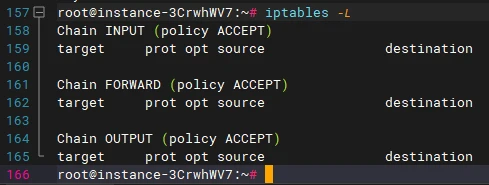
iptables -A INPUT -p tcp --dport 8081 -j ACCEPT #放通8081 web端口
iptables -A INPUT -p tcp --dport 8024 -j ACCEPT #放通8024 客户端连接端口
iptables -A INPUT -p tcp --dport 80 -j ACCEPT #放通80
iptables -A INPUT -p tcp --dport 443 -j ACCEPT #放通443
You can open more ports as needed
Then persist the iptables rules
apt-get install iptables-persistent
Just press Enter all the way through
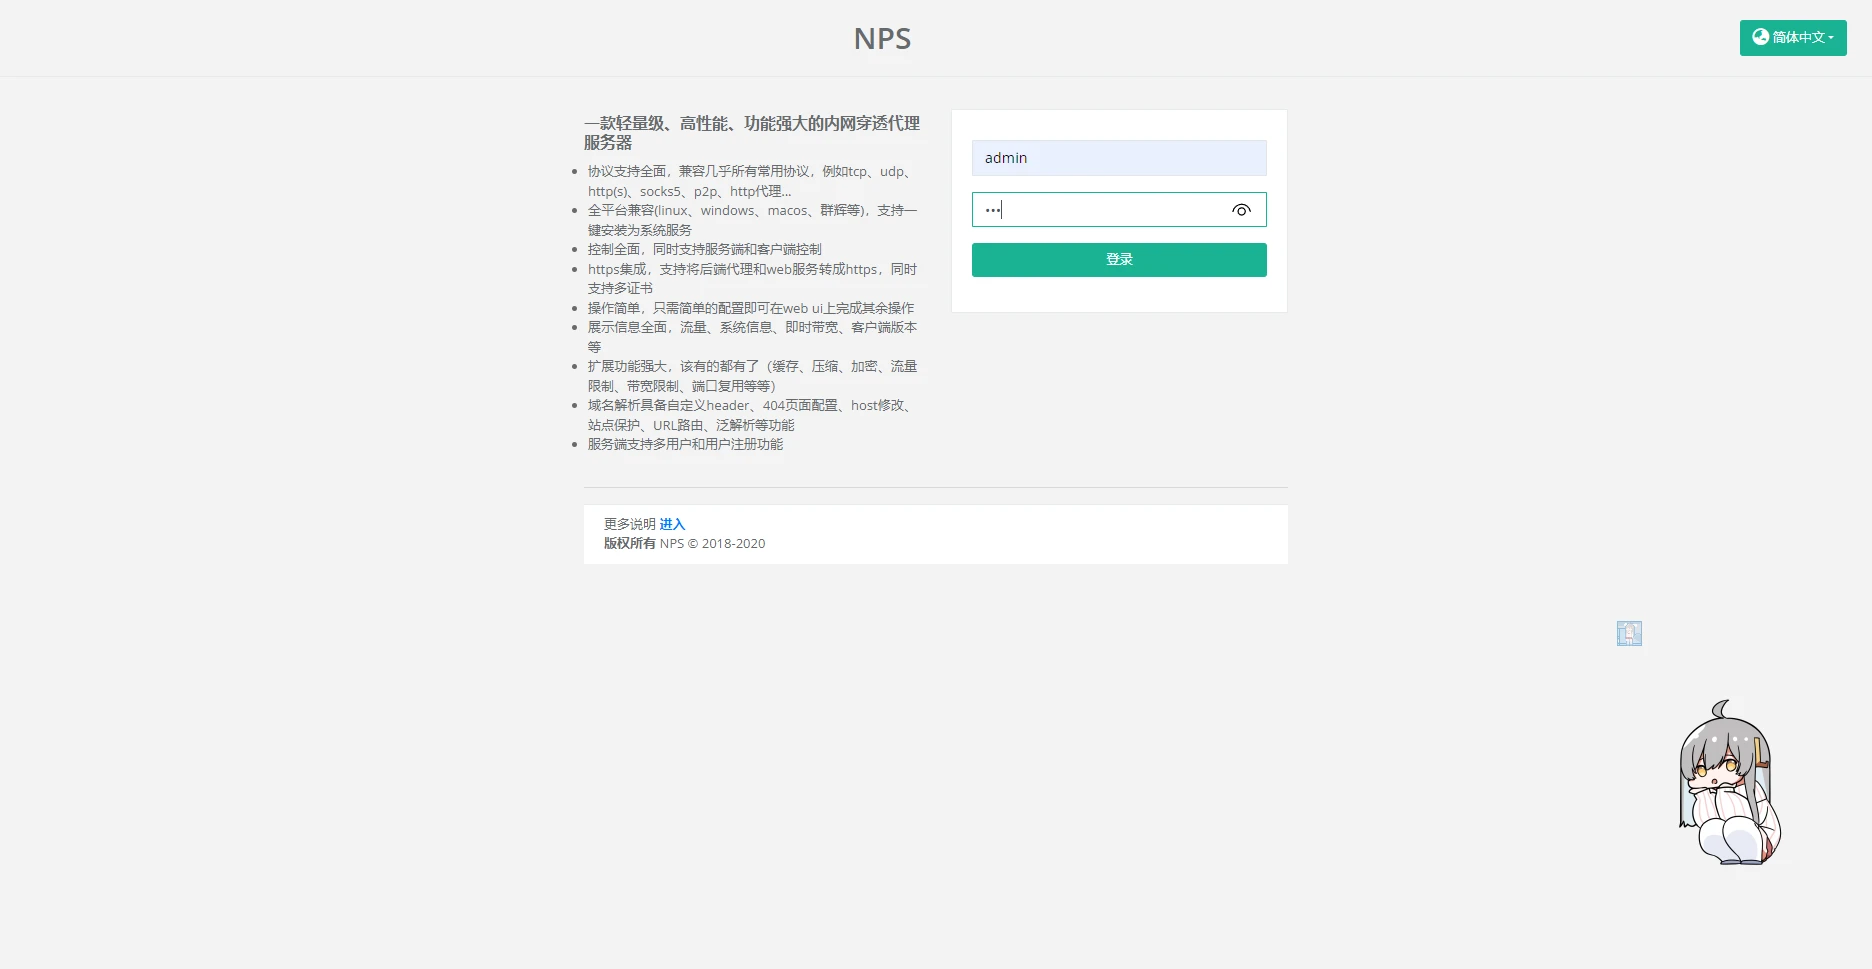
Then log in to the Web management console and open it using your server IP:8081
The default username and password are admin/123
Add a client
After logging in to the Web admin backend, click Client - Add
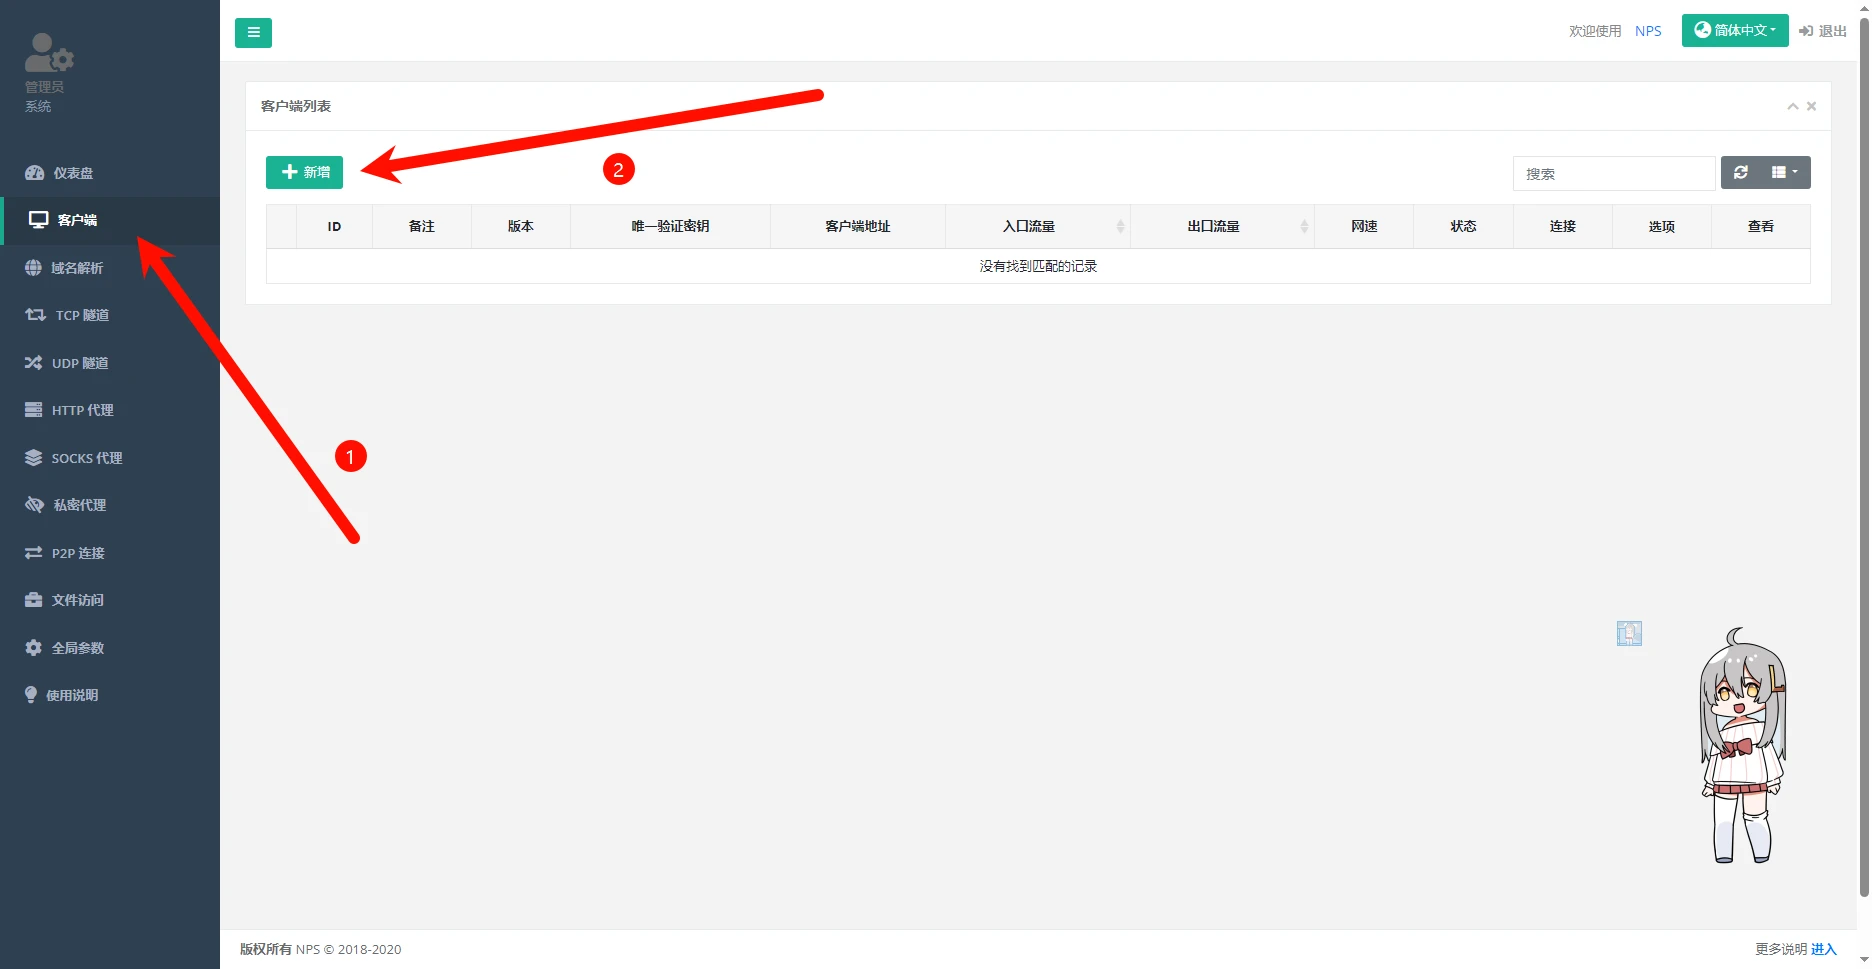
On the new page, scroll to the bottom and click Add
Copy this verification key; it is needed when installing the client
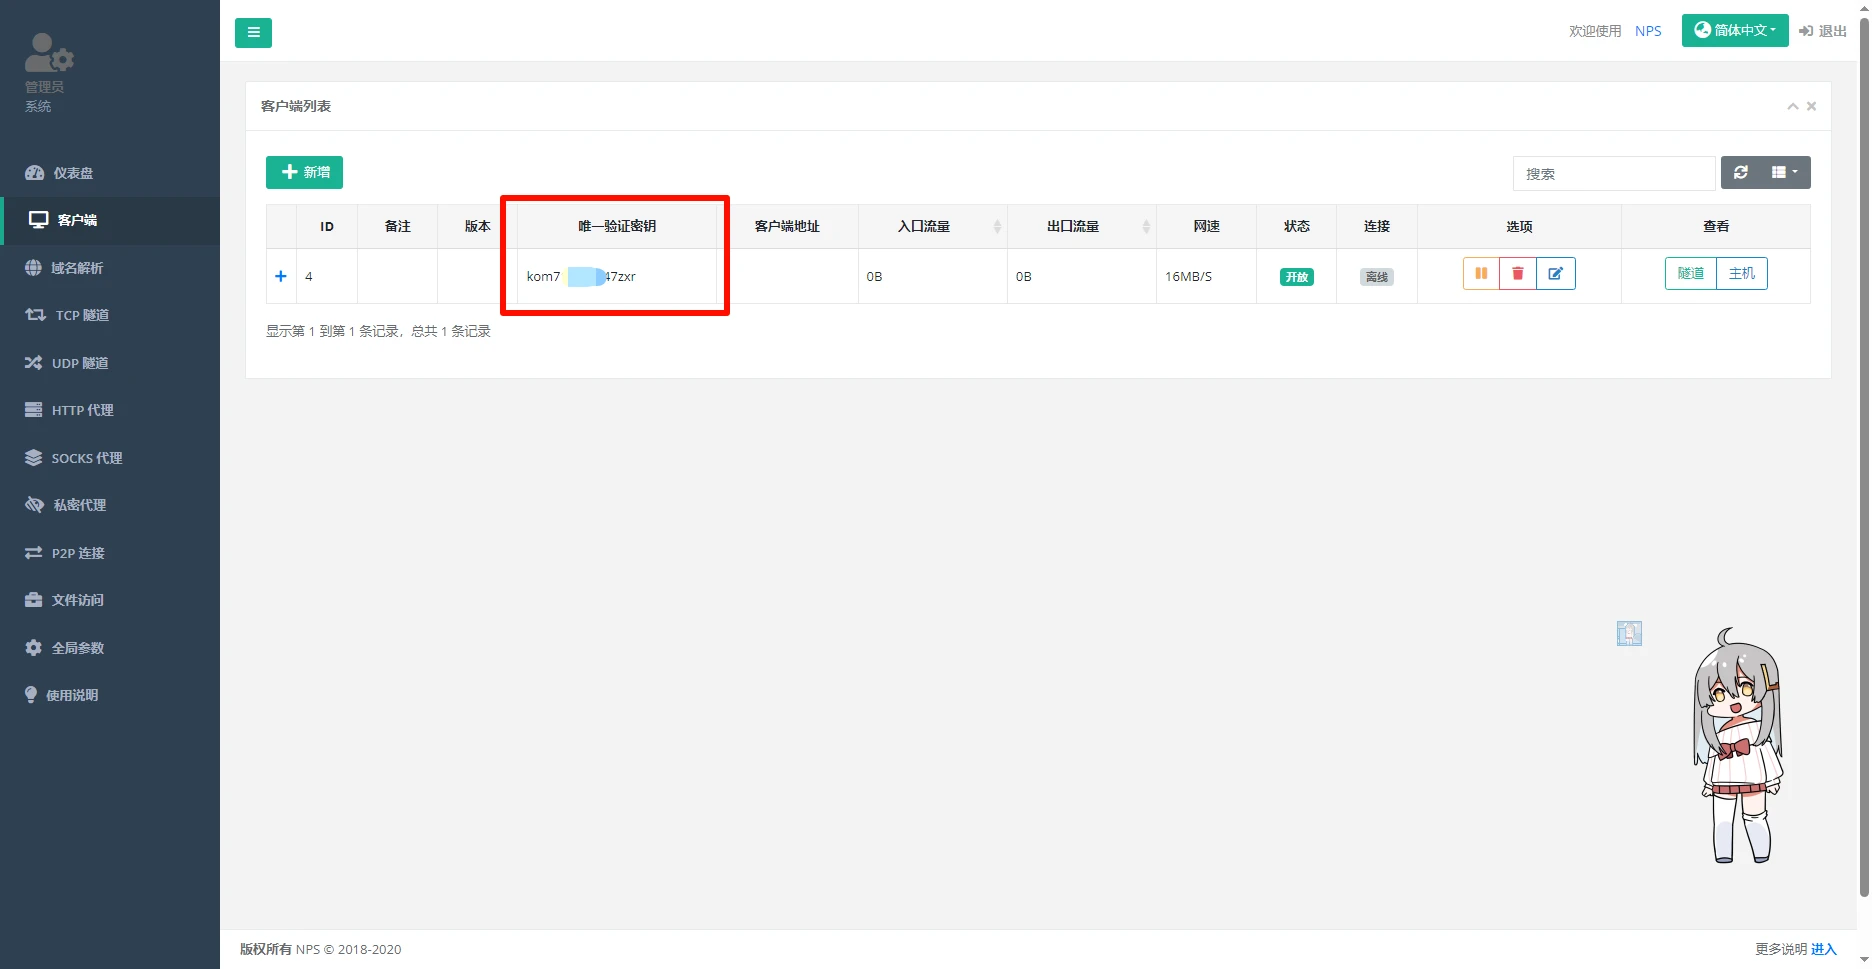
Install the client
Download NPC to the client, then use the following command to install
./npc install -server=服务器IP:8024 -vkey=唯一验证密钥
This command will install NPC on the client. You need to replace the server IP and unique verification key with the actual values
Start the client:
npc start
Then you can see that the client has connected successfully

Comments
Discussion
Be kind and keep the discussion friendly.
Discussion
0 comments