
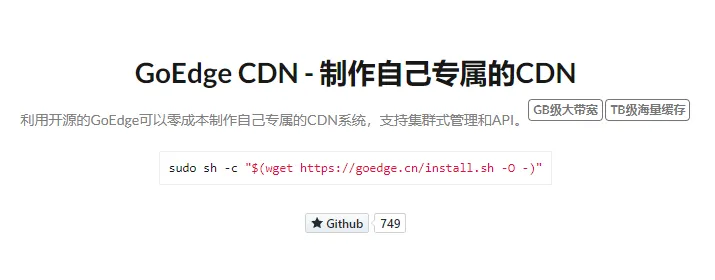
Self-hosted CDN Tutorial
Repost license
Request authorization before reposting and retain the authorization code, original URL, and go/affiliate links.
Original URL:https://www.geekcorelab.com/post/self-built-cdn-tutorial
The commercial link is an authorized go short link that must stay on the reposted page. It records the source before sending readers to the original article.
Choose a Suitable Server
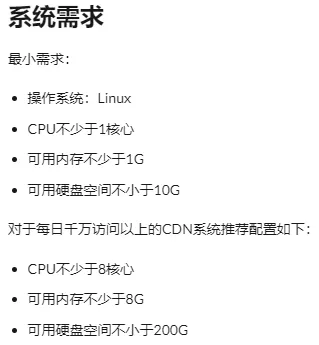
The image above shows the official configuration requirements. Since that's the case, of course we should focus on low cost, so just go to 雨云 and buy a 1c1g server.
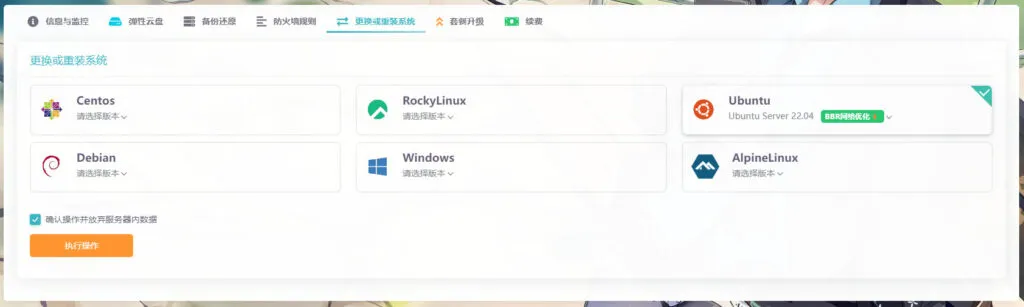
I chose Ubuntu Server 22.04 as the system.
If you didn't pay attention to the system selection when purchasing, you can shut down the server and change the system.
Install the Management Console
Note: Because the management console needs to use MySQL, I recommend installing it on your main server.
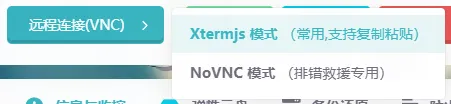
We choose the first option for the VNC connection:
When the window changes to this state (as shown above), switch the input method to English, then enter root and press Enter.
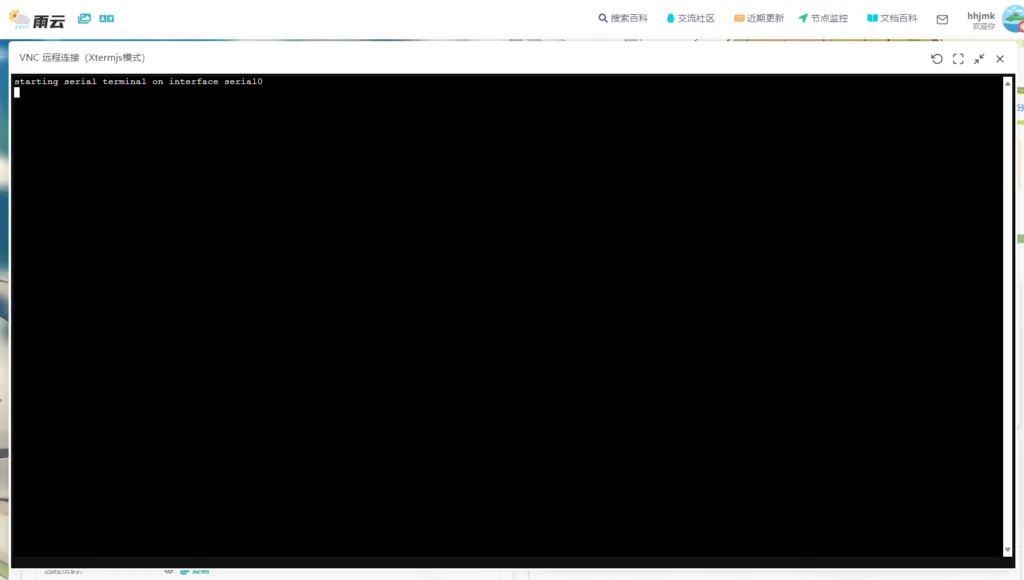
After that, you can hold the title bar of this window and drag the window to one side.
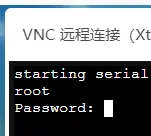
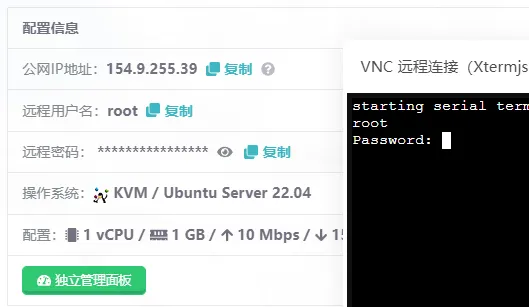
Find the remote password here, click “Copy”, then click inside the black window again and paste using Ctrl+Shift+V.
If the prompt shown in the following image appears, the login is successful.
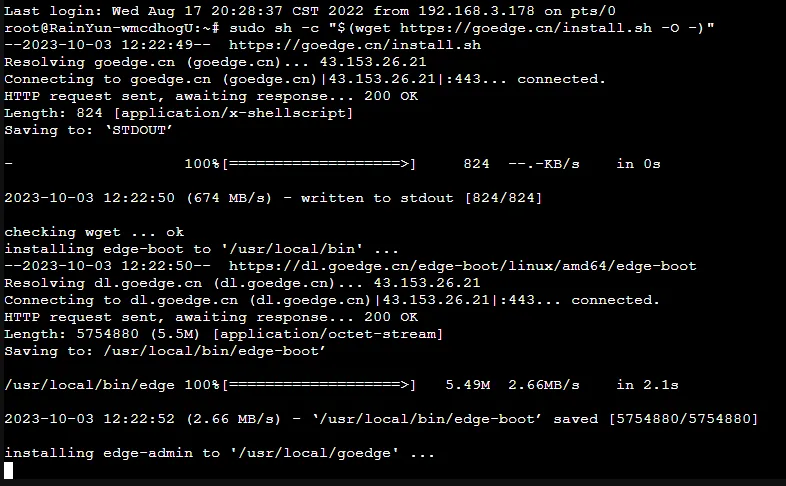
Then enter the installation command and press Enter sudo sh -c "$(wget https://goedge.cn/install.sh -O -)"
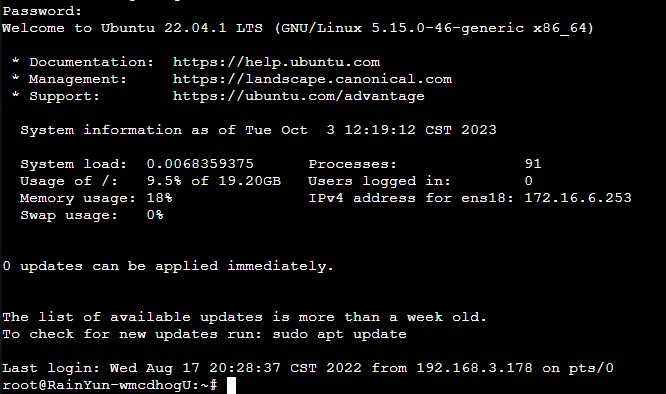
Note: Under Linux, the paste shortcut is Ctrl+Shift+V, but when connecting to the server through the 雨云 console, to copy you need to use the mouse to select the content to copy, then right-click and choose Copy (but actually, the copy shortcut under Linux is Ctrl+Shift+C, and this shortcut conflicts with the browser shortcut).

If similar content appears, it means installation is in progress.
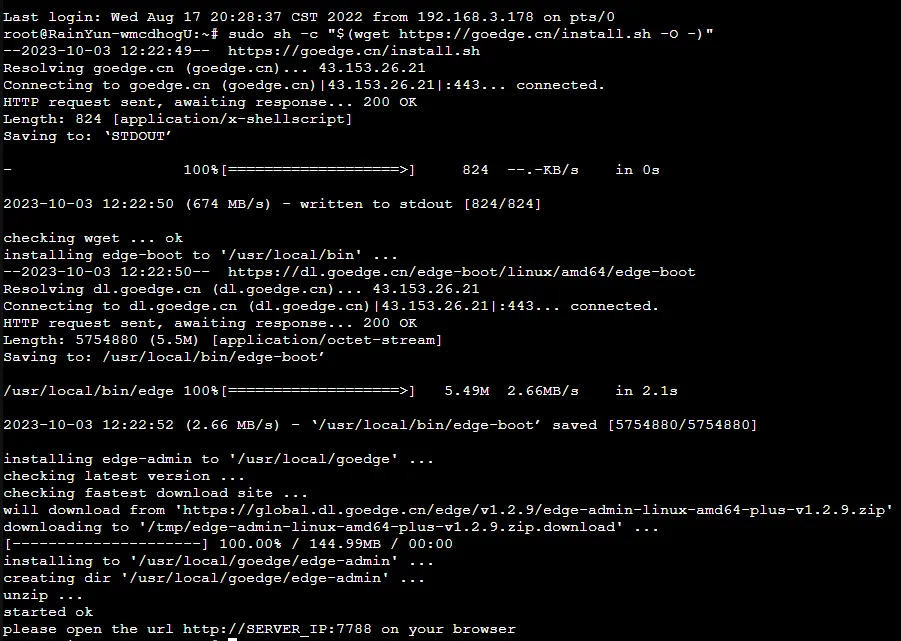
If the keyword please open the url http://SERVER_IP:7788 on your browser appears, the installation is successful.
At this point, copy the server IP.
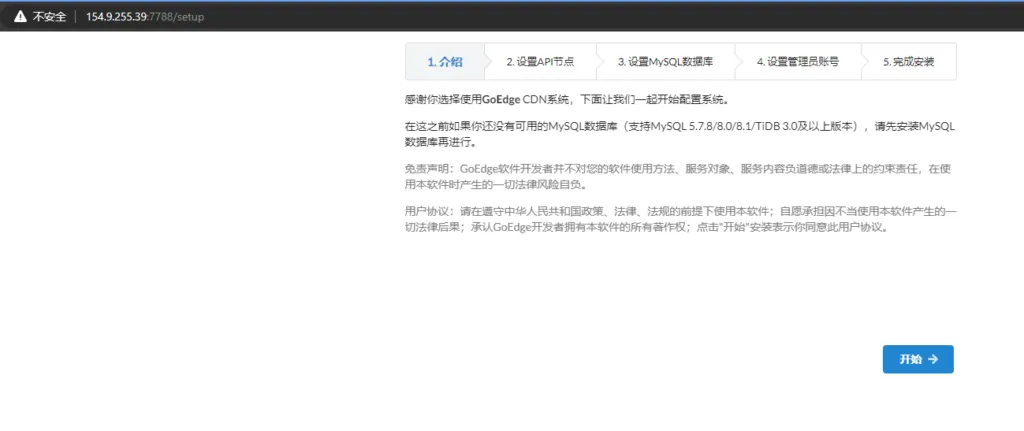
Paste it into the browser address bar and add :7788 at the end.

After pressing Enter, it should redirect to this page.
We just click Start.
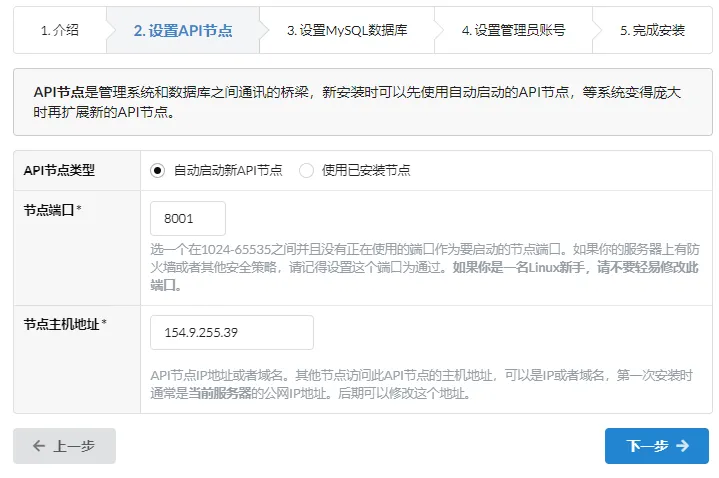
Just click Next. If you are a Linux “expert”, you can change the port; I won't change it here.
Next, you will be prompted to configure the database. This host does not have a database installed yet. It is recommended to install it using docker, which is simple and stable.
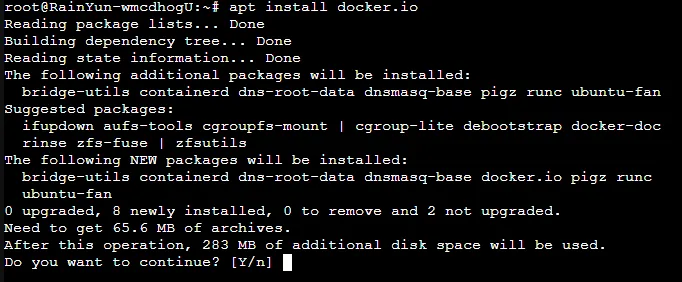
Enter apt install docker.io in the terminal.
That's all.
When this prompt appears, enter y and press Enter.
If this error occurs during installation
You need to first run apt <strong>update</strong>

Then run apt install docker.io -y again.
The difference between having -y and not having -y: whether manual confirmation is required for installation, if there is
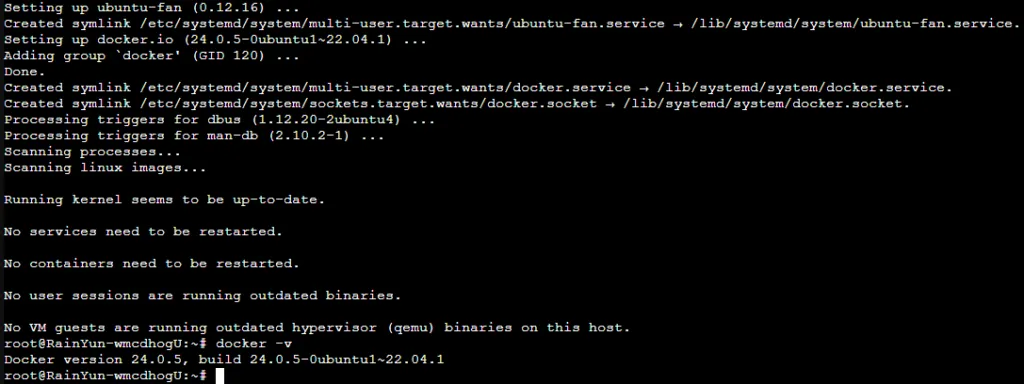
Wait for it to finish installing, then enter docker -v
If the version number is output as shown in the image, the installation is successful.
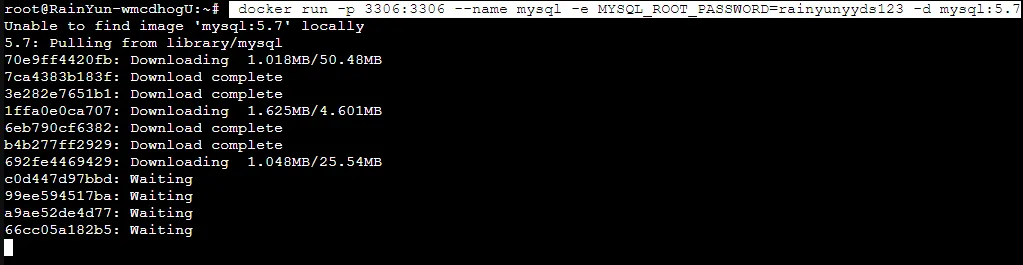
Next, let's install MySQL. This command allows you to change the part after the equals sign in MYSQL_ROOT_PASSWORD=rainyunyyds123; this is the connection password for your MySQL Root userdocker run -p 3306:3306 --name mysql -e MYSQL_ROOT_PASSWORD=rainyunyyds123 -d mysql:5.7
After running this command, wait for the image to be pulled. The speed depends on your server's downstream bandwidth, i.e., the one on the right.

After execution is complete, use docker ps
to view the running containers. If a mysql container is output, it means the installation is successful.
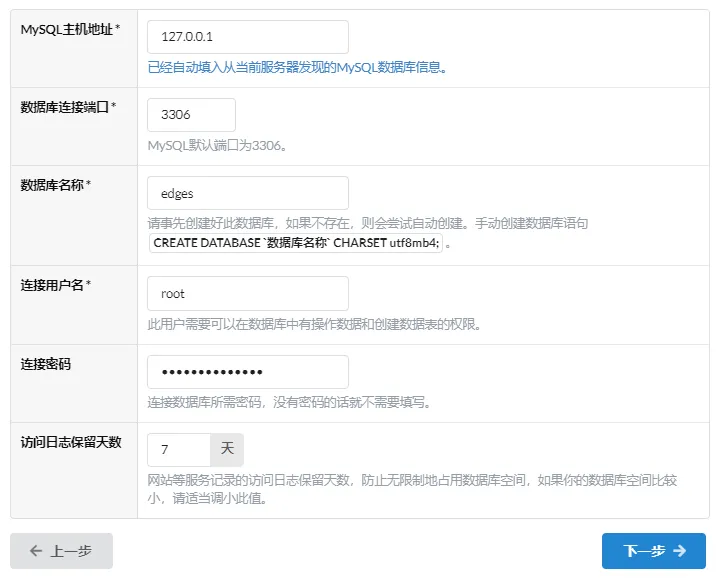
Then return to the CDN deployment page and fill it in as follows (if you changed the MySQL password, enter the password you set).

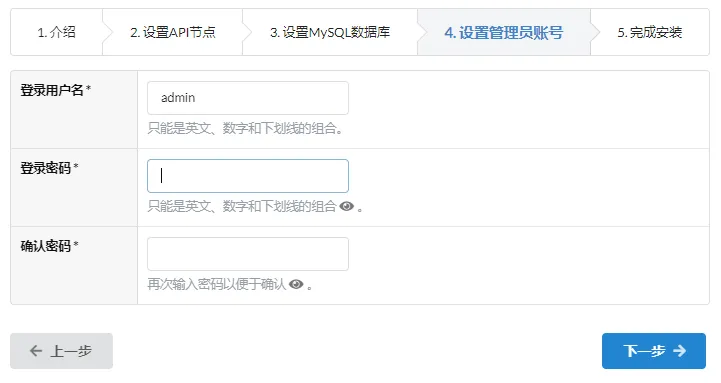
After confirming everything is correct, click Next and enter the administrator username and password to create your administrator account.
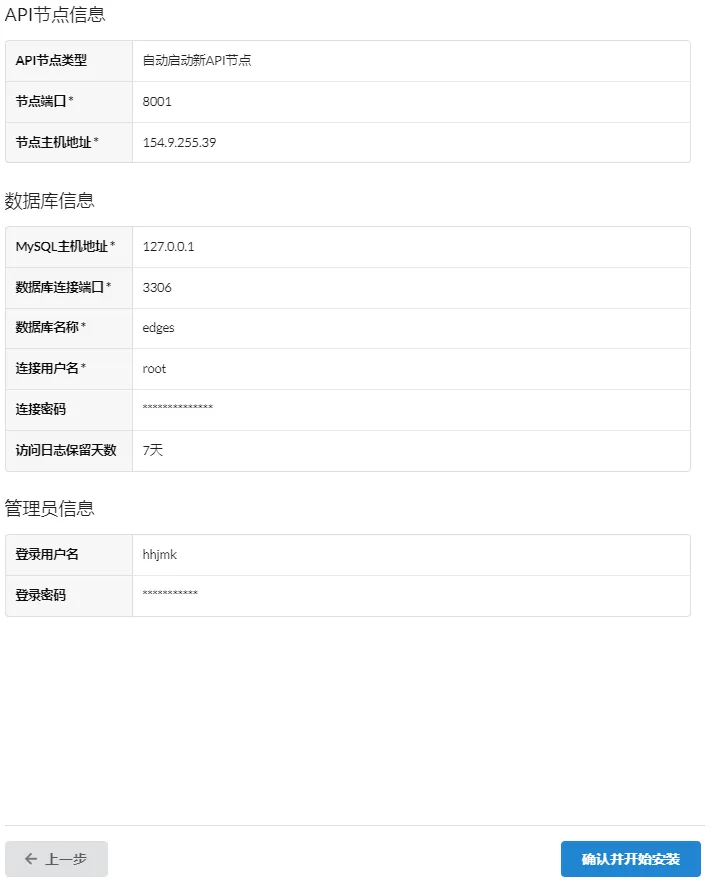
After clicking Next, check whether the information is correct.
Then click “Confirm and Start Installation”
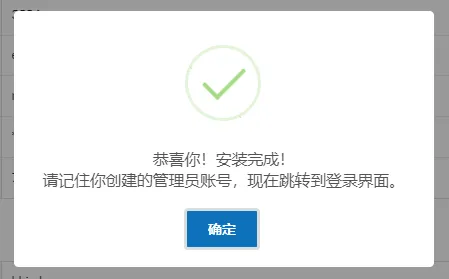
After waiting for a while
Click OK to jump to the login page.
After that, the management console is deployed.
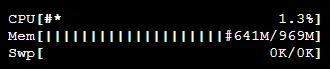
Not bad, we are only using 0.65GB of memory (check with the htop command, press f10 to exit htop).
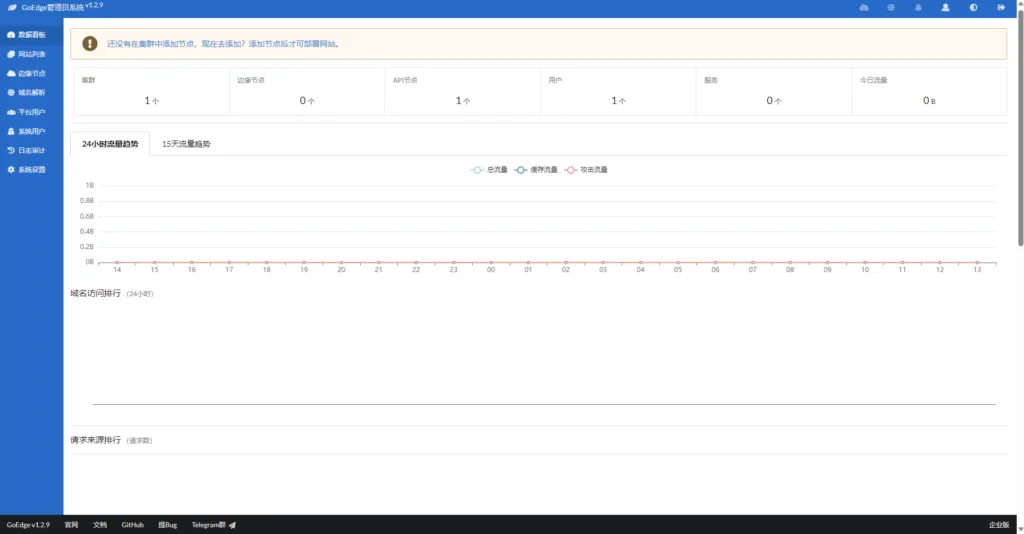
As the system prompt says, you must install a node to accelerate the website.

Comments
Discussion
Be kind and keep the discussion friendly.
Discussion
0 comments