
Study Notes - Initial Switch Configuration
Repost license
Request authorization before reposting and retain the authorization code, original URL, and go/affiliate links.
Original URL:https://www.geekcorelab.com/post/learning-notes-initial-configuration-of-switch
The commercial link is an authorized go short link that must stay on the reposted page. It records the source before sending readers to the original article.
Switch Configuration Methods
- Configuration through the Console port: This method requires using a serial cable to connect the computer to the switch's console port, then using terminal software to log in to the switch and configure the switch. This is a configuration method that must be used for an initial switch. Only after configuring the necessary basic parameters of the switch through this method can other switch configuration methods be used. Generally, a Console-to-USB cable is used to connect to the computer, and then software such as Xshell can be used to connect to the switch through the COM port. Of course, if some computers have a Console port, you can also connect directly with a Console-to-Console cable.
- Configuration via Telnet remote login: Log in remotely to the switch through the Telnet protocol to configure the switch. Connect the computer to the switch's management port with an RJ45 cable (commonly known as a network cable). The condition for using this method is that an IP address should already be set on the switch's management port. This method requires enabling the Telnet service on the switch and installing a Telnet client on the local computer. (Windows operating systems all include a Telnet terminal emulation program. Enter
telnet ipin the dialog box and press Enter to log in to the switch and manage and configure it.) If you see a prompt saying that telnet is not installed (or a prompt such as “unknown command”), see the tutorial below for installing the Telnet client on Windows. - Configuration via Web interface: Access the switch's IP address through a browser, enter the Web interface, and configure the switch. This method is simple to operate and easy to get started with, but it requires enabling the Web service on the switch. This method also requires the switch to have an IP address configured and to be connected to the same network segment as the management computer.
If Telnet Is Not Found When Using Windows
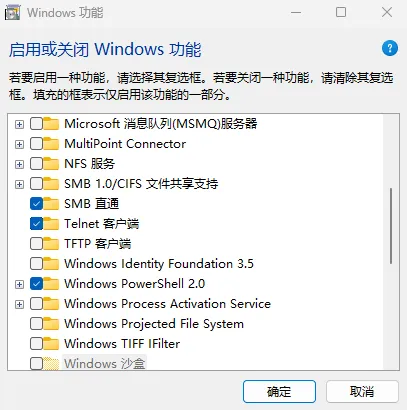
If this happens, you can open “Control Panel - Programs - Turn Windows features on or off”
As shown in the figure, check “Telnet Client” and then click OK.
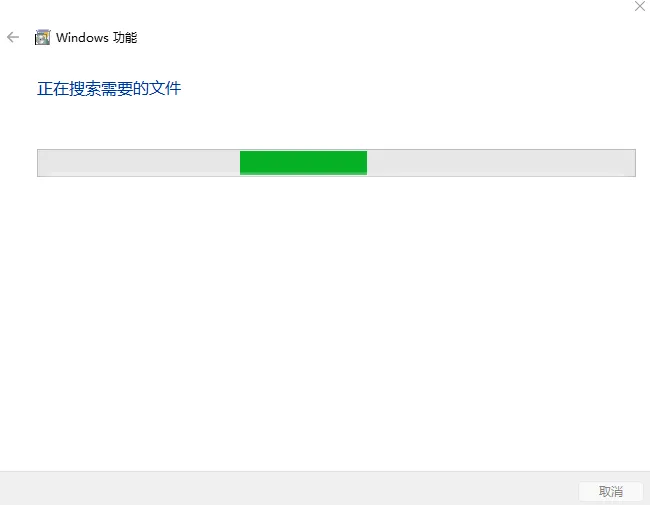
Wait for configuration to complete
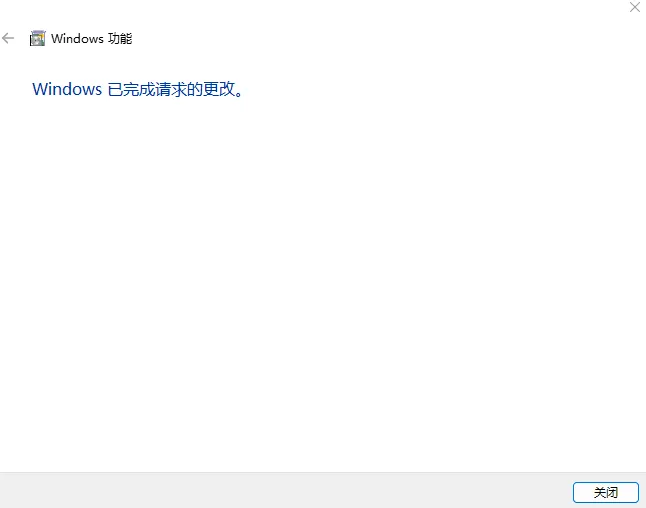
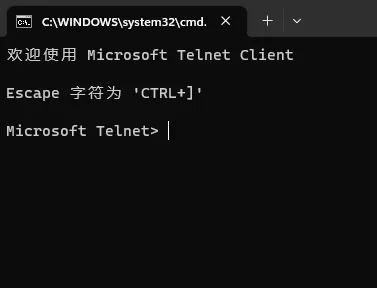
When you see this prompt, the configuration is complete. You do not need to restart; just click Close. At this point, open cmd and enter “telnet”; if the following information appears, the installation is complete:
Switch Configuration Modes
- User mode: User mode is the most basic mode of the switch; it can only browse the switch's status information. In user mode, the command-line prompt is “
Switch>”. - Privileged mode: Privileged mode is an important mode for switch management. In privileged mode, you can perform system-level operations and view all configurations. To enter privileged mode, you can use the ”
enable“ command. After entering the correct privilege-level password, you can enter this mode. In privileged mode, the command-line prompt is ”Switch#“
Switch> enablePassword: ! 需要输入特权用户的密码,但输入时,并不显示输入的内容Switch#
- Global configuration mode: Global configuration mode allows global settings to be made on the switch. In this mode, you can configure basic switch information such as hostname, domain name, time zone, etc. To enter global configuration mode, you can use the ”
<strong>configure terminal</strong>“ command (the ”conf t“ command also works; this is the abbreviation), and the command-line prompt changes to ”Switch(config)#“.
Switch# conf tEnter configuration commands, one per line. End with CNTL/Z.Switch(config)#
- Interface configuration mode: Interface configuration mode allows configuration of switch interfaces, such as configuring IP addresses, port speed, half-duplex or full-duplex, etc. To enter interface configuration mode, use the ”
interface interface-type“ command in global configuration mode (interface-typeis the specific port name), and the command-line prompt changes to ”Switch(config-if)#“.
Switch(config)#interface f0/1Switch(config-if)#
- Line configuration mode: When using a terminal emulation program (Telnet access) to configure a switch or router, configure parameters for VTY lines.
Switch(config)# line vty 0 4! 允许同时有 5 个用户分别在 VTY 线路上实施 Telnet 远程登陆Switch(config-line)# exec-timeout 0 0! 设定 telnet 登陆后,空闲时永不超时Switch(config-line)#
Common Commands for Initial Switch Configuration
Start Initial Switch Configuration in Privileged Mode
Switch> enaSwitch# setup
Set the Privileged Password in Global Configuration Mode
Switch# conf tEnter configuration commands, one per line. End with CNTL/Z.Switch(config)# enable secret 123------! 设置特权模式的密码为 123
There is another command for setting a password: ” enable password “. Unlike ” enable secret “, password is a plaintext password, while secret is an encrypted password and is more secure. If you set an encrypted password and then set a plaintext password, the latter password will overwrite the former password.
Set the Hostname in Global Configuration Mode
Switch(config)# hostname nuomenuome(config)#------! 设置主机名为 nuome
Exit the Current Working Mode
Switch(config)# exitSwitch#
Display Current Running Configuration Information
Switch# show running-config
Comments
Discussion
Be kind and keep the discussion friendly.
Discussion
0 comments