
Repost license
Request authorization before reposting and retain the authorization code, original URL, and go/affiliate links.
Original URL:https://www.geekcorelab.com/post/build-your-own-website-statistics-system-using-matomo
The commercial link is an authorized go short link that must stay on the reposted page. It records the source before sending readers to the original article.
Have you ever thought about giving up Baidu Analytics and Google Analytics and using your own analytics code?
Matomo can make this wish come true
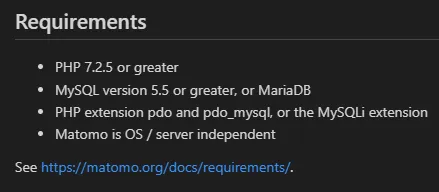
This tutorial uses the BT Panel for demonstration, the environment versions used are higher than the official requirements, and below are the officially required environment specifications:
Translation:
- PHP 7.2.5 or higher
- MySQL version 5.5 or higher, or MariaDB
- Required PHP extensions: pdo and pdo_mysql, or the MySQLi extension
- Matomo runs independently of the system and server (can also be translated as independent of the system and server)
The environment I use:
- PHP 8.1
- MySQL 8
- Both the MySQLi extension and the pdo, pdo_mysql extensions are available
- Rainyun KVM instance: 4C8G Ubuntu Server 22.04+BBR
First, download the source code Download Matomo Free Web Analytics Tool - #1 Open Source Analytics
If the download here is too slow, I have provided a mirror (it may not be the latest)
https://res.biliwind.com/s/k5h6
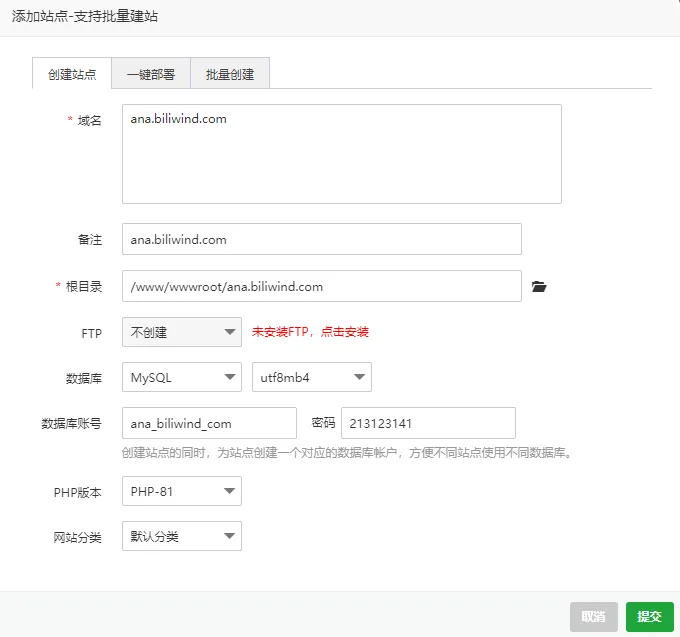
Next, add a site in the BT Panel. Enter your own domain name; if you don't have one, directly enter the server IP (you can also use the ip:port format)
Remember the database account and password
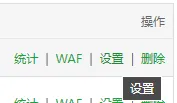
Then close the window showing successful creation, and click SSL in the "Settings" section for the website
Then click "Let‘s Encrypt", select the domain, and click Apply; after that, you can get a free SSL certificate
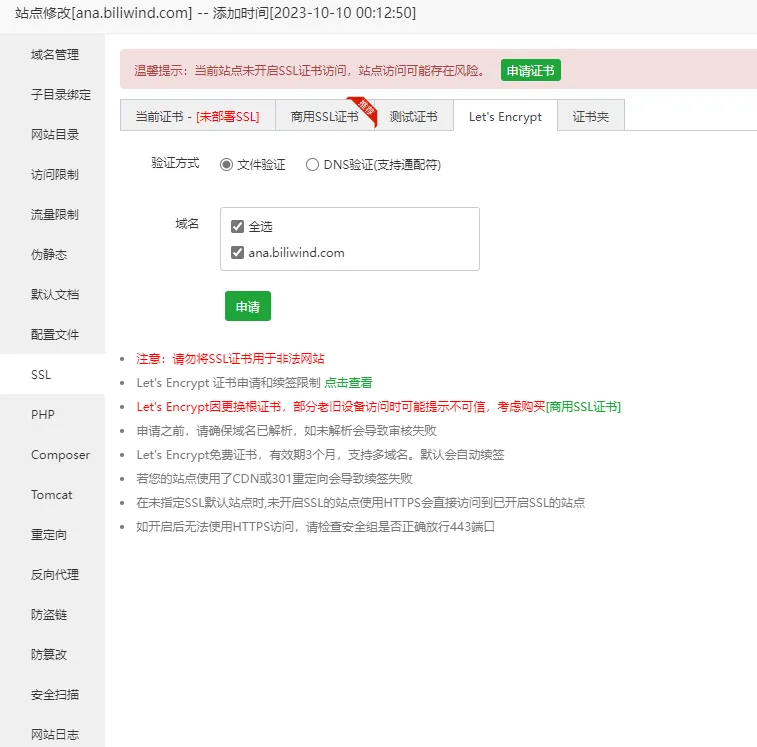
If you want to enable HSTS, do not turn on "Force HTTPS", but instead modify the configuration file
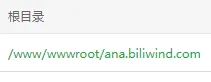
Next, click "Root directory" to enter the website's root directory
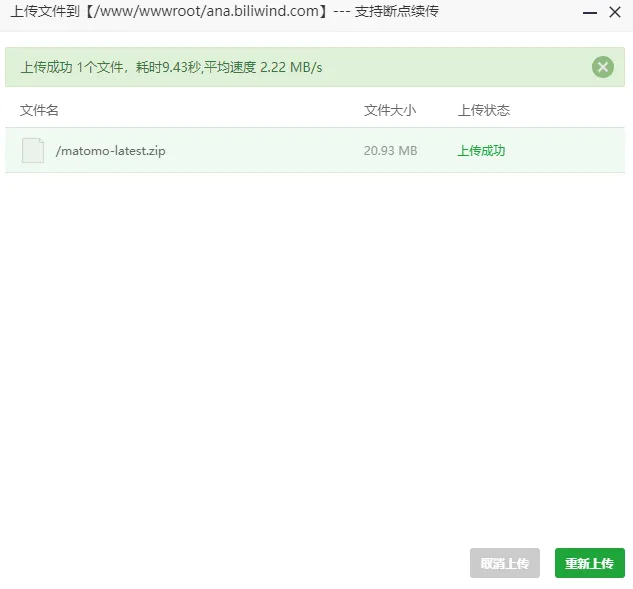
Upload the source code
Click "Extract" behind the uploaded archive
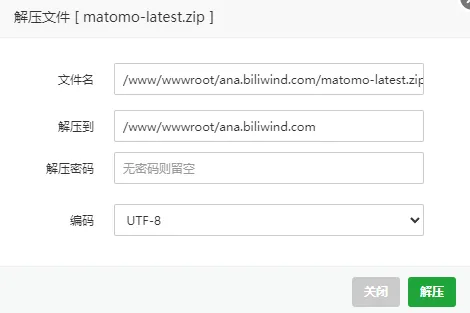
Click Extract in the pop-up window
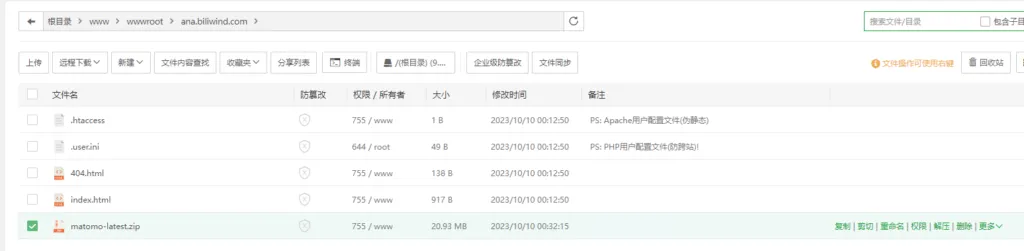
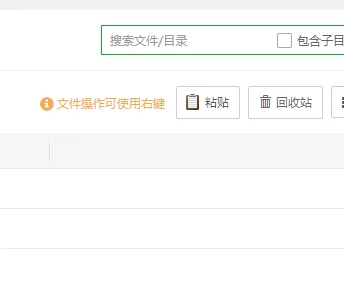
Then delete these extra files
Click the "matomo" folder to enter the directory
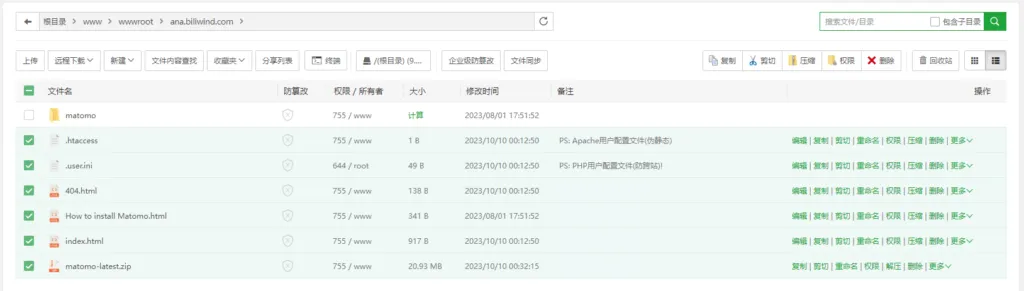
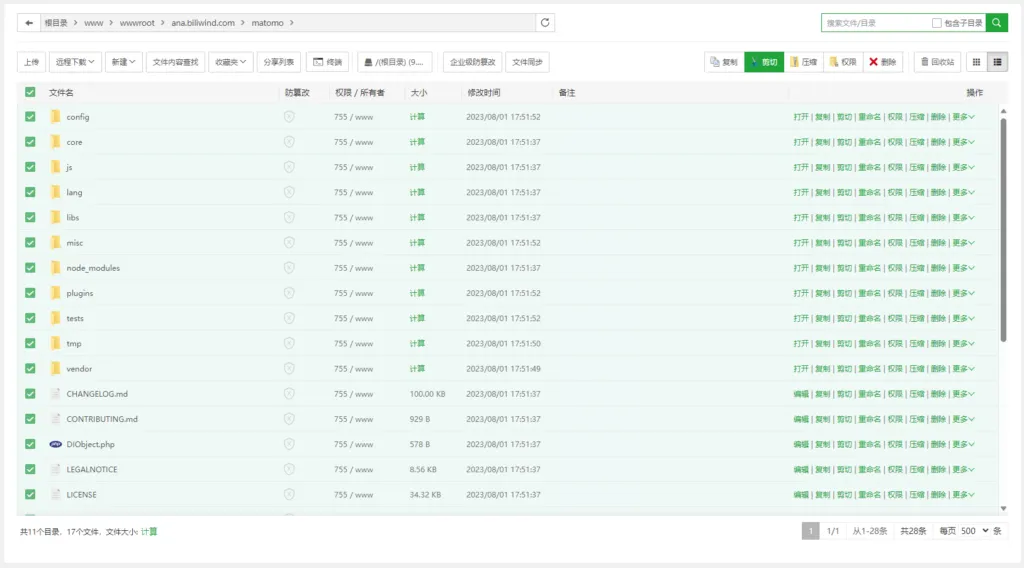
Select all and click Cut in the upper right corner
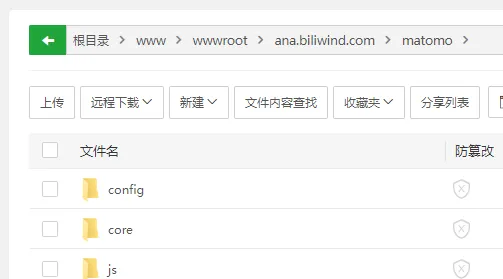
Click the "Backspace" arrow in the upper left corner to return to the parent directory
Click Paste in the upper right corner:
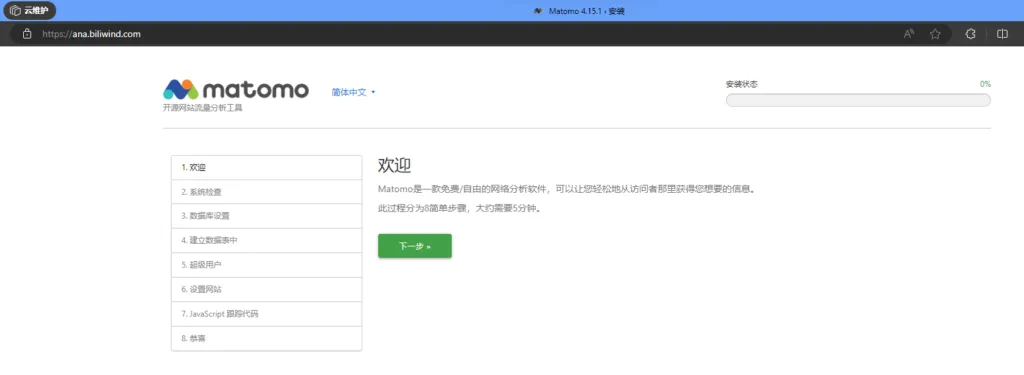
Then visit the site address and you can start the installation:
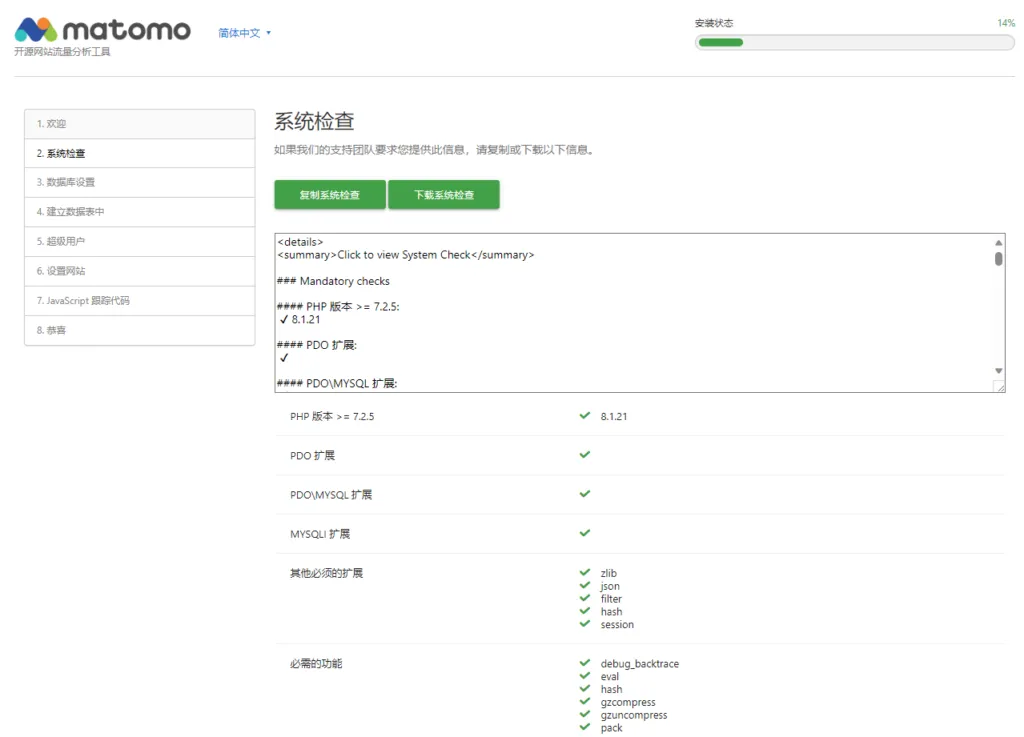
After clicking Next on the start page, the system environment will be checked automatically
Take a quick look here, this tutorial uses Rainginx (a modified version of Nginx) as the web server, so the following will appear
In the website settings of the BT Panel, find "Pseudo-static" and paste the following code into it (modified based on the official version)

## only allow accessing the following php files
    location ~ ^/(index|matomo|piwik|js/index|plugins/HeatmapSessionRecording/configs)\.php$ {
        #include snippets/fastcgi-php.conf; # if your Nginx setup doesn't come with a default fastcgi-php config, you can fetch it from https://github.com/nginx/nginx/blob/master/conf/fastcgi.conf
    add_header Referrer-Policy origin always; # make sure outgoing links don't show the URL to the Matomo instance
    add_header X-Content-Type-Options "nosniff" always;
    add_header X-XSS-Protection "1; mode=block" always;
        fastcgi_param  SCRIPT_FILENAME    $document_root$fastcgi_script_name;
fastcgi_param  QUERY_STRING       $query_string;
fastcgi_param  REQUEST_METHOD     $request_method;
fastcgi_param  CONTENT_TYPE       $content_type;
fastcgi_param  CONTENT_LENGTH     $content_length;

fastcgi_param  SCRIPT_NAME        $fastcgi_script_name;
fastcgi_param  REQUEST_URI        $request_uri;
fastcgi_param  DOCUMENT_URI       $document_uri;
fastcgi_param  DOCUMENT_ROOT      $document_root;
fastcgi_param  SERVER_PROTOCOL    $server_protocol;
fastcgi_param  REQUEST_SCHEME     $scheme;
fastcgi_param  HTTPS              $https if_not_empty;

fastcgi_param  GATEWAY_INTERFACE  CGI/1.1;
fastcgi_param  SERVER_SOFTWARE    nginx/$nginx_version;

fastcgi_param  REMOTE_ADDR        $remote_addr;
fastcgi_param  REMOTE_PORT        $remote_port;
fastcgi_param  SERVER_ADDR        $server_addr;
fastcgi_param  SERVER_PORT        $server_port;
fastcgi_param  SERVER_NAME        $server_name;

# PHP only, required if PHP was built with --enable-force-cgi-redirect
fastcgi_param  REDIRECT_STATUS    200;
        try_files $fastcgi_script_name =404; # protects against CVE-2019-11043. If this line is already included in your snippets/fastcgi-php.conf you can comment it here.
        fastcgi_param HTTP_PROXY ""; # prohibit httpoxy: https://httpoxy.org/
        fastcgi_pass unix:/tmp/php-cgi-81.sock; #replace with the path to your PHP socket file
        #fastcgi_pass 127.0.0.1:9000; # uncomment if you are using PHP via TCP sockets (e.g. Docker container)
    }

    ## deny access to all other .php files
    location ~* ^.+\.php$ {
        deny all;
        return 403;
    }

    ## serve all other files normally
    location / {
        try_files $uri $uri/ =404;
    }

    ## disable all access to the following directories
    location ~ ^/(config|tmp|core|lang) {
        deny all;
        return 403; # replace with 404 to not show these directories exist
    }

    location ~ /\.ht {
        deny  all;
        return 403;
    }

    location ~ js/container_.*_preview\.js$ {
        expires off;
        add_header Cache-Control 'private, no-cache, no-store';
    }

    location ~ \.(gif|ico|jpg|png|svg|js|css|htm|html|mp3|mp4|wav|ogg|avi|ttf|eot|woff|woff2)$ {
        allow all;
        ## Cache images,CSS,JS and webfonts for an hour
        ## Increasing the duration may improve the load-time, but may cause old files to show after an Matomo upgrade
        expires 1h;
        add_header Pragma public;
        add_header Cache-Control "public";
    }

    location ~ ^/(libs|vendor|plugins|misc|node_modules) {
        deny all;
        return 403;
    }

    ## properly display textfiles in root directory
    location ~/(.*\.md|LEGALNOTICE|LICENSE) {
        default_type text/plain;
    }
After saving, click Next to configure the database
The database account and database name are the same, and this was set when creating the website earlier
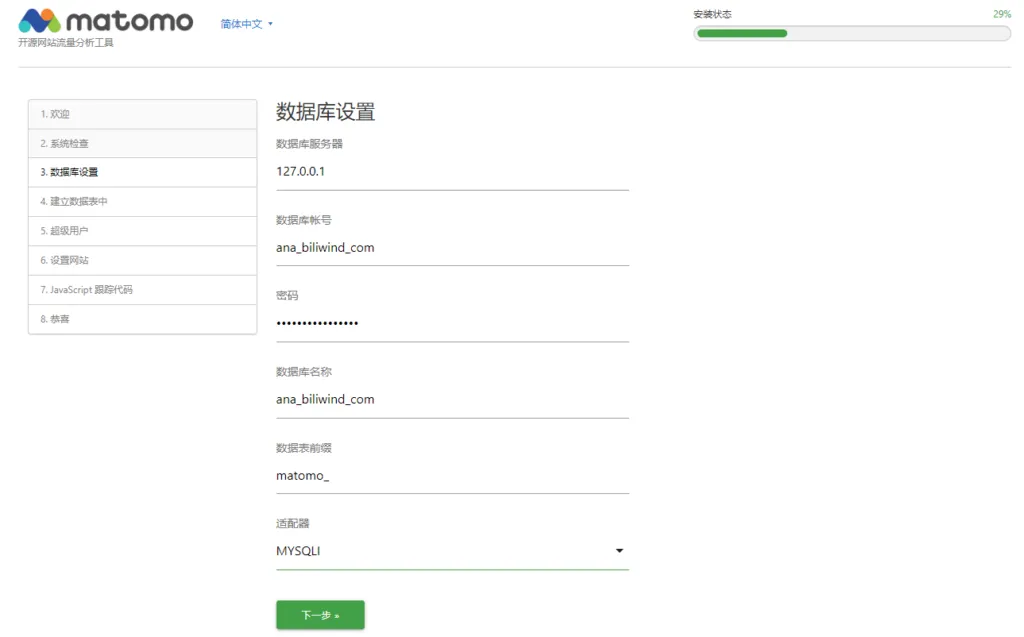
It is strongly recommended to select MySQLi as the adapter
Seeing this prompt means it was successful
Click Next, then configure the administrator username and password

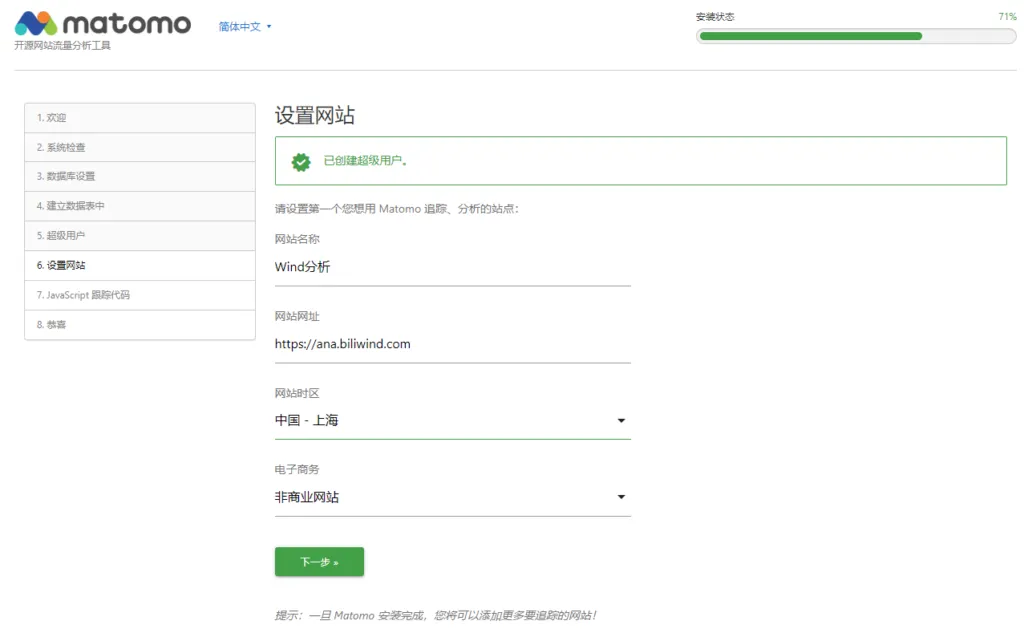
Click Next again, and you will be asked to configure site information; the site here is the first analytics site you added
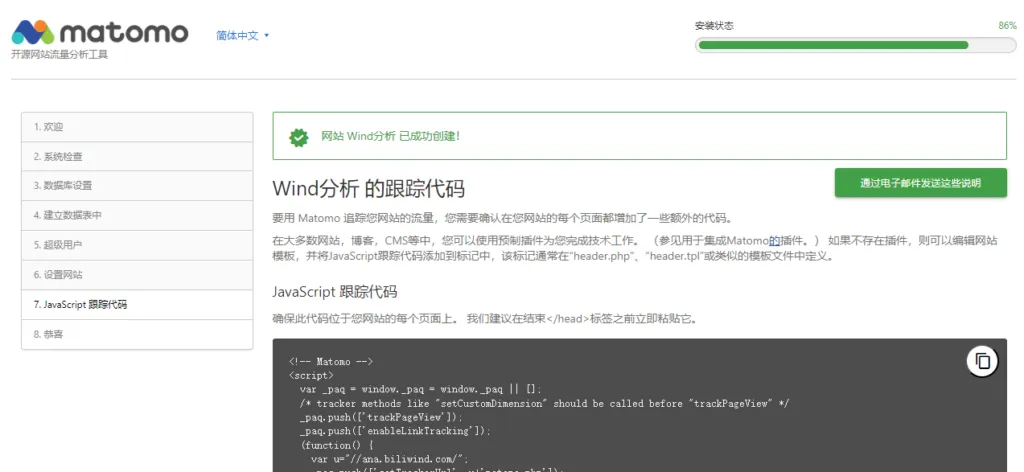
Fill this in according to your actual situation, click Next, and then you will get your own analytics code
After that, just keep clicking Next, and you will be redirected to the admin login page
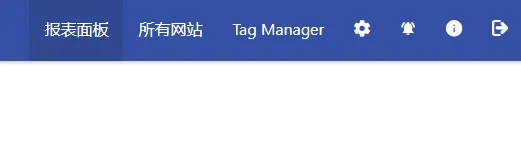
Log in with the administrator account
After that you can click the gear icon in the upper right corner to enter the settings page
Click Platform - Marketplace, where you can find plugins you like
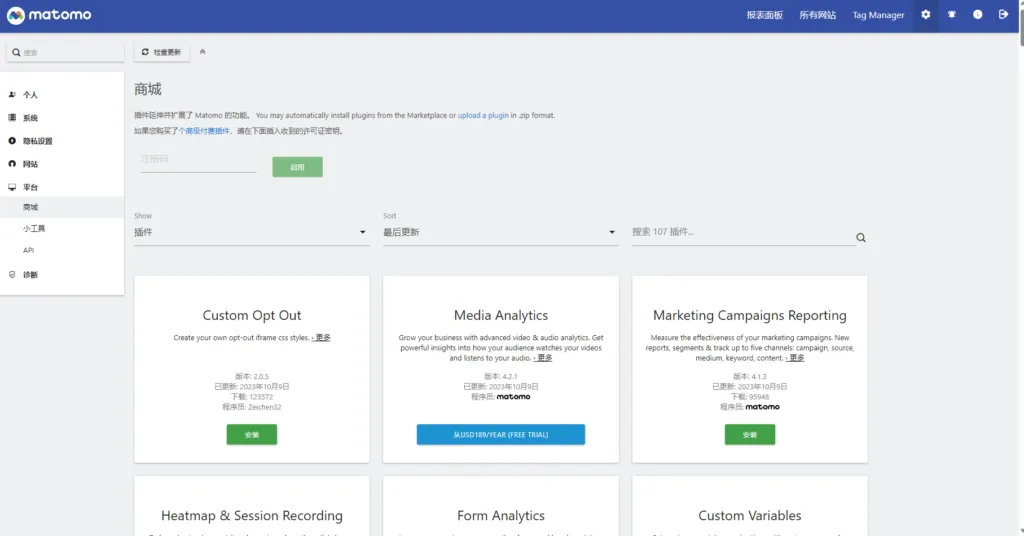
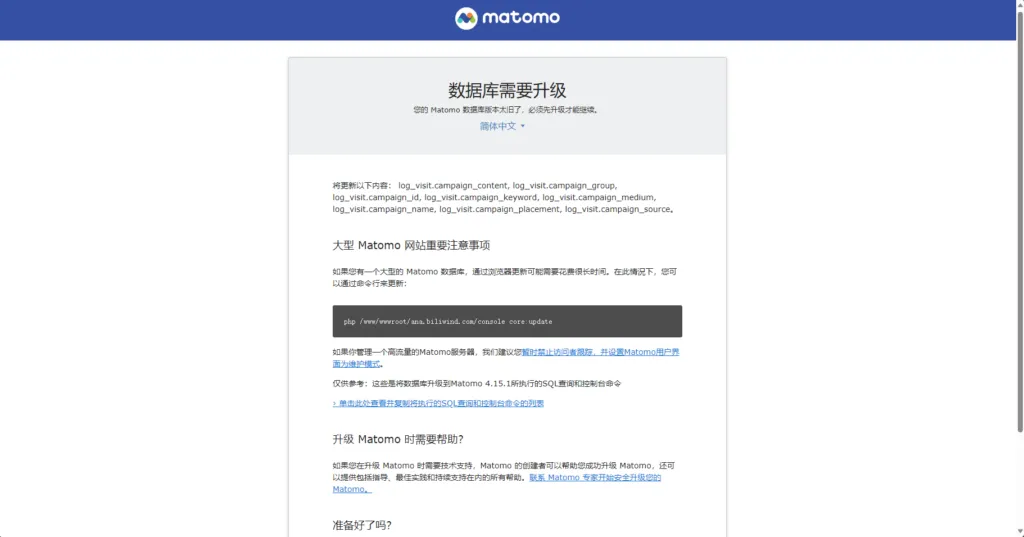
When activating some plugins, the following prompt may pop up:

Scroll down and just click Upgrade
Comments
Discussion
Be kind and keep the discussion friendly.
Discussion
0 comments