
JetBrains Local Activation Server Setup Tutorial
Repost license
Request authorization before reposting and retain the authorization code, original URL, and go/affiliate links.
Original URL:https://www.geekcorelab.com/post/setup-jetbrains-local-license-server
The commercial link is an authorized go short link that must stay on the reposted page. It records the source before sending readers to the original article.
This article is for learning and exchange purposes only. Please do not use it for commercial purposes.
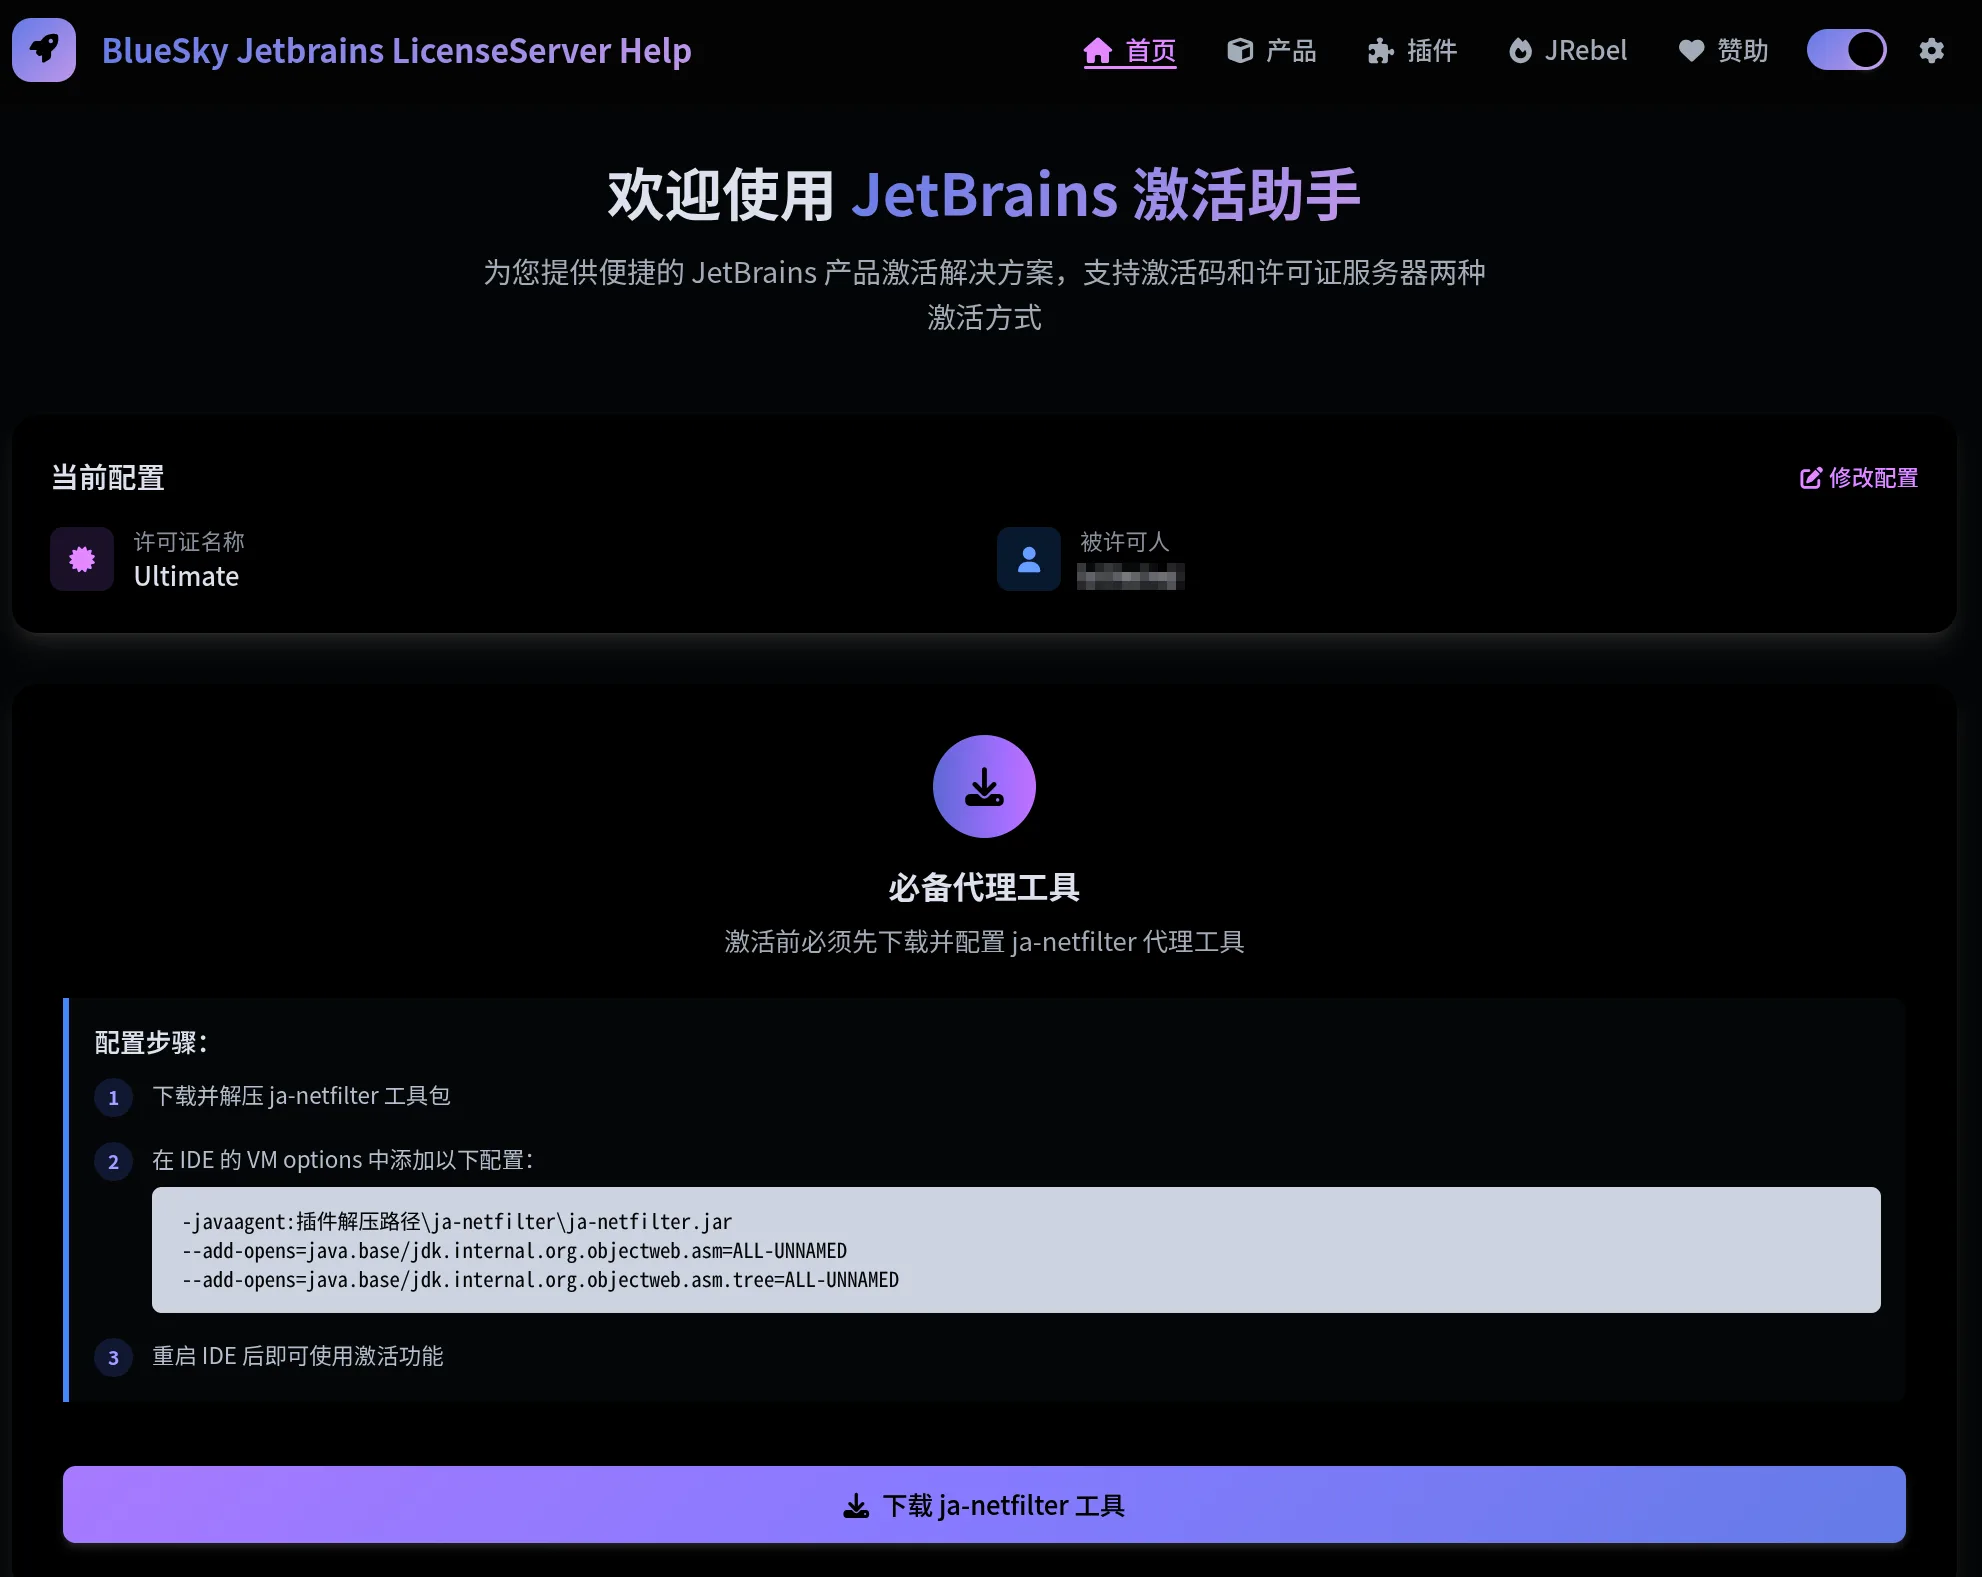
As is well known, various activation codes and activation servers circulate in some IPFS, and although some are still usable, most have become invalid or unstable. However, there is an open-source project that provides us with a stable local activation server, which also comes with a webui and local activation for paid plugins.
Deploy the Service
The service can be deployed anywhere, including on your local computer, an intranet server, etc.; here it is recommended to deploy using docker or podman.
Here we need to clone the source repository to run the image build once.
# 克隆仓库
git clone https://github.com/Blduu/Jetbrains-LicenseServer-Help.git

# 进入项目目录
cd Jetbrains-LicenseServer-Help

# 启动服务
docker compose up -d
After starting the service here, docker compose will automatically complete the build and start the service, because build is specified in the compose file.
services:
  jetbrains-licenseserver-help:
    build:
      context: . # 指定 Dockerfile 所在目录
      dockerfile: Dockerfile # 显式指定 Dockerfile 文件名
    image: bluesky-jetbrains-licenseserver-help:latest
    container_name: jetbrains-licenseserver-help
    restart: always # 容器异常退出时自动重启
    environment:
      - XBASE64_DOMAIN=BlueSky.cc # 与 application.yml、Dockerfile 默认一致
      - TZ=Asia/Shanghai # 显式指定时区,避免容器时区不一致
    ports:
      - "10768:10768" # 宿主机端口:容器端口(保持原有映射)
    volumes:
      - ./external:/app/external # 外部配置/文件挂载
      - ./logs:/app/logs # 日志目录挂载(匹配 logback 中的 LOG_HOME 路径)
    # 可选:限制容器资源,避免占用过多主机资源
    deploy:
      resources:
        limits:
          cpus: '1'
          memory: 1024M
Then visit http://localhost:10768/ to perform the initial setup of the license name and authorized user.
Settings Required on Your Computer
First, go to the webui you just deployed, download and extract the ja-netfilter toolkit, and replace the extracted path accordingly.
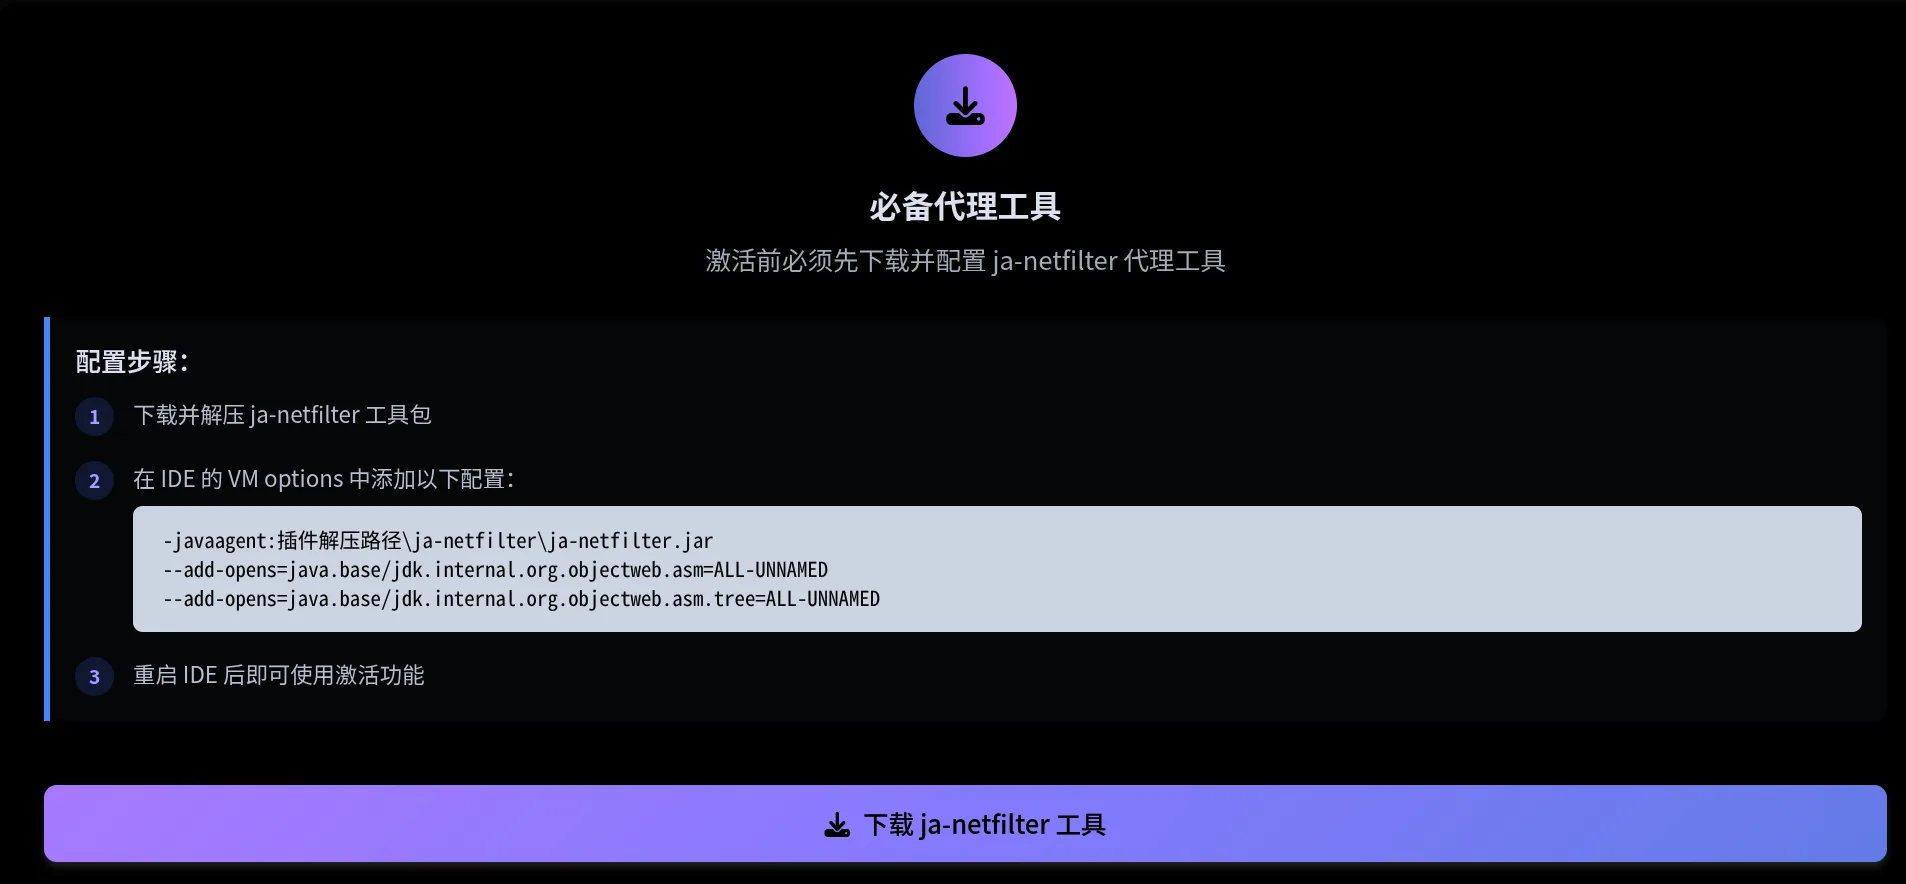
 -javaagent:插件解压路径\ja-netfilter\ja-netfilter.jar
 --add-opens=java.base/jdk.internal.org.objectweb.asm=ALL-UNNAMED
 --add-opens=java.base/jdk.internal.org.objectweb.asm.tree=ALL-UNNAMED
Just make sure the first line points to the ja-netfilter.jar file using an absolute path. After replacing it, copy this content, as it will be needed in the next step.
Settings Required in the IDE
Click the three dots in the upper-right corner of the IDE, expand the full menu, and then find “Edit Custom VM Options” under Help. The VM here refers to the JVM.

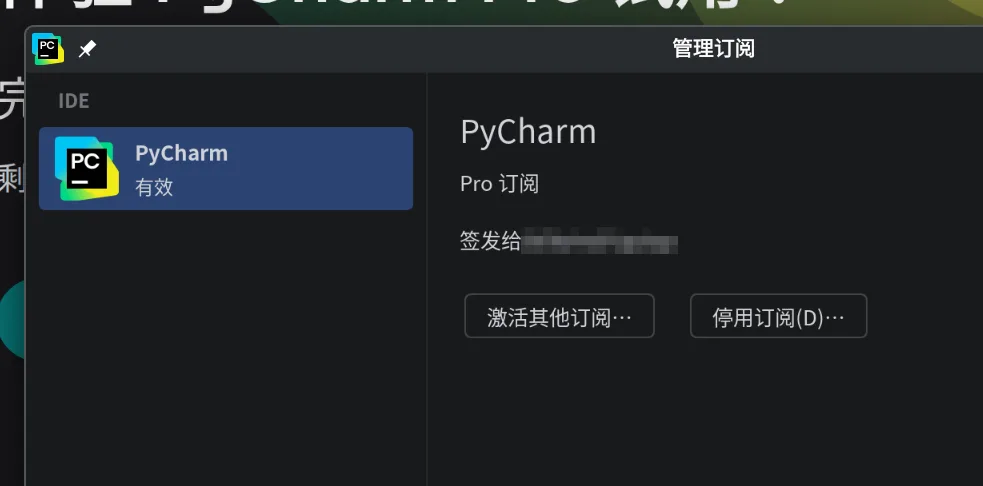
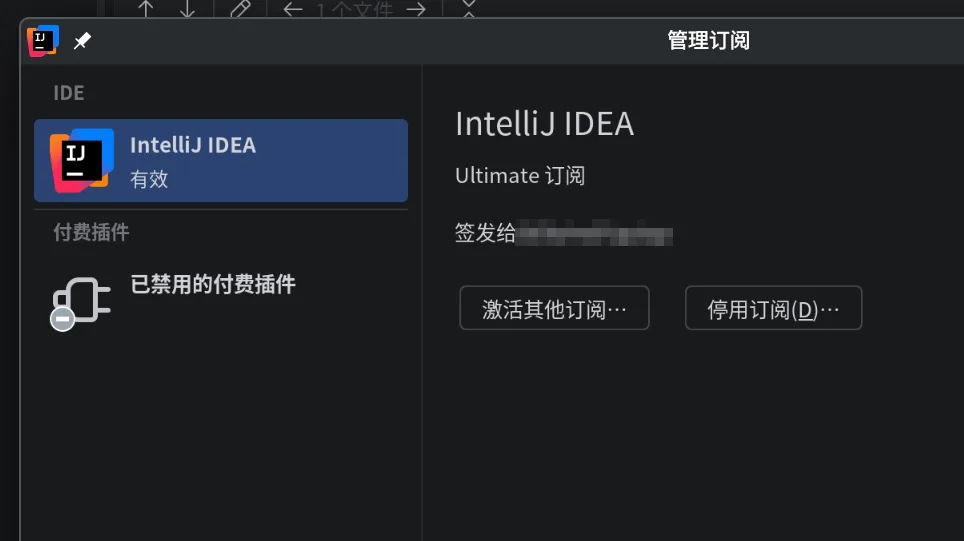
In the opened file, create a new line and fill in the content copied above. After that, in Help - License Management, you can activate your IDE with an activation code or activation server, but using an activation server is generally more worry-free.
Comments
Discussion
Be kind and keep the discussion friendly.
Discussion
0 comments