
HTML Basics - Quickly Build a Simple Website Page
Repost license
Request authorization before reposting and retain the authorization code, original URL, and go/affiliate links.
Original URL:https://www.geekcorelab.com/post/html-beginner-quickly-build-a-simple-website-page
The commercial link is an authorized go short link that must stay on the reposted page. It records the source before sending readers to the original article.
The Difference Between Dynamic and Static Websites
Common beginner misconceptions:
- A dynamic website does not mean a website with animations or moving elements
- A static website does not mean a website without animations or moving elements
The correct understanding is:
- A dynamic website means the HTML (HyperText Markup Language) returned to users is generated dynamically. For example, my website is a dynamic website: I can log in to the backend to publish articles without updating the HTML code; instead, the articles are stored in a database, and then PHP (PHP: Hypertext Preprocessor) reads the content from the database and places it in the designated location to render the final interface users see
- A static website means no database is needed; the website is pure HTML+CSS+JS, and there is nothing like PHP to dynamically generate pages. Usually, such websites do not have a login feature, because the HTML is fixed and cannot return different pages depending on the user
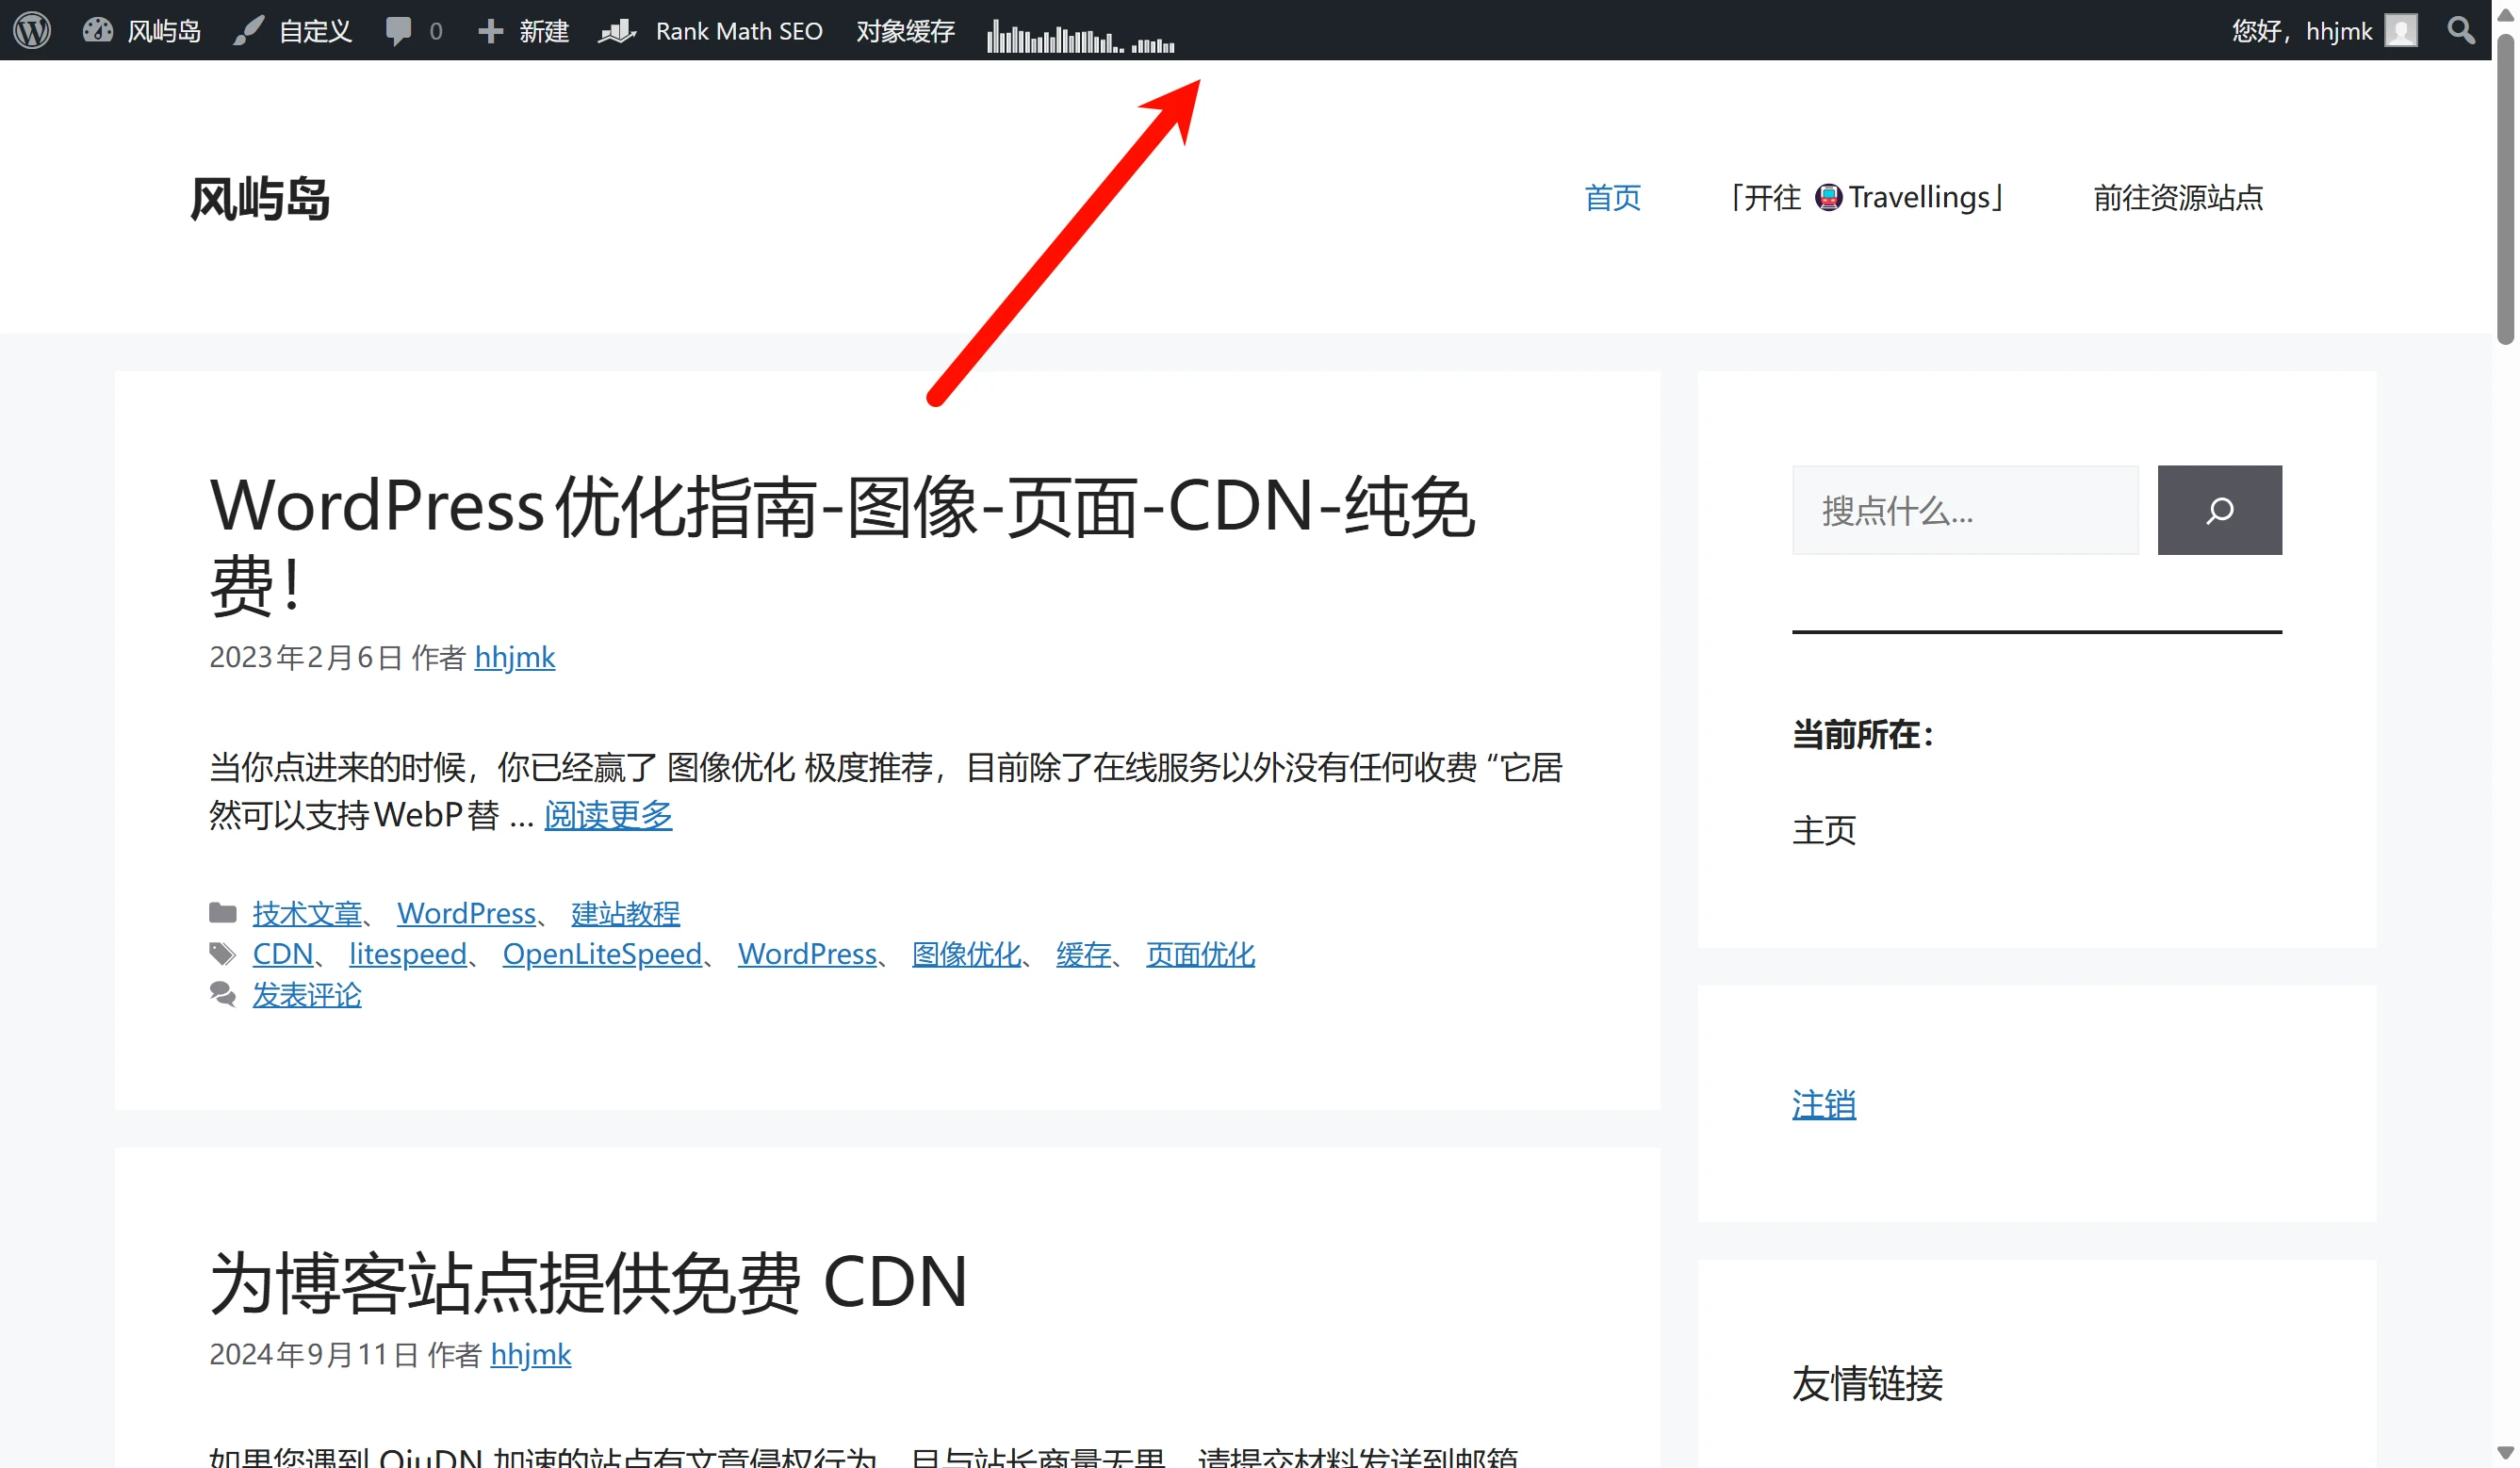
Let's use a simple example to understand dynamic websites. My website is built with WordPress and is a typical dynamic website; it returns different pages depending on which user is logged in
After I log in to the website, there is an Admin Bar for convenient site management, but visitors cannot see this admin bar
The First HTML Page
Right-click on your desktop, create a new text document, rename it to "index.html" (you need to check “Show file name extensions” under View in File Explorer first), and then paste the following content into it
<html>
<head>
<meta charset="utf-8">
<title>第一个静态网页</title>
</head>
<body>
    <h1>我的第一个标题</h1>
    <p>我的第一个段落。</p>
</body>
</html>
After saving, open it with a browser and you will see a heading and a paragraph, but it doesn't look very nice. We can use CSS to add styles to HTML, but CSS is still a bit complicated for me—I can only hand-write some simple styles. So let's bring in our AI:
<html lang="en">
<head>
<meta charset="UTF-8">
<meta name="viewport" content="width=device-width, initial-scale=1.0">
<title>美化页面示例</title>
<style>
body {
    font-family: 'Arial', sans-serif;
    margin: 0;
    padding: 0;
    background-color: #f4f4f4;
  }
.container {
width: 80%;
margin: auto;
overflow: hidden;
}
header {
background: #50b3a2;
color: white;
padding-top: 30px;
min-height: 70px;
border-bottom: #e8491d 3px solid;
}
header a {
color: #ffffff;
text-decoration: none;
text-transform: uppercase;
font-size: 16px;
}
header ul {
padding: 0;
list-style: none;
}
header li {
display: inline;
padding: 0 20px 0 20px;
}
header #branding {
float: left;
}
header #branding h1 {
margin: 0;
}
header nav {
float: right;
margin-top: 10px;
}
header .highlight, header .current a {
color: #e8491d;
font-weight: bold;
}
header a:hover {
color: #ffffff;
font-weight: bold;
}
section#showcase {
min-height: 400px;
background: url('showcase.jpg') no-repeat 0 -100px;
text-align: center;
color: #ffffff;
}
section#showcase h1 {
margin-top: 100px;
font-size: 55px;
margin-bottom: 10px;
}
section#showcase p {
font-size: 20px;
}
section#main {
padding: 15px;
background: #ffffff;
}
section#main .content-title {
color: #50b3a2;
}
section#main article#main-col {
float: left;
width: 60%;
}
section#main aside#sidebar {
float: right;
width: 30%;
padding-left: 20px;
}
section#main article#main-col h1 {
color: #e8491d;
}
section#main aside#sidebar p {
color: #7f7f7f;
}
footer {
background: #e8491d;
color: white;
text-align: center;
padding: 10px;
position: relative;
bottom: 0;
width: 100%;
}
</style>
</head>
<body>
<header>
<div class="container">
<div id="branding">
<h1>My Website</h1>
</div>
<nav>
<ul>
<li class="current"><a href="#">Home</a></li>
<li><a href="#">About</a></li>
<li><a href="#">Services</a></li>
<li><a href="#">Contact</a></li>
</ul>
</nav>
</div>
</header>
<section id="showcase">
<div class="container">
<h1>Welcome to My Website</h1>
<p>Here you can find all the information you need.</p>
</div>
</section>
<section id="main">
<div class="container">
<article id="main-col">
<h1 class="content-title">About Us</h1>
<p>This is a simple example of a CSS-styled HTML page. The CSS is used to control the layout, colors, fonts, and other visual aspects of the page.</p>
<p>It's a great way to make your web content more appealing and user-friendly.</p>
</article>
<aside id="sidebar">
<h2>What We Do</h2>
<p>Here are some of the services we offer.</p>
</aside>
</div>
</section>
<footer>
<p>My Website © 2024</p>
</footer>
</body>
</html>
Let's pick some examples to explain how CSS works
body {
font-family: 'Arial', sans-serif;
margin: 0;
padding: 0;
background-color: #f4f4f4;
}
This CSS takes effect throughout the entire <body></body>, which gives the illusion that it applies to the whole page. In fact, its scope is only the body tag; it does not apply to the head or footer tags
Comments
Discussion
Be kind and keep the discussion friendly.
Discussion
0 comments